
A 12V Fridge Defrost Drain Is Something You Design, Not Something You Get
Household refrigerators solve meltwater quietly. A drain hole in the evaporator well leads to a tube, the tube leads to a pan on top of the compressor, and waste heat evaporates the water before anyone notices. Most DC compressor fridges — portable boxes, van and marine builds, custom cabinets — have no such path. The frost melts, the water has nowhere to go, and it ends up in the bottom of the box, under the food, or inside the cabinet you built around it.
A 12V fridge defrost drain is therefore not a feature you look for on a spec sheet. It is something you design into the box, and the design is straightforward once you accept two facts: almost no 12 V-only unit has automatic defrost, and the amount of water is set by how humid the air is and how often the lid opens, not by the size of the box.
This guide covers where the frost comes from, how much water to expect, the three drainage architectures that work in a mobile installation, and the failure modes that show up months after commissioning.
Why Frost Forms Faster in a DC Box Than in a Kitchen Fridge
Before designing a 12V fridge defrost drain it helps to know what feeds it. Frost is airborne moisture that condensed on the evaporator and froze there. Every gram of it arrived as humid air entering the box. Three characteristics of DC installations make that arrival rate higher than in a kitchen appliance:
- Chest geometry with frequent opening. A top-opening box loses less cold air than a front door, but each opening still exchanges a volume of humid ambient air, and portable boxes are typically opened far more often per liter of capacity than a domestic fridge.
- Humid operating environments. Marine, coastal and tropical installations run in air that carries several times the moisture of a conditioned kitchen. The same box frosts on a completely different schedule depending on where it is used.
- Warm and wet contents. Drinks straight from a hot vehicle, uncovered food, and anything with surface moisture all release water into the box interior.
The evaporator is the coldest surface in the box, so that is where the moisture lands. Frost accumulates on it, and every millimeter of frost is a layer of insulation between the refrigerant and the air it is supposed to cool. Long before it blocks anything mechanically, frost degrades capacity — which is why a box that “stopped cooling well” often just needs defrosting.
How Much Water Is Actually Involved
Sizing a 12V fridge defrost drain starts with how much water it has to carry. Builders consistently underestimate this, then discover the answer when it runs across the floor. A rough estimate is easy to construct from the air exchange.
| Input | Value used | Basis |
|---|---|---|
| Box interior volume | 50 L | Assumed |
| Air exchanged per opening | Half the box volume | Assumed for a chest-style lid |
| Openings per day | 15 | Assumed for daily use |
| Ambient air | 30 °C, 70 % RH | Assumed humid-climate condition |
| Moisture in that air | ≈ 18.8 g per kg of dry air | Reference psychrometric value |
| Air density | ≈ 1.16 kg/m³ at 30 °C | Reference property |
| Moisture retained at 4 °C | ≈ 5 g per kg of dry air | Reference; saturation at box temperature |
Air exchanged per day: 0.050 m³ × 0.5 × 15 = 0.375 m³, which is 0.375 × 1.16 = 0.435 kg of air.
Moisture deposited: 0.435 kg × (18.8 − 5) g/kg = about 6 g of water per day from door openings alone, before counting moisture released by the contents or leakage through an imperfect lid seal.
Six grams sounds trivial until you integrate it. Over a two-week trip that is roughly 84 g — most of a small cup — sitting as frost on the evaporator and arriving all at once as liquid the moment you defrost. In a dry climate the number is much smaller; at 30 °C and 85 % RH it roughly doubles. Treat this as an order-of-magnitude estimate rather than a specification: the point is that the answer is grams per day and tens to hundreds of grams per defrost, not the few drops most builders plan for.
Three Drainage Architectures That Work
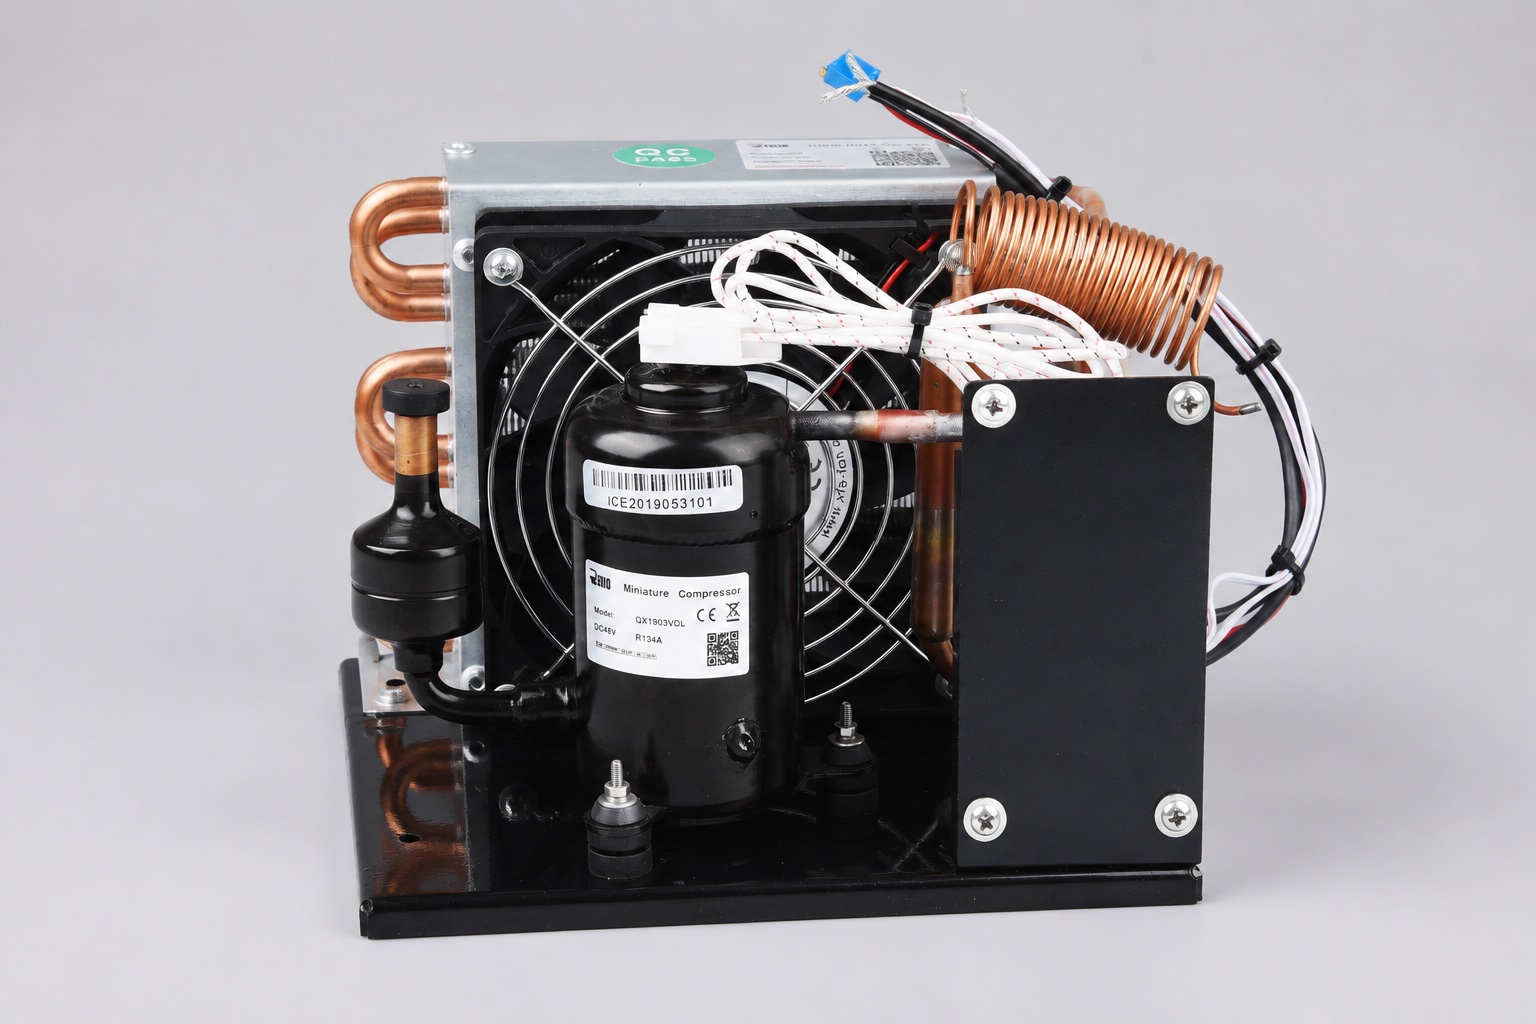 There is no single correct answer, because the right one depends on whether the installation moves and whether there is anywhere for water to go.
1. Drain plug to the outside
A fitting at the lowest interior point, a short hose, and a plug or valve. Simplest and most reliable when the box lives somewhere water can be dumped — a boat cockpit, a garage floor, outside a van door.
Requirements: the interior floor must actually slope to the fitting, and the plug must seal. An open drain is a continuous air leak into the box, which adds both heat load and more moisture — exactly the problem it was installed to solve.
2. Removable catch tray
A shallow tray under the evaporator, emptied manually. Common on portable boxes because it needs no penetration of the box shell.
Requirements: the tray has to be accessible without unloading the box, and it must have enough capacity for a full defrost — see the estimate above before deciding what “enough” means. A tray sized for a few drops overflows on the first real defrost.
3. Evaporation pan on the condenser
The approach domestic refrigerators use: route meltwater to a shallow pan sitting in the condenser airflow, and let waste heat evaporate it. Fully passive, nothing to empty.
Requirements, and they are real constraints in a mobile build: the pan must sit below the drain by gravity, it must be in genuine airflow rather than merely near the condenser, and it must not slosh when the vehicle moves. Baffles or an absorbent medium address the sloshing. This architecture also fails silently in humid weather, when evaporation cannot keep up with production — so it needs an overflow path that does not run into your cabinetry.
The Drain Line Is Where It Goes Wrong
Every 12V fridge defrost drain failure in the field traces back to the same short piece of tube.
The drain freezes
The most common failure by a wide margin. The drain outlet sits in the coldest part of the box, so the first water to reach it freezes there, and every subsequent defrost adds to the plug. The box then behaves exactly as if it had no drain at all, and the water finds another route.
Countermeasures: keep the drain path short and steeply sloped so water clears quickly; site the outlet away from the evaporator’s coldest region; use a larger internal diameter than seems necessary, because a partly frozen small tube blocks completely while a partly frozen large one still passes water.
Siphoning and odor
An open drain line to outside is a two-way path. It admits humid air, and in a marine installation it can admit water. A trap solves both, but a trap in a mobile installation dries out or sloshes empty — so on a vehicle, a plug or valve is usually more reliable than a trap.
Slope that only exists on level ground
A drain designed on a workbench works on a workbench. Parked on a slope, in a heeled boat, or on uneven ground, a 1 % fall becomes an uphill run and the water pools at the far corner. Design the fall steep enough to survive the tilt angles the installation actually sees.
The drain empties somewhere it should not
Into the battery compartment, onto a wiring loom, into the cavity under a floor panel. This one is only discovered later, usually by corrosion. Trace the full path of the water to its final destination before drilling.
Manual Defrost Without the Mess
Since most 12 V units defrost manually, the routine matters as much as the plumbing behind the 12V fridge defrost drain. A sequence that keeps the water contained:
- Empty the box, or at minimum lift the contents clear of the evaporator.
- Power down. Never chip or scrape frost off an evaporator — the tubing is thin-walled and a puncture ends the system, not the frost.
- Place the catch tray or open the drain before the melt starts, not after water is already moving.
- Speed it up with a bowl of warm water inside and the lid closed. A heat gun or hair dryer aimed at an evaporator is a fast way to deform it.
- Dry the interior completely before restarting. Residual water is the seed for the next frost cycle and freezes into the drain path.
Frequency depends entirely on humidity and opening habits rather than on a calendar. A practical trigger is frost thickness: once it is a few millimeters, capacity is already down and the system is running longer for the same cooling. Power draw before and after defrost is measurable, and the difference is discussed in our field measurements on real power consumption in 12V compressor fridges.
Designing Drainage Into a Custom Build
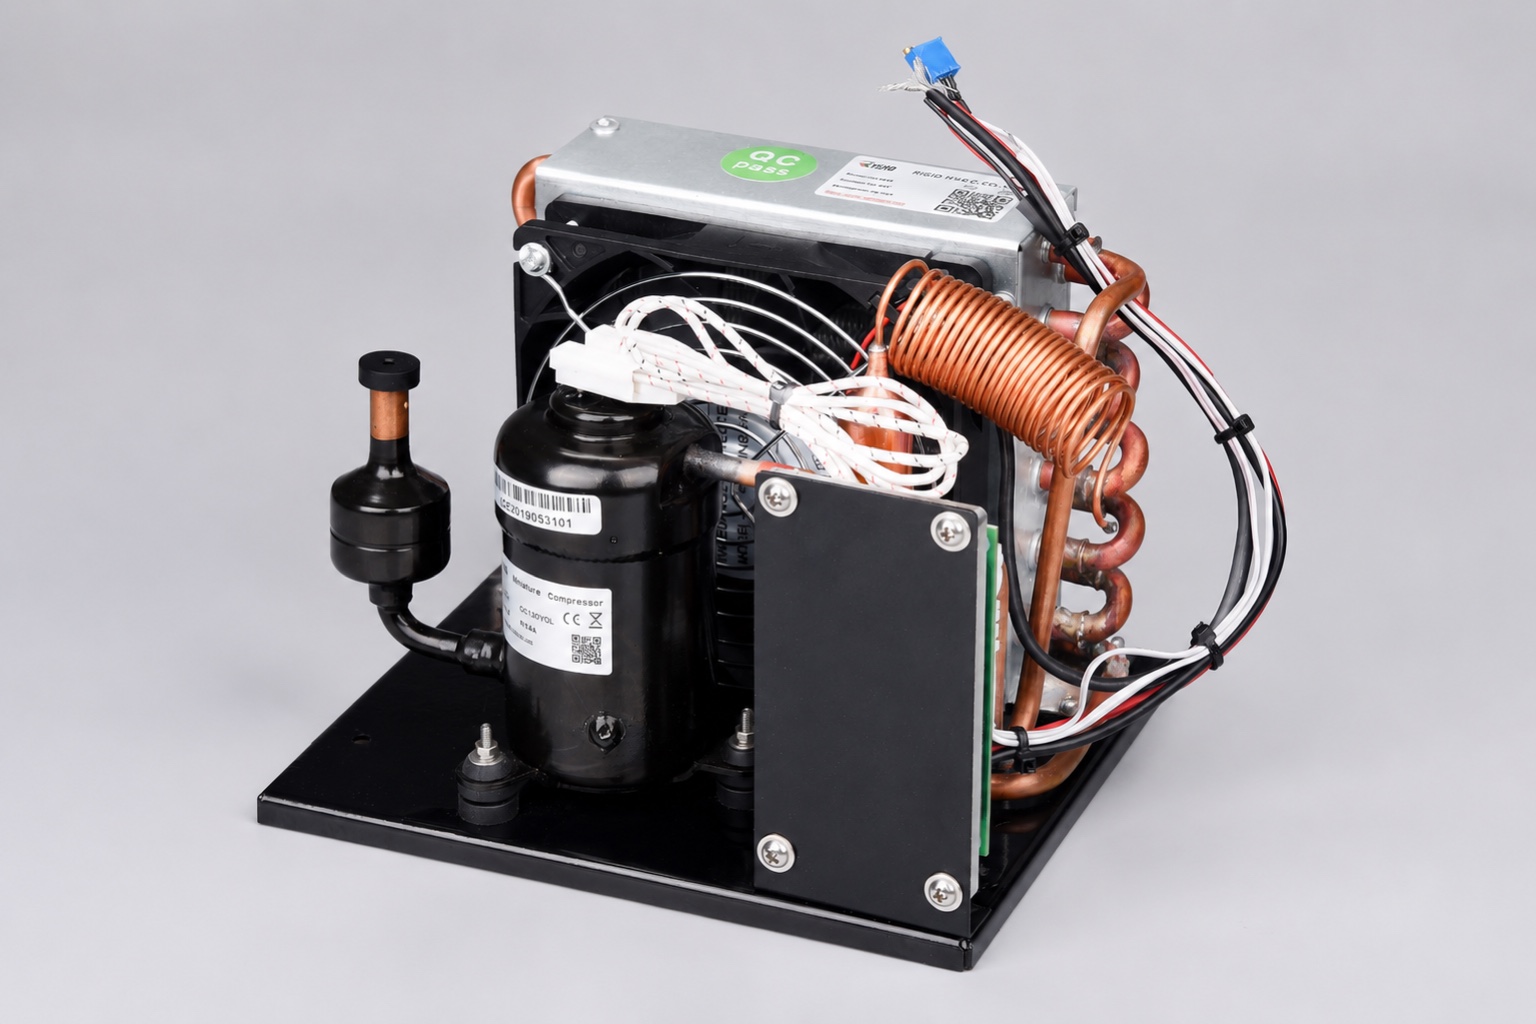 If you are building the box rather than buying it, drainage is nearly free at design time and expensive to retrofit. The decisions worth making early:
- Slope the interior floor toward one corner before the liner or insulation goes in. Retrofitting a slope means rebuilding the floor.
- Place the evaporator so meltwater runs toward that corner rather than away from it, and so drips do not land on the contents.
- Use a drain fitting with a larger bore than you think you need, and give it a straight, steep run.
- Decide where the water ends up and check that destination in every orientation the installation will see.
- Seal every penetration of the insulated shell properly. A drain fitting is a thermal bridge and a moisture path; a poorly sealed one becomes a condensation site inside the wall.
- Keep the compressor and its electronics out of any possible water path, including the overflow path.
None of this affects compressor selection. It affects whether the installation is still dry after a season. A variable-speed unit such as QX1901VDL(H) — 12 V, published at 100~455 W across 2,000~6,000 rpm — spends much of its time at low speed, which means longer run periods at a colder evaporator and, in humid air, more frost per day than a fixed-speed machine cycling harder. The drainage design has to suit how the box is actually run, not just its capacity. The compressor side of a custom build is covered separately in our guide to how a 12V compressor fridge works, and model-level data is on the 12V compressor product page.
For an OEM box where drainage has to be designed in rather than retrofitted, send the following and our engineers will advise on evaporator placement and drain routing: interior volume and geometry, target box temperature, expected ambient and humidity, opening frequency, mounting orientation and worst-case tilt, whether the installation is fixed or mobile, and where meltwater is permitted to discharge. Send your build details to our engineering team.
Diagnostic Table
| Symptom | Likely cause | Check |
|---|---|---|
| Water in the bottom of the box after defrost | No drain, or drain frozen | Pour warm water at the outlet and see whether it passes |
| Frost returns within days | Lid seal leaking, or interior left wet | Paper-strip test on the seal; confirm the box was dried |
| Cooling degraded but compressor runs normally | Frost thickness on the evaporator | Inspect evaporator; compare run time before and after defrost |
| Musty smell from the box | Standing water in the tray or drain line | Empty and dry the tray; flush the line |
| Corrosion near the fridge | Drain discharging into a cavity or onto wiring | Trace the full water path to its destination |
| Water appears only when parked on a slope | Insufficient fall in the drain path | Check fall at the tilt angles the installation sees |
Frequently Asked Questions
Do 12V compressor fridges defrost automatically?
Most do not. Automatic defrost requires a heater, a timer or sensor to trigger it, and a drainage path to carry the meltwater away — three additions that cost power and complexity in a battery-powered design. A small number of models include it, but the default assumption for a DC box should be manual defrost, which is why a 12V fridge defrost drain has to be part of the installation design rather than something you expect to find.
How often should I defrost a 12V fridge?
Frost thickness is a better trigger than a calendar. Once it reaches a few millimeters, the layer is insulating the evaporator, the compressor is running longer for the same cooling, and power consumption has already risen. In humid coastal or tropical use that may be every week or two; in dry conditions with infrequent opening it may be months. Both are normal.
Where should the drain discharge to?
Somewhere you have checked in every orientation the installation will experience. Outside is simplest where the box is near an opening. A catch tray works where no penetration is wanted. An evaporation pan in the condenser airflow is fully passive but needs an overflow path for humid weather. What matters most is confirming the water does not reach wiring, a battery compartment, or a cavity where it will sit.
Why does my drain keep freezing?
Because the outlet sits in the coldest region of the box, so the first water to arrive freezes at the opening and each defrost adds to the plug. Move the outlet away from the evaporator’s coldest area, increase the internal diameter, and give the line a steep, short run. A larger tube that partly ices still passes water; a small one blocks completely.
Can I just leave the drain open all the time?
It works, but it costs you. An open drain is a continuous path for humid ambient air into the box, which adds heat load and delivers more moisture to freeze on the evaporator — accelerating the frost the drain was installed to manage. A plug or valve opened at defrost time is better, and on a vehicle it is more reliable than a water trap, which dries out or sloshes empty in motion.
Does frost actually reduce cooling performance?
Yes, and earlier than most people expect. Frost is a thermal insulator between the refrigerant and the air, so the evaporator has to run colder to move the same heat, and the compressor runs longer. Degradation is measurable well before the frost is thick enough to obstruct anything mechanically. A box that seems to have lost capacity is often just overdue for defrosting.