
A 12V Portable Air Conditioner Lives or Dies on Its Ducting
The refrigeration circuit inside a small DC air conditioner is the part least likely to disappoint you. It is sealed, it was tested, and it does what it was designed to do. Nearly every complaint about one of these units underperforming traces back to air — where it comes from, where it goes, and what is quietly in its way.
A 12V portable air conditioner has to move two separate air streams: the cold one through the space you care about, and the hot one out through the condenser. Both are easy to obstruct, and obstructing either produces the same vague symptom of “it doesn’t cool very well.”
This is a practical guide to getting both right, and to diagnosing them when the unit is already installed and disappointing somebody.
There Are Four Air Paths, Not One
People plan for one hose. A 12V portable air conditioner of the split-flow type has four openings, and every one of them needs somewhere sensible to be before the installation will perform as rated.
Cold supply. Chilled air leaving the evaporator, going where the people or equipment are.
Cold return. Air coming back to the evaporator. If it cannot get back easily, the supply cannot leave easily either — a fan can only move what it can draw.
Condenser intake. Ambient air drawn in to absorb heat. This one wants the coolest air available.
Condenser exhaust. Hot air leaving. This one wants to be as far from the intake as the installation permits.
An installation that ducts the cold supply beautifully and leaves the other three to chance will underperform, and the person who did the work will usually blame the unit. Treat all four as design decisions.
Diameter Beats Length, By a Lot
On a 12V portable air conditioner, duct resistance is dominated by cross-sectional area rather than by run length. Reducing the diameter of a duct increases its resistance dramatically — the relationship goes roughly as the fifth power of diameter for a given flow, so a duct at half the diameter presents something on the order of thirty times the resistance.
The practical consequence is that a short piece of undersized hose costs far more than a long piece of correctly sized hose. Adapters that step down to fit an existing hole are the single most damaging component people add to these installations.
Some rules that follow directly:
Never reduce below the unit’s port size. If a port is 100 mm, everything downstream is 100 mm or larger. There is no such thing as a harmless reducer.
Keep flexible hose stretched. Compressed corrugated hose has far more resistance than the same hose pulled straight, because the corrugations become the flow path.
Bends cost more than straight runs. A tight ninety costs several times what the equivalent straight length does; two of them in series near the fan can dominate the whole circuit.
Grilles and screens count. A fine insect screen on an outlet is a real resistance, and one clogged with dust is a much larger one.
The Recirculation Trap
The most expensive mistake in a compact installation is letting condenser exhaust find its way back to the condenser intake.
When that happens, the unit rejects heat into air that is already hot with its own exhaust. Condensing temperature climbs, capacity falls, current draw rises, and in the worst case the high-pressure protection trips and the unit stops entirely. From outside, it looks like a unit that “gets weaker as it runs” — which is exactly what it is doing.
Recirculation is easy to create without noticing. Exhaust and intake on the same face of an enclosure, an exhaust duct terminating under a vehicle where the air sits, or a unit installed in a corner where the hot plume rolls straight back around are all common versions.
The test is simple enough to do with a hand: run the unit for twenty minutes on a warm day and feel the air entering the condenser. If it is warm, you have found the problem, and no amount of refrigerant will fix it.
The fix is separation and direction: get the exhaust away from the intake, give the plume somewhere to go, and where separation is impossible, duct the intake from a different face entirely.
Return Air Is the Half Nobody Ducts
Supply air gets a hose. Return air usually gets nothing, on the assumption that it will find its own way back. In an open room it does. In the sealed or semi-sealed spaces where a 12V portable air conditioner is typically used — a cab, a guard booth, a shelter, a tent — it often cannot.
Blocked return produces a specific and misleading symptom: the air coming out of the supply is very cold, and the space is not getting cooler. Low airflow across the evaporator makes the leaving air colder while moving less total heat, so the one thing an operator can easily check reads as though everything is fine.
Worse, low evaporator airflow eventually frosts the coil, which blocks it further, which lowers airflow again. A unit that ices up in a warm room is almost always describing an airflow problem rather than a refrigerant one.
| Symptom | Most likely cause | What to check first |
|---|---|---|
| Very cold air, room stays warm | Restricted return airflow | Return path clear; filter clean |
| Cooling fades after 20–30 minutes | Condenser recirculation or fouling | Exhaust and intake separation |
| Evaporator frosts over | Low evaporator airflow | Filter, hose crush, undersized duct |
| Unit trips on high pressure | Condenser air path blocked or hot | Clearance, exhaust route |
| Water on the floor | Condensate path blocked or unlevel | Drain route and slope |
Airflow and Temperature Split the Same Capacity
It helps to see why the cold-supply reading misleads. The heat a unit removes is the product of airflow and the temperature drop across the evaporator. Those two terms trade against each other: halve the airflow and the temperature drop grows, but not enough to compensate, so total heat removal falls.
That is why the supply air on a restricted installation feels colder than on a healthy one. The operator’s most accessible measurement moves in the wrong direction, and the intuitive response — assuming the unit is working hard — is exactly backwards.
The useful field measurement is the temperature difference between return and supply, together with some sense of whether air is actually moving. A large difference with weak flow is a restriction. A moderate difference with strong flow is a healthy machine. On a 12V portable air conditioner with hoses on both sides, both readings are easy to take with a cheap probe thermometer, and taking them takes about two minutes.
Insulate the Cold Duct, Not the Hot One
Instinct says insulate the exhaust because it is hot. In practice the cold duct is the one that needs it.
Uninsulated cold ducting gives up cooling to the space it passes through, so a share of the capacity you paid for never arrives. It also runs below the dew point in humid conditions, so it sweats — and condensation forms on the outside of the duct, drips onto whatever is beneath it, and gets blamed on a leak in the unit.
Insulating the exhaust is worth doing only for burn protection or where the hot duct passes through the conditioned space, in which case it is simply adding heat back into the room you are cooling.
Condensate Has to Go Somewhere
A working air conditioner removes water from the air, and in humid environments that is not a small quantity. In a portable installation the condensate path is often an afterthought, and it fails in three ways: the drain is above the water, the drain runs uphill somewhere along its route, or the drain is a hose whose end is submerged in whatever it has already drained.
Vehicle installations add motion. A tray that drains correctly on level ground can pour into the cabin on a slope, which is one of the more memorable ways to learn this. Our note on condensate management failures covers the common cases in more detail.
The Range and What It Draws
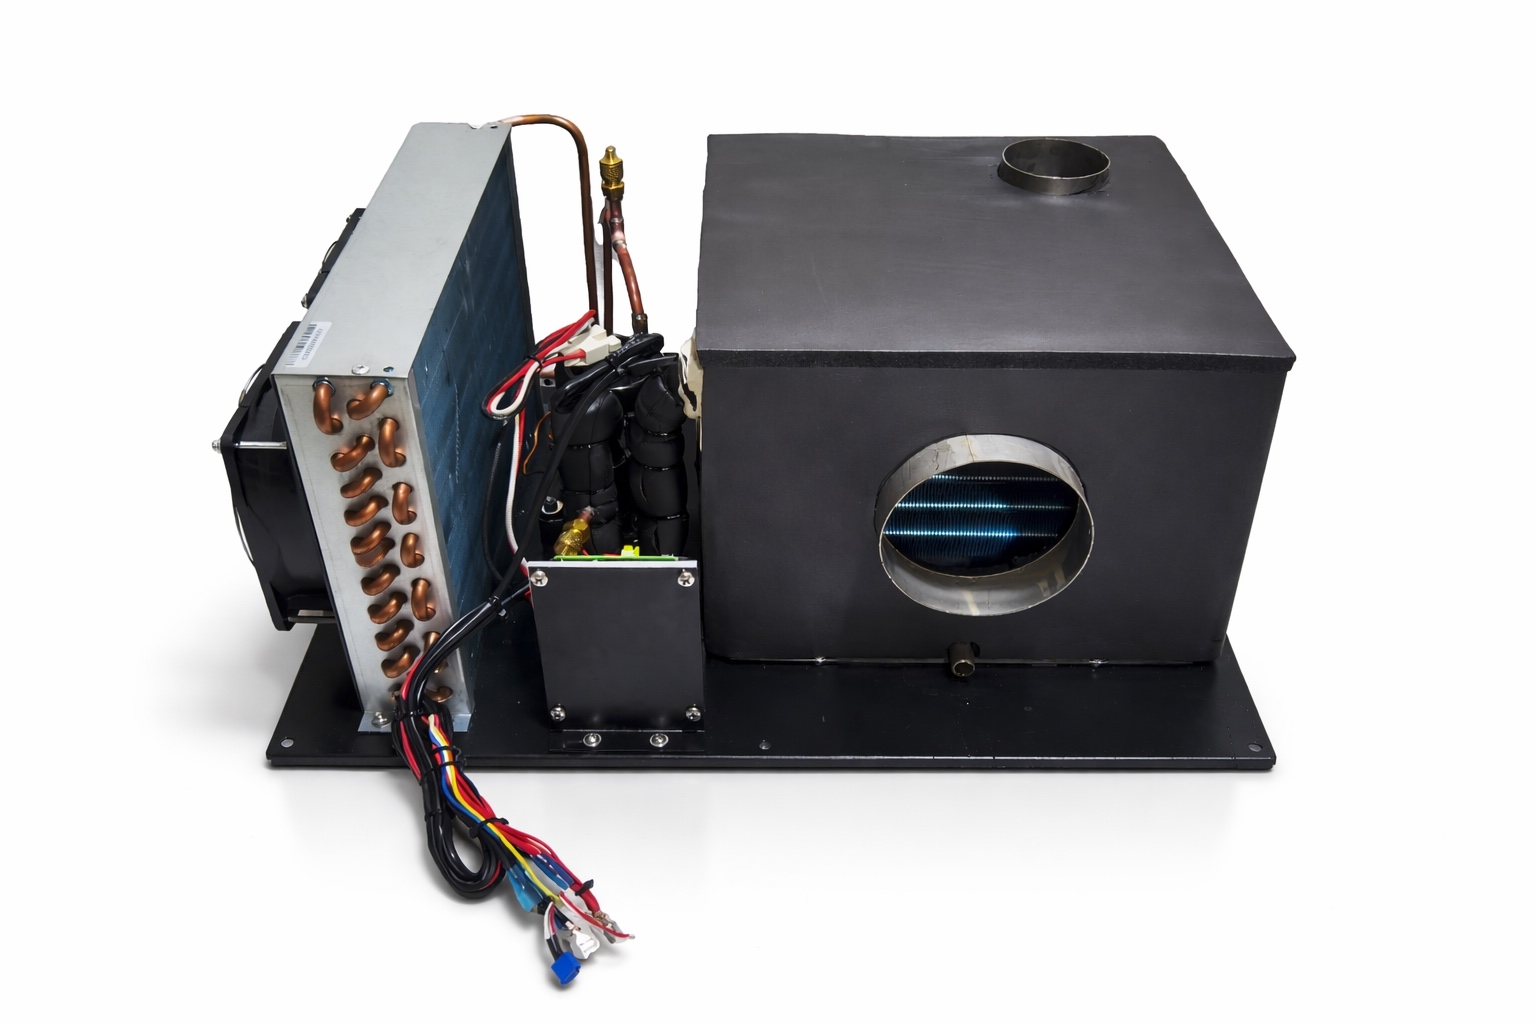
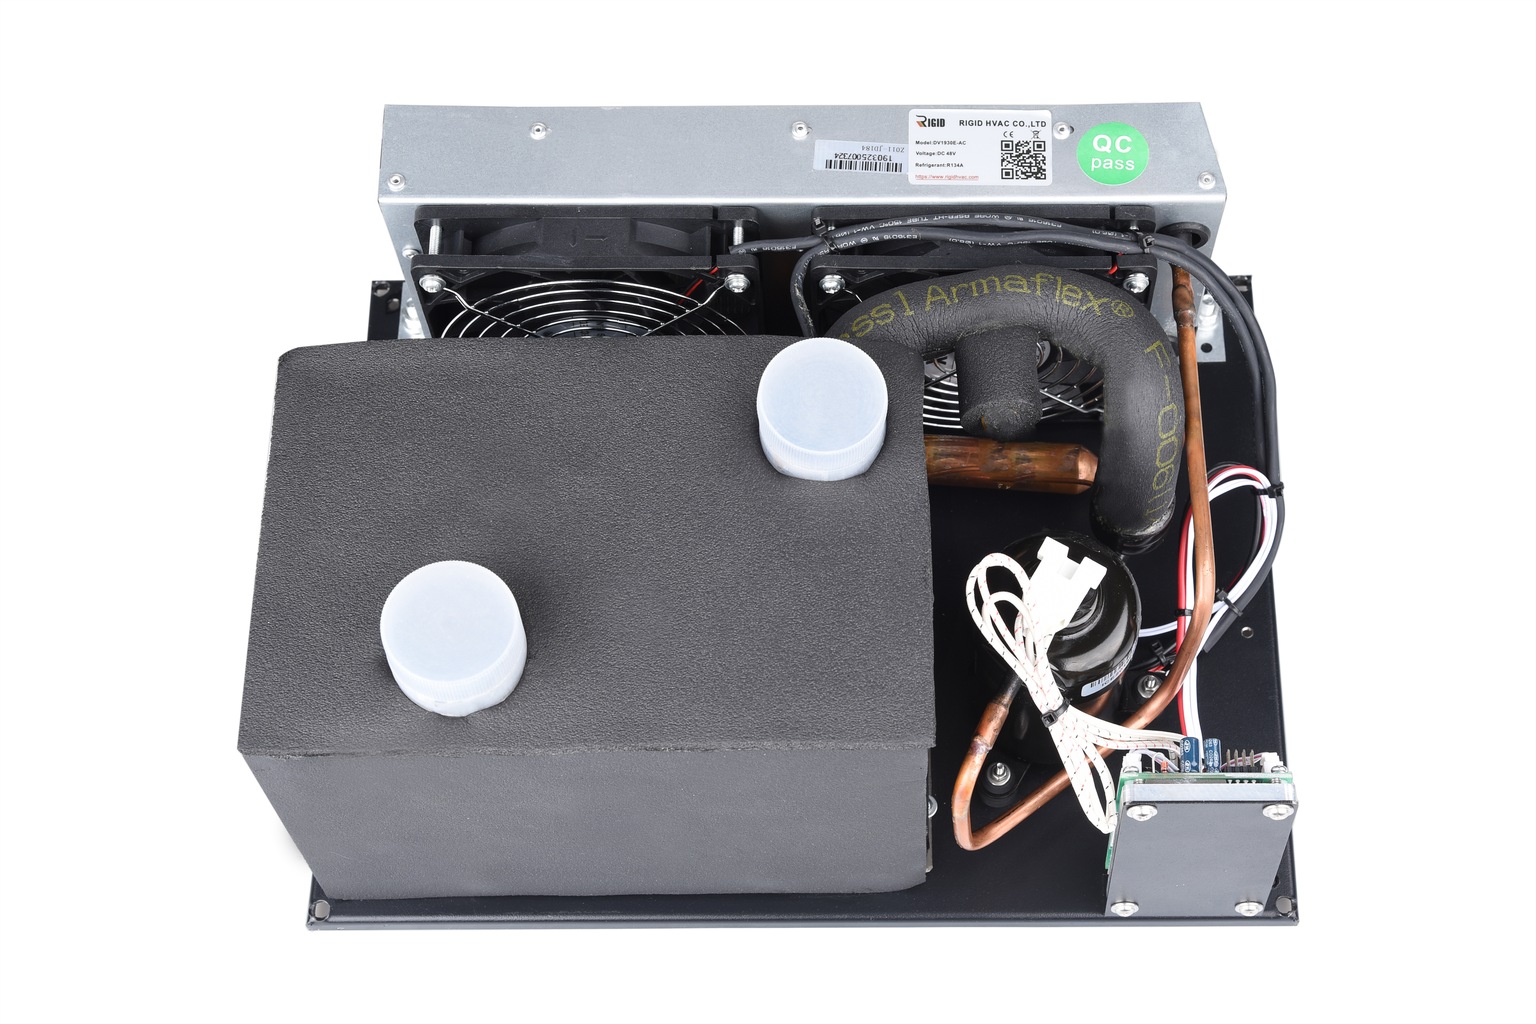
The RIGID portable DC air conditioner range is built around three supply voltages: the LC2810E-AC at 12 V, the LC2820E-AC at 24 V and the LC2830E-AC at 48 V. All three are rated at 2,387 BTU/h with a power figure of at least 500 to 700 W, in a package of 565 × 255 × 245 mm at 11 kg, using R134a.
The current figures are where the voltage choice shows itself: 16 A at 12 V, 8 A at 24 V and 4 A at 48 V for the same cooling output. On the 12 V model in particular, cable sizing and connector quality are not optional details — sixteen amps through an undersized run will produce a voltage drop that the unit eventually responds to by shutting down. Our wiring guide covers that side.
For enclosure and cabinet duty rather than space cooling, the micro DC aircon modules are the mounted equivalent, with the same airflow principles applying to a sealed box instead of a room.
An Installation Checklist
Seven checks that separate a 12V portable air conditioner installation that works from one that merely runs.
All four air paths identified and routed. Not just the supply hose.
No reductions anywhere in the duct run. Port size or larger, throughout.
Hose pulled straight, bends minimized. Especially within the first meter of the fan.
Exhaust and intake genuinely separated. Different faces where possible; check the plume with a hand on a hot day.
Return path verified with the unit running. A sheet of paper at the return grille tells you more than any specification.
Cold ducting insulated. Both for capacity and to keep condensation off the floor.
Condensate drain routed downhill and tested. Including at whatever angles the installation will actually sit at.
If a unit is already installed and disappointing, work the same list in reverse before suspecting the refrigeration circuit — our airflow blockage notes follow that sequence.
Frequently Asked Questions
Does a longer exhaust hose reduce cooling on a 12V portable air conditioner?
Length matters, but diameter matters far more. A longer hose at full diameter is usually acceptable; a shorter hose that has been stepped down to a smaller diameter can cost a large share of the airflow. If a run must be long, keep it straight, keep it at full bore, and avoid adapters entirely.
Why is my portable air conditioner blowing cold air but not cooling the room?
Restricted return airflow is the usual answer. Low airflow across the evaporator produces colder leaving air while moving less total heat, so the supply feels excellent while the space stays warm. Check the return path and filter before anything else.
Why does my unit ice up?
Almost always low evaporator airflow — a blocked filter, a crushed duct or an undersized return path. The frost then blocks the coil further, so the problem accelerates. Restore airflow and let the coil thaw completely before running it again.
Can the exhaust and intake share the same opening?
It is the arrangement most likely to cause recirculation, where the condenser draws in its own hot exhaust. Capacity falls, current rises, and the unit may trip on high pressure. If a single opening is unavoidable, use a divided duct with real separation between the two streams and check for warm air at the intake once it is running.
Where should the condensate drain go?
Downhill, continuously, to somewhere the water is welcome, with the outlet not submerged. Test it at whatever angles the installation will experience — a drain that works on level ground can back up on a slope, which matters for vehicles and trailers in particular.
Where to Take This Next
The short version: plan four air paths rather than one, never reduce a duct below its port size, separate exhaust from intake, and verify the return path with the unit running rather than assuming it.
If you want a specific installation reviewed — space, duct routes, available openings and supply voltage — send us the layout and we will tell you where the capacity is likely to be going.