
Best Chiller for Rotary Evaporator: The Rule of 20 Explained
If you run a rotary evaporator without proper condenser cooling, you’re losing solvent to the vacuum pump, contaminating your pump oil, and wasting time re-running evaporations that should have been done in one pass. A dedicated chiller for rotary evaporator setups solves all three problems — but only if you size it correctly.
This guide covers the Rule of 20 (the fundamental principle behind condenser temperature selection), how to match chiller capacity to your rotovap size, and the practical details that separate a smooth-running system from one that underperforms.
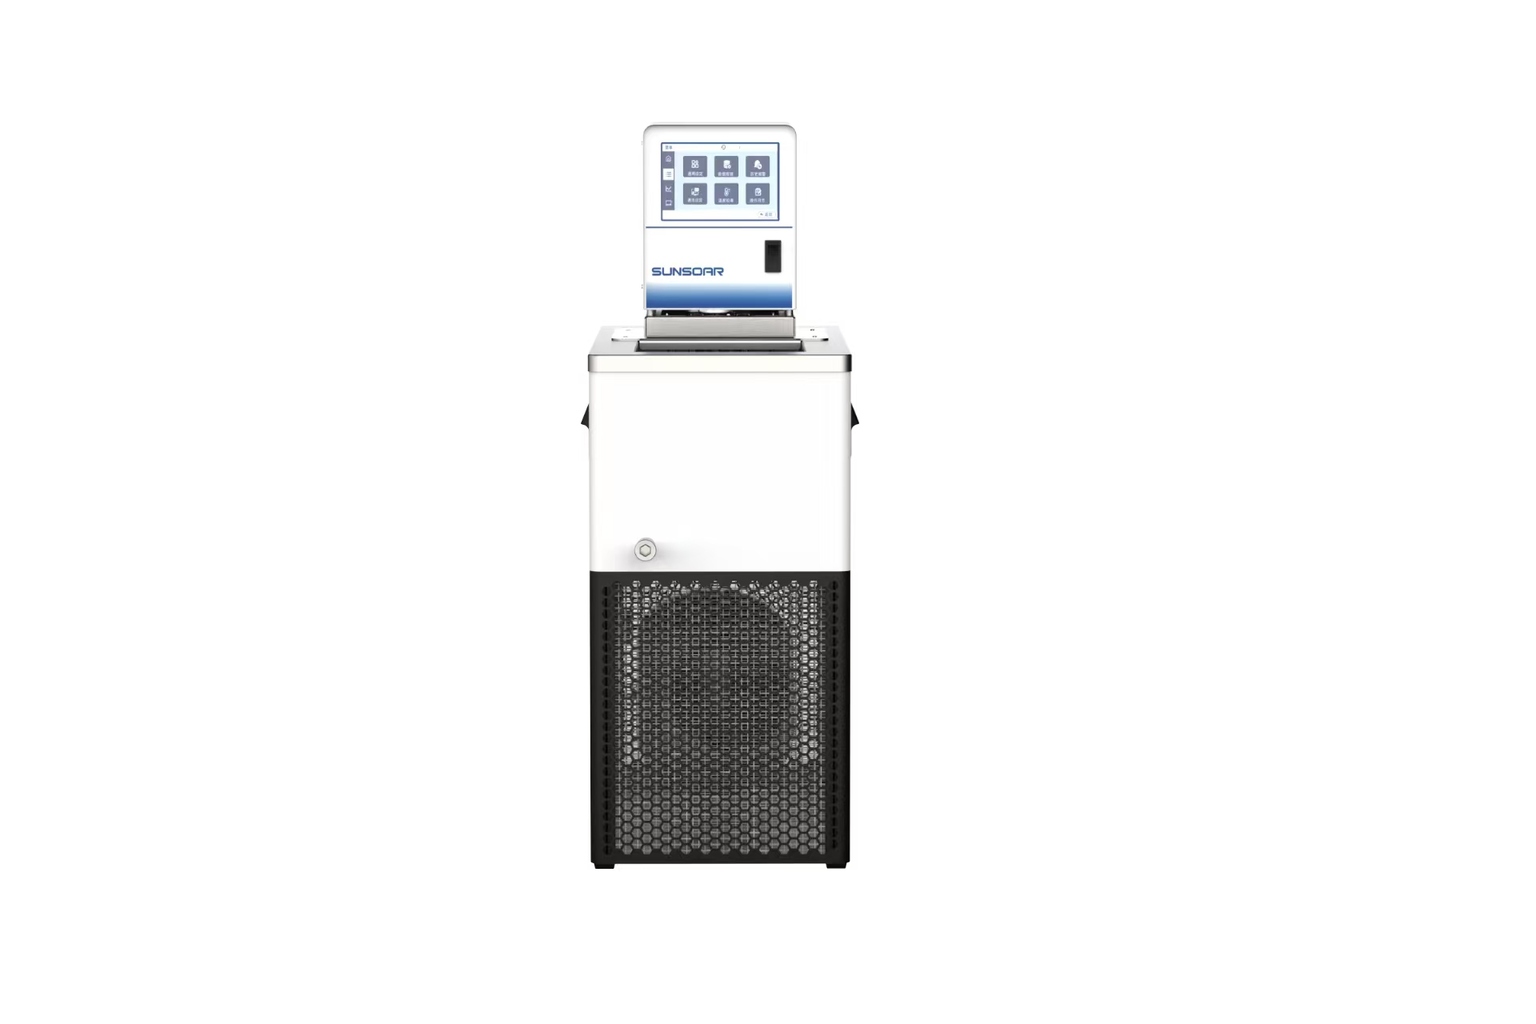
Why Every Rotary Evaporator Needs a Chiller for Rotary Evaporator Condensation
A rotary evaporator works by reducing pressure to lower solvent boiling points, then heating the flask to drive evaporation. The solvent vapor travels up into the condenser, where it must cool enough to return to liquid form and drip into the receiving flask.
The condenser is the bottleneck. If it isn’t cold enough, vapor passes through uncondensed. That vapor hits your vacuum pump, degrades pump oil, reduces vacuum depth over time, and represents lost solvent — both a cost issue and, with hazardous solvents, a safety issue.
The problem with tap water cooling
Many labs start with tap water running through the condenser. It works for high-boiling solvents in cool climates, but it has real limitations:
- Temperature fluctuates seasonally. Tap water can be 8°C in January and 25°C in August. Your condensation efficiency changes with the weather.
- Water cost adds up. Running 2-4 L/min of tap water for 6-8 hours daily costs $1,500-3,000/year depending on local rates, and that’s before wastewater charges.
- No sub-ambient capability. You can never get colder than your building’s water supply temperature, which rules out low-boiling solvents entirely.
- Mineral buildup. Hard water deposits scale inside condenser coils over months, reducing heat transfer and eventually requiring acid cleaning or replacement.
A recirculating chiller eliminates all four issues. You set your target temperature, the chiller maintains it within ±0.5-1°C regardless of season, and the closed loop means no water waste and no scale buildup.
The Rule of 20: How to Set Your Chiller for Rotary Evaporator Efficiency
The Rule of 20 is straightforward: for efficient condensation, your condenser temperature should be at least 20°C below the boiling point of the solvent at your operating pressure.
This 20°C differential (sometimes called temperature difference20) ensures that vapor hitting the condenser surface experiences enough thermal driving force to condense rapidly and completely. Smaller differentials mean slower condensation, partial vapor loss, and reduced evaporation rates.
In practice, most rotovap users operate at reduced pressures that lower solvent boiling points significantly. The relevant boiling point is the one at your actual operating vacuum, not the atmospheric boiling point. However, since most operators adjust vacuum to achieve bath temperatures of 40-60°C, the atmospheric boiling point serves as a useful starting reference.
Solvent-by-solvent breakdown
Here’s how the Rule of 20 plays out with common lab solvents:
Ethanol (bp 78°C)
Target condenser temperature: ≤58°C. At reduced pressure with a 40°C bath, the effective boiling point drops further, meaning even lower condenser temperatures are helpful. However, this is the easiest case — tap water at 15-20°C provides a massive temperature difference and works fine. A chiller is still preferred for consistency and water savings, but ethanol alone rarely justifies the purchase.
Acetone (bp 56°C)
Target condenser temperature: ≤36°C. This is where tap water becomes unreliable. If your building water runs at 22°C, you have only 14°C of differential at atmospheric pressure — and at reduced pressure with a 35°C bath, the effective boiling point is lower still. A chiller set to 5-10°C gives you comfortable margin and consistent recovery rates.
Dichloromethane / DCM (bp 40°C)
Target condenser temperature: ≤20°C. Now tap water is borderline at best. In summer or warm climates, building water at 22-25°C provides almost no condensation driving force. Labs running DCM regularly need a chiller set to 0-5°C for reliable operation. Without one, expect 10-20% solvent loss to the vacuum pump.
Diethyl ether (bp 35°C)
Target condenser temperature: ≤15°C. Tap water cannot reach this temperature under normal conditions. A recirculating chiller is mandatory. Set points of -5°C to 0°C are typical, providing generous margin for this volatile solvent. The extremely low boiling point means even brief temperature excursions cause significant vapor loss.
The takeaway
If your lab works exclusively with high-boiling solvents (ethanol, water, DMSO), you might get by with tap water. The moment your solvent list includes DCM, acetone, ethyl acetate, or anything with a boiling point below 60°C, a dedicated chiller pays for itself in recovered solvent and consistent results.
Matching Chiller Capacity to Your Rotary Evaporator
Choosing the right condenser temperature is half the equation. The other half is ensuring your chiller has enough cooling power to actually maintain that temperature under load.
The fundamental rule
Your chiller’s cooling capacity at the target set point must be equal to or greater than the thermal load from the rotary evaporator’s heating bath.
Think of it this way: the heating bath adds energy to the system (driving evaporation), and the chiller removes energy from the system (driving condensation). If the chiller can’t remove heat as fast as the bath adds it, condenser temperature creeps up, condensation efficiency drops, and you lose solvent.
Sizing examples
5L rotary evaporator with a 2 kW heating bath: You need a chiller that delivers at least 2 kW of cooling at your target condenser temperature. If your set point is 0°C for DCM work, you need 2 kW at 0°C — not at 20°C.
20L rotary evaporator with a 3 kW heating bath: You need at least 3 kW of cooling capacity at the operating set point. For a 10°C set point (acetone, ethyl acetate), that means 3 kW at 10°C.
The critical detail: capacity drops with temperature
Every chiller delivers less cooling power at lower temperatures. This is thermodynamics — the colder you need to go, the harder the compressor works, and the less net cooling is available. Many users overlook this and end up with undersized systems.
Real-world data from RIGID’s MIDICOOL series illustrates this clearly:
| Model | 20°C | 10°C | 0°C | -10°C | -20°C |
|---|---|---|---|---|---|
| MIDICOOL-0521 | 2.1 kW | 1.5 kW | 0.9 kW | — | — |
| MIDICOOL-2021 | 2.1 kW | 1.8 kW | 1.5 kW | 1.2 kW | 0.9 kW |
| MINICOOL-2008 | 0.82 kW | 0.72 kW | 0.62 kW | 0.52 kW | 0.42 kW |
Notice how the MIDICOOL-0521 delivers 2.1 kW at 20°C but only 0.9 kW at 0°C — less than half its rated capacity. If you selected this chiller based on the 20°C spec for a 2 kW bath running at 0°C, you’d be significantly undersized.
Always check the chiller’s capacity curve at your actual operating temperature, not just the headline number.
Practical sizing guidelines
- 2-5L rotary evaporator (bath power 1-2 kW): A chiller in the 0.5-1 kW range at set point handles most applications. The MINICOOL-2008 at 0.82 kW (20°C) suits light-duty 2L rotovap work with moderate solvents.
- 5-10L rotary evaporator (bath power 2-3 kW): You need 1.5-2.1 kW at set point. The MIDICOOL-0521 or MIDICOOL-2021 covers this range, depending on how cold you need to go.
- 20-50L rotary evaporator (bath power 3-5 kW): Larger MIDICOOL units or multiple units may be required. Match capacity to the specific bath power at the specific set point.
Why Temperature Stability Matters More Than You Think
Setting the right average temperature isn’t enough. Temperature stability — how tightly the chiller holds its set point — directly affects your results.
When condenser temperature fluctuates, several things happen:
- Evaporation rate varies. As condenser temp rises during a fluctuation, condensation slows, back-pressure in the system increases, and the effective evaporation rate at the flask drops. When it cools back down, the rate spikes. This pulsing makes it difficult to predict run times or scale processes.
- Solvent loss increases. During warm excursions, uncondensed vapor reaches the vacuum pump. Even brief spikes of 2-3°C above target can let low-boiling solvents pass through.
- Vacuum stability suffers. Inconsistent condensation means inconsistent vapor pressure in the system, which makes the vacuum controller hunt — oscillating between opening and closing the valve. This further destabilizes the process.
A quality recirculating chiller maintains ±0.5°C stability under steady-state conditions. Cheaper units or undersized chillers may fluctuate ±2-3°C, especially when the thermal load changes (e.g., during the initial ramp-up when lots of solvent is evaporating at once).
For reproducible results — particularly in pharmaceutical or analytical labs where consistency between batches matters — temperature stability is worth paying for.
Practical Setup Tips for Your Chiller and Rotary Evaporator
Even the right chiller can underperform if the plumbing and setup aren’t optimized. Here are the details that matter:
Tubing selection
- Inner diameter: Use 10-12 mm ID tubing for most bench-scale rotovaps (2-10L). Undersized tubing (6-8 mm) creates flow restriction and reduces heat transfer at the condenser. For 20L+ systems, step up to 15-19 mm ID.
- Length: Keep tubing runs as short as possible — ideally under 2 meters each way. Every meter of tubing adds thermal gain from the environment and flow resistance. If you must run longer distances, insulate the tubing with foam pipe insulation.
- Material: Silicone or reinforced PVC tubing works for temperatures down to -20°C. Below that, use insulated silicone or specialized low-temperature tubing that stays flexible. Stiff tubing at low temperatures can crack or kink.
Coolant choice
- Above 5°C set point: Distilled or deionized water is fine. Add a biocide (algaecide tablet or 1% propylene glycol) to prevent biological growth in the closed loop.
- 0°C to -20°C: Use a 20-30% ethylene glycol/water or propylene glycol/water mixture. This prevents freezing and provides adequate heat transfer. Propylene glycol is less toxic and preferred in food-adjacent or pharmaceutical labs.
- Below -20°C: Increase glycol concentration to 40-50% or use manufacturer-recommended heat transfer fluid. Note that high glycol concentrations increase viscosity and reduce heat transfer coefficient — the chiller pump must work harder, and effective cooling may decrease slightly.
Flow rate considerations
- Match flow to condenser volume. Most rotovap condensers have an internal volume of 200-500 mL. A flow rate of 2-5 L/min ensures the coolant doesn’t warm excessively during its pass through the condenser. At 2 L/min with a 1 kW load, coolant temperature rises about 7°C between inlet and outlet.
- Don’t restrict flow. Avoid sharp bends, elevation changes greater than 1 meter, or quick-connect fittings with narrow passages. If the chiller has a flow meter or pressure gauge, monitor it — dropping flow means developing problems.
- Purge air bubbles. After connecting, run the pump with valves open until all air is purged. Air pockets reduce heat transfer and can cause pump cavitation.
Cost Comparison: Tap Water vs. Dry Ice vs. Recirculating Chiller
Lab budgets are real constraints. Here’s how the three common cooling approaches compare over time:
Tap water
- Upfront cost: ~$0 (hose connections)
- Annual operating cost: $1,500-3,000 (water + sewer charges at 2-4 L/min, 8 hours/day, 250 days/year)
- Limitations: Cannot go below ambient water temperature (typically 15-25°C depending on season), no temperature control, mineral buildup in condenser
- Hidden costs: Pump oil replacement from solvent contamination ($200-500/year), lost solvent recovery ($500-2,000/year depending on solvents)
Dry ice / dry ice-acetone baths
- Upfront cost: ~$100 (Dewar flask, tubing)
- Annual operating cost: $2,000-5,000 (dry ice at $1-2/kg, using 5-10 kg/day)
- Limitations: Temperature not precisely controllable (too cold can freeze solvents in condenser), requires frequent replenishment, CO₂ hazard in poorly ventilated rooms, labor-intensive
- Hidden costs: Researcher time for dry ice runs, safety training, ventilation requirements
Recirculating chiller
- Upfront cost: $2,000-8,000 depending on capacity and temperature range
- Annual operating cost: $200-600 (electricity, typically 0.5-2 kW consumption)
- Advantages: Precise temperature control (±0.5°C), set-and-forget operation, no water waste, no consumables, consistent year-round performance
- Payback period: Typically 1-2 years vs. tap water, under 1 year vs. dry ice
The math is clear: a recirculating chiller costs more upfront but saves money within 12-24 months while delivering superior and more consistent performance. For any lab running a rotovap more than a few hours per week, it’s the economical choice over the equipment’s lifetime.
Choosing the Right Chiller for Your Setup
To summarize the decision process:
- Identify your lowest-boiling solvent. Apply the Rule of 20 to determine your required condenser temperature.
- Check your heating bath power. Your chiller must deliver at least this much cooling capacity at the target temperature — not at 20°C.
- Verify stability specs. Look for ±0.5-1°C stability at steady state.
- Consider future needs. If you might add lower-boiling solvents or a larger rotovap, size up now rather than replacing the chiller later.
For bench-scale rotary evaporators (2-5L), RIGID’s MiniCool™ recirculating chiller delivers 450W to 1 kW of cooling capacity with set points from -40°C to 0°C — compact enough to fit under the bench directly beside the rotovap. For larger systems (10-50L), the MidiCool™ series provides 1.3-4.6 kW of capacity to match higher bath powers and larger condenser loads.
Find the right chiller for your rotovap — contact RIGID for sizing help.
FAQ
Can I use a chiller for rotary evaporator work if my lab already has cold tap water?
Yes, and in most cases you should. Even if your tap water is cold enough temperature-wise, it fluctuates seasonally and wastes water continuously. A recirculating chiller gives you consistent temperature year-round, eliminates water waste, prevents mineral buildup in your condenser, and typically pays for itself within 1-2 years through water savings alone.
What happens if my chiller is undersized for my rotary evaporator?
The condenser temperature will creep above your set point during heavy evaporation. You’ll see the chiller running continuously without reaching the target, slower evaporation rates than expected, and increased solvent loss through the vacuum pump. In practice, an undersized chiller can still work — just at a higher effective condenser temperature than intended, which reduces condensation efficiency by 20-40%.
Do I need a glycol mixture in my chiller for rotary evaporator applications?
Only if your set point is below 5°C. For condenser temperatures of 5-20°C (suitable for acetone, ethyl acetate, and similar solvents), distilled water with a biocide works well. For DCM and ether work requiring set points near or below 0°C, use a 20-30% glycol/water mixture to prevent freezing and ensure reliable flow.
How often does the coolant need to be replaced in a recirculating chiller?
For water-based coolant, replace every 6-12 months or when you notice discoloration or biological growth. Glycol mixtures last longer — typically 12-24 months — but should be checked periodically for pH (glycol degrades and becomes acidic over time). Always follow the chiller manufacturer’s coolant recommendations for specific intervals and approved fluids.