
A Chiller for Calorimeter Work Is Chosen on Stability, Not Watts
Most cooling decisions come down to capacity. This one does not, and the reason sits in what the instrument is for.
A calorimeter measures heat. Every part of it that is held at a temperature is part of the measurement, which means drift on the cooling side does not merely make the instrument uncomfortable — it becomes measurement error, indistinguishable from a real result.
So the specification that decides a chiller for calorimeter service is how tightly and how repeatably it holds a number. Capacity matters only in the sense that it has to be sufficient; beyond sufficient, more of it buys nothing and can cost something.
Why Temperature Drift Becomes Error
Calorimetry works by relating a measured temperature change to an energy quantity. Anything that alters temperature without being the sample introduces a term the calculation cannot separate.
Three routes in:
Jacket or shield temperature. In instruments using an isothermal or adiabatic jacket, the jacket’s stability is the reference against which the sample is measured. Drift there translates fairly directly into result drift.
Baseline shift between runs. If the cooling loop sits at 20.0 °C in the morning and 20.4 °C in the afternoon, determinations run at those two times carry a systematic difference. Nothing looks wrong; the numbers simply do not agree.
Cycling within a run. An on/off machine produces a sawtooth. If the period of that sawtooth is comparable to the measurement window, the result depends on where in the cycle the determination happened.
The third of these is the one that turns a merely adequate machine into an unusable one, and it is invisible in a capacity specification.
What “±0.1 °C” Actually Describes
Stability figures deserve reading carefully, because two machines quoting the same number can behave differently.
What it is measured against. A figure quoted at the reservoir describes the reservoir. What your instrument experiences is the fluid arriving after a length of tubing, and on an uninsulated run below ambient those are different temperatures.
How the machine controls. On/off control produces a sawtooth whose width is the stability you get. Modulating control varies compressor speed continuously and holds much closer to a line. A tenth-of-a-degree figure describes modulating behavior — no cycling machine achieves it.
Over what range it holds. A figure valid at one convenient temperature is less useful than one that holds across the working span. Where a wide range is quoted alongside a ±0.1 °C figure, it is worth confirming the two apply together — published figures in this class typically have test conditions not stated, so treat them as product-level claims until confirmed.
Stability versus accuracy. Stability is how little the temperature moves; accuracy is whether it sits where the display says. For calorimetry, stability usually matters more — a loop that holds 19.7 °C perfectly is workable, while one that averages 20.0 °C with half a degree of wander is not.
How precisely a benchtop machine can hold a setpoint, and what sets that limit, is covered in the lab chiller maintenance schedule — a fouled condenser degrades stability as well as capacity.
Capacity: Enough, and Then Stop
The load a chiller for calorimeter duty has to carry is modest. Typical figures land between 200 and 500 W, depending on instrument size and whether the cooling serves a jacket, a condenser, or both.
Establish yours the usual way: from the instrument’s documentation if it states a requirement, from its electrical draw as an upper bound, or by measuring the temperature rise across the loop at a known flow — Q = flow (L/min) × 69.7 × ΔT (°C).
Then resist the instinct to buy well above it. An oversized machine reaches setpoint and has to manage a load far below what it was designed for. On a modulating unit that means running at minimum speed, where control is least precise. On a cycling unit it means stopping and restarting, which is exactly the sawtooth you were trying to avoid.
Twenty to thirty percent above the calculated load, at the working setpoint, is the target. This is one of the few applications where buying up is actively counterproductive rather than merely wasteful.
Ambient Is Part of the Loop
An air-cooled machine rejects everything it removes, plus its own electrical input, into the room. In a laboratory that is not a rounding error, and it feeds back on the measurement in two ways.
A warmer room means a warmer condenser and slightly less capacity — usually irrelevant at these loads. More importantly, a room whose temperature swings through the day gives the chiller a moving target, and a machine whose own performance varies with ambient will hold a slightly different temperature in the afternoon than in the morning.
Three practical responses. Give the condenser real clearance so it is not recirculating its own discharge. Avoid placing the machine where afternoon sun reaches it. And where the laboratory is itself temperature-controlled, note that the chiller’s heat output is part of what that system has to remove.
Where the heat ultimately goes changes the room the instrument sits in; see air-cooled versus water-cooled lab chillers.
Placement, Vibration, and the Sensor
Three installation details matter more for a chiller for calorimeter work than in general-purpose cooling.
Vibration. A calorimeter is a sensitive instrument, and a compressor is a source of mechanical noise. Where the two share a bench, isolation mounts or simply moving the chiller to the floor is worth doing before it becomes a question during method validation.
Line length and insulation. Below ambient, uninsulated tubing picks up heat continuously — so the instrument sees a warmer and less stable temperature than the display shows. Keep runs short and insulate both directions.
Where the sensor sits. If the machine can read a remote sensor placed at the instrument rather than in its own reservoir, that closes the loop where it matters. If it cannot, the difference between the two is a fixed offset you should measure once and know about.
Commissioning and Method Validation
An instrument whose results are compared against references or across laboratories usually has a validation exercise attached, and the cooling loop is part of what gets validated whether or not anyone planned for it.
Three things are worth doing at installation rather than during the first audit.
Log the loop temperature for a full day. Not a spot reading — a record across a working day, ideally with the laboratory’s own temperature logged alongside. That answers two questions at once: how much the loop actually moves, and whether what movement there is tracks the room. A loop that drifts with ambient behaves differently in winter, which is exactly the kind of finding that is easier to have now than after six months of results.
Measure the offset between the display and the instrument. The chiller reports what its own sensor sees. Put a calibrated probe where the fluid enters the calorimeter and record the difference. It is usually a stable offset rather than a variable one, and knowing the number turns an unexplained discrepancy into a documented correction.
Record the conditions the measurement was taken under. Ambient, chiller setpoint, and the time of day. That triplet is what lets somebody a year later work out whether a change in results came from the samples or from the room.
None of this takes long, and all of it is far cheaper than reconstructing the same information retrospectively from results that have already been reported.
Specification Checklist
| Specification | What to ask | Why it matters here |
|---|---|---|
| Stability | Measured where, and across what range | Reservoir stability is not instrument stability |
| Control type | On/off or modulating | Cycling introduces error correlated with the measurement window |
| Capacity at setpoint | The figure at your temperature, not the headline | Determines whether the machine is comfortably sufficient |
| Minimum modulation | Lowest load it controls well at | An oversized machine sits below it |
| Pump flow and pressure | A curve, not a single number | Flow affects the temperature difference across the instrument |
| Noise | Figure in dB | The machine shares a room with people and a sensitive instrument |
The fourth row is the one most often omitted and most relevant to the oversizing question: a machine that cannot modulate below, say, a third of its capacity will cycle on a load smaller than that.
Running cost over the instrument’s life is a separate consideration — see lab chiller operating cost.
A Worked Selection
Choosing a chiller for calorimeter service, end to end. A bomb calorimeter with a jacket cooling requirement of 300 W, held at 20 °C, in a laboratory that ranges from 20 °C to 27 °C through the day.
Capacity. 300 W plus 25% margin is 375 W at 20 °C — a setpoint where derating is negligible, so the headline figure is close to what you get. The DV-series compact liquid chiller line (100–550 W across −20 to +20 °C) covers this — but at the very top of its temperature range, so confirm the operating point with engineering rather than assuming headroom.
Stability. This decides the machine. A modulating unit quoting a tenth of a degree is appropriate; an on/off unit with a two-degree sawtooth is not, regardless of its capacity.
Modulation floor. With a 300 W load on a unit whose line tops out at 550 W, the load sits at over half of capacity — comfortably above any modulation floor. Put the same load on a machine nearly three times that size and it sits near a third, which is where some machines begin to cycle.
Installation. Insulated lines, short run, chiller off the bench, condenser with clearance and out of direct sun.
Note that the selection turned on the third point, not the first. Buying the larger machine would have been the intuitive “safe” choice and the worse one.
Where the Compact Liquid Chiller Line Fits
Modest load, tight stability, long unattended runs — from +10 to +20 °C that profile maps onto the DV-series compact liquid chiller line (−20 to +20 °C). Note the ceiling: a jacket held at +20 °C sits at the very top of the published range with no headroom, and anything from +20 to +25 °C is past it — that band needs engineering confirmation rather than a catalog match.
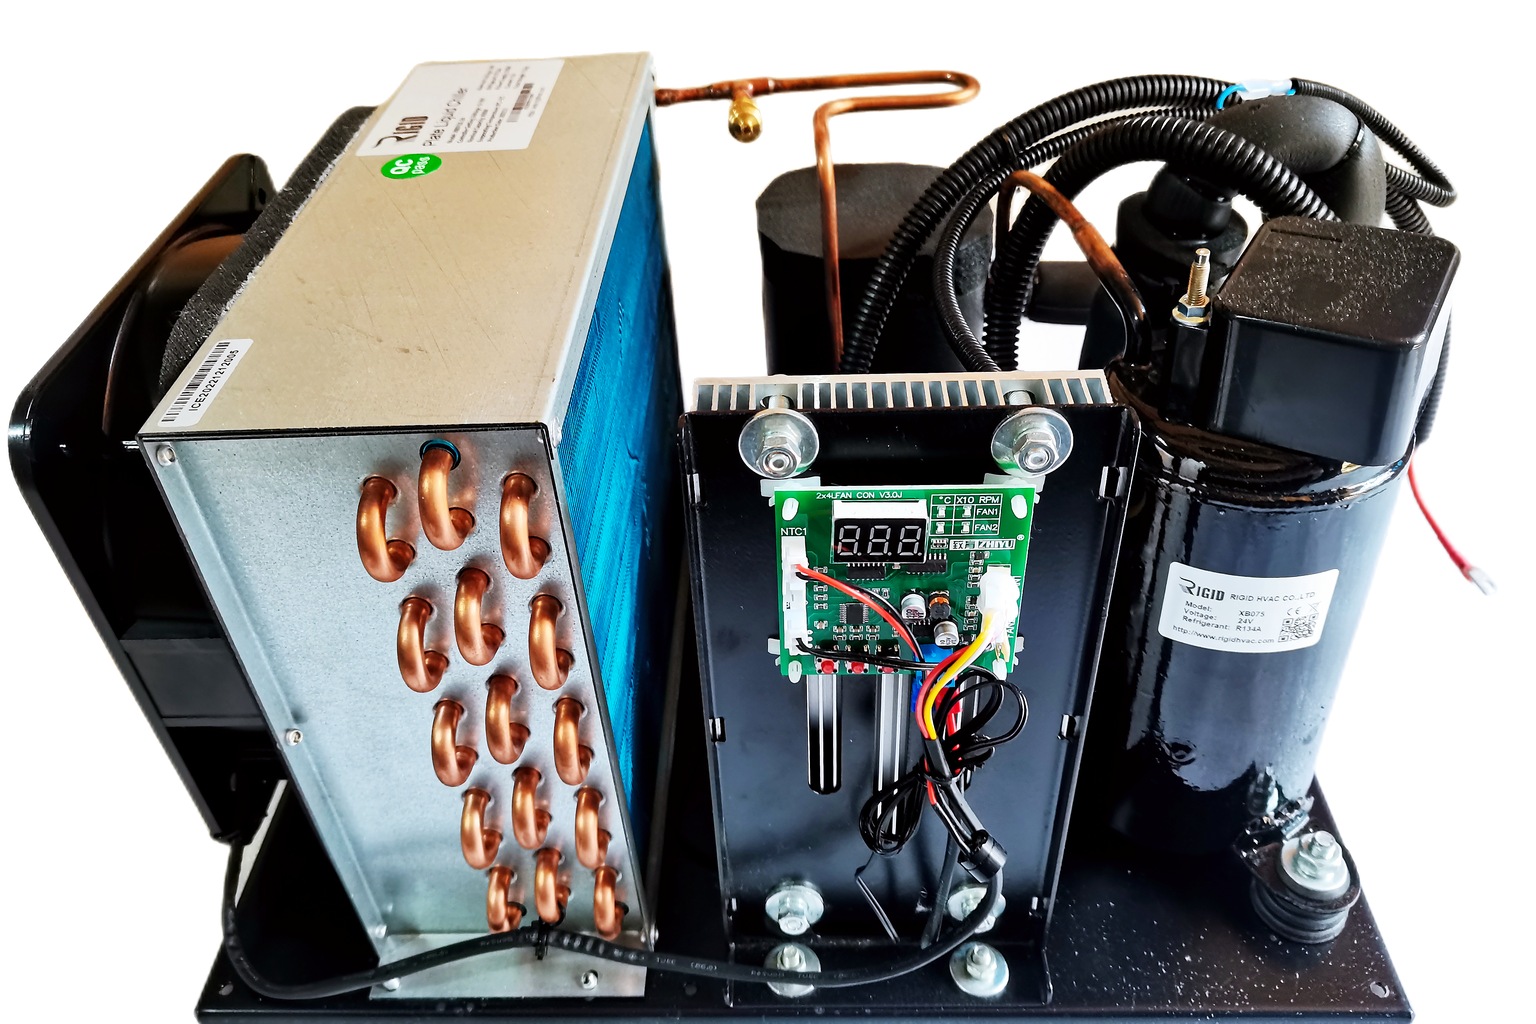
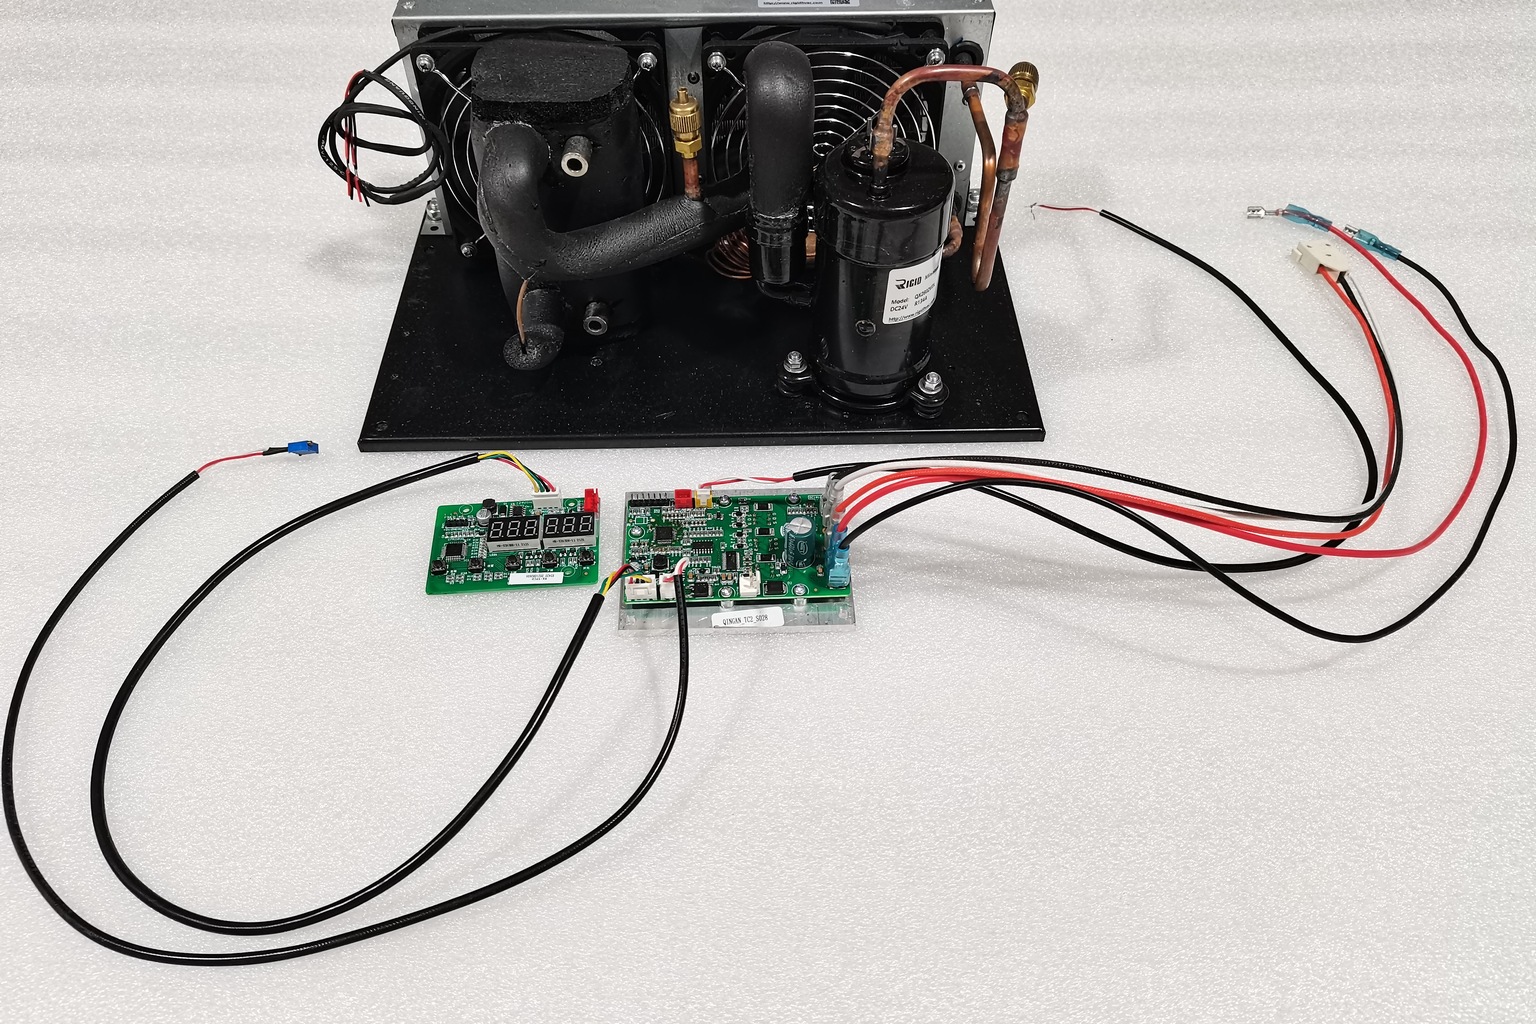
The DV series covers 100–550 W across a −20 to +20 °C range on 12 V, 24 V or 48 V DC with R134a or R290, in plate, coaxial and coil formats — a plate unit such as the DV1910E-P measures around 330 × 200 × 138 mm, which is under-bench territory. One honest note on the catalog: the MiniCool range lists calorimeters among its intended instruments, but its published span is 0 °C to −40 °C, so for a +20 °C jacket loop the DV line is the one whose range covers the duty.
For calorimeter work, a unit near the top of the DV range is usually the right one — the load rarely justifies more, and staying well inside the modulating range is worth more than spare capacity. The published capacities do not state their test temperature, though at a 20 °C setpoint that distinction matters far less than it would for sub-zero work.
The compact liquid chiller page lists the formats. Contact the RIGID engineering team with your instrument’s cooling requirement, your setpoint, and the stability your method needs, and ask about the modulation floor as well as the capacity.
Frequently Asked Questions
How much cooling capacity does a calorimeter need?
Typically 200–500 W depending on the instrument. Establish it from the manufacturer’s requirement or by measuring the temperature rise across the loop, then add modest margin — not double.
Why is stability more important than capacity here?
Because a calorimeter measures heat. A cooling temperature that differs between runs produces a systematic difference in results that no amount of capacity corrects.
Is a larger machine safer?
Not for this application. A load well below a machine’s capacity sits near or under its modulation floor, where control is least precise — and poor control is the specific failure mode you are trying to avoid.
Does the tubing matter?
Yes. Below ambient, uninsulated lines pick up heat continuously, so the instrument sees a warmer and less steady temperature than the display shows. Keep runs short and insulate both directions.
Should the chiller sit on the bench?
Preferably not, if the calorimeter is on the same surface. Compressor vibration is a source of mechanical noise, and moving the machine to the floor is the cheapest form of isolation available.
Summary
Choosing a chiller for calorimeter service inverts the usual priority: stability decides the machine and capacity only has to be sufficient. Read a stability figure carefully — where it is measured, whether the machine modulates or cycles, and over what range it holds — because a tenth of a degree at the reservoir is not the same as a tenth of a degree at your instrument. Size the load honestly at 200–500 W for most benchtop work, then deliberately avoid buying well above it, since a load far below capacity sits near the modulation floor where control degrades. Finally, treat the installation as part of the specification: insulated short lines, the machine off the bench, and a condenser that is not recirculating its own heat in an afternoon-warm room.