
Cold Finger Condenser Cooling: the Coolant Matters More Than the Glass
A sublimation apparatus is one of the simplest pieces of glassware in a synthesis lab: a vessel holding the crude solid, a source of heat underneath, a vacuum connection, and a cold finger condenser suspended a short distance above the sample. Vapor leaves the warm solid, crosses the gap, and deposits as purified crystals on the cold surface. Everything that decides whether the run is worth doing happens on that surface.
Most written procedures say “cool the cold finger” and move on. In practice there are four common ways to do it — running tap water, ice water, a dry ice slurry, or a recirculating chiller — and they behave very differently over a two-hour run. The temperature and steadiness of the coolant decide capture efficiency, crystal quality and how much product survives the shutdown.
This guide covers what temperature a cold finger condenser actually needs, how small its heat load really is, where a sub-zero recirculating chiller fits and where dry ice is still the better tool, and a run sequence that protects both the glassware and the crystals.
What the Cold Finger Condenser Has to Do
Deposition only happens when the surface of the cold finger condenser is cold enough that the compound’s vapor pressure there is far below the pressure in the apparatus. If the surface is too warm, a fraction of the vapor never sticks: it drifts past the finger and ends up in the vacuum trap or the pump oil. If it is colder than necessary, it starts capturing things you did not want.
In a well-run sublimation, the cold surface is doing four jobs at once:
- Capturing the target compound efficiently enough that losses to the vacuum line stay small.
- Controlling crystal habit — a steady surface temperature grows a more even, easier-to-harvest deposit than one that swings through the run.
- Rejecting more volatile impurities, which stay in the vapor phase if the surface is not excessively cold.
- Staying free of water and solvent condensation, which turns a clean deposit into a wet smear.
The second and fourth points are where coolant choice shows up most clearly. A coolant whose temperature drifts, such as a dry ice slurry changing as it sublimes or an ice bath that runs warm once the ice is gone or the mix is poorly stirred, changes the deposition conditions partway through a run, and a surface that is far colder than the compound requires will happily collect moisture from any small leak.
Choosing a Coolant for the Cold Finger Condenser
| Approach | Typical finger temperature | Strength | Limitation |
|---|---|---|---|
| Running tap water | Roughly 10–20 °C, varies by season and building | No equipment, no consumables | Warm; poor capture of volatile solids; continuous water use |
| Ice water, pumped or static | Close to 0 °C while ice remains and the mix is stirred | Cheap and familiar | Needs topping up; can run warm if poorly mixed; warms once the ice is used up |
| Dry ice with acetone or isopropanol, static | About −78 °C | Coldest common bench option | Consumable, solvent vapor, needs topping up, temperature drifts |
| Recirculating chiller | Held at set point; sub-zero machines reach about −40 °C | Steady for hours, no consumables, repeatable | Cannot reach dry-ice temperatures; needs fluid, hose and flow planning |
The practical rule is to choose the warmest coolant that still captures the compound well, because every extra degree of cold adds condensation risk and thermal stress on the glass. Moderately volatile organic solids often sublime cleanly onto a surface held somewhere between 0 °C and −20 °C. Highly volatile compounds, or runs under very hard vacuum, may genuinely need dry-ice temperatures, and no compressor-based lab chiller in this class replaces that.
A useful check is to look at where losses end up. Product appearing in the cold trap or the pump oil means the finger is too warm for that compound at that pressure. A deposit that is wet, glassy or contaminated with lower-boiling material usually means the finger is colder than the separation needs.
The Heat Load Is Smaller Than Most People Assume
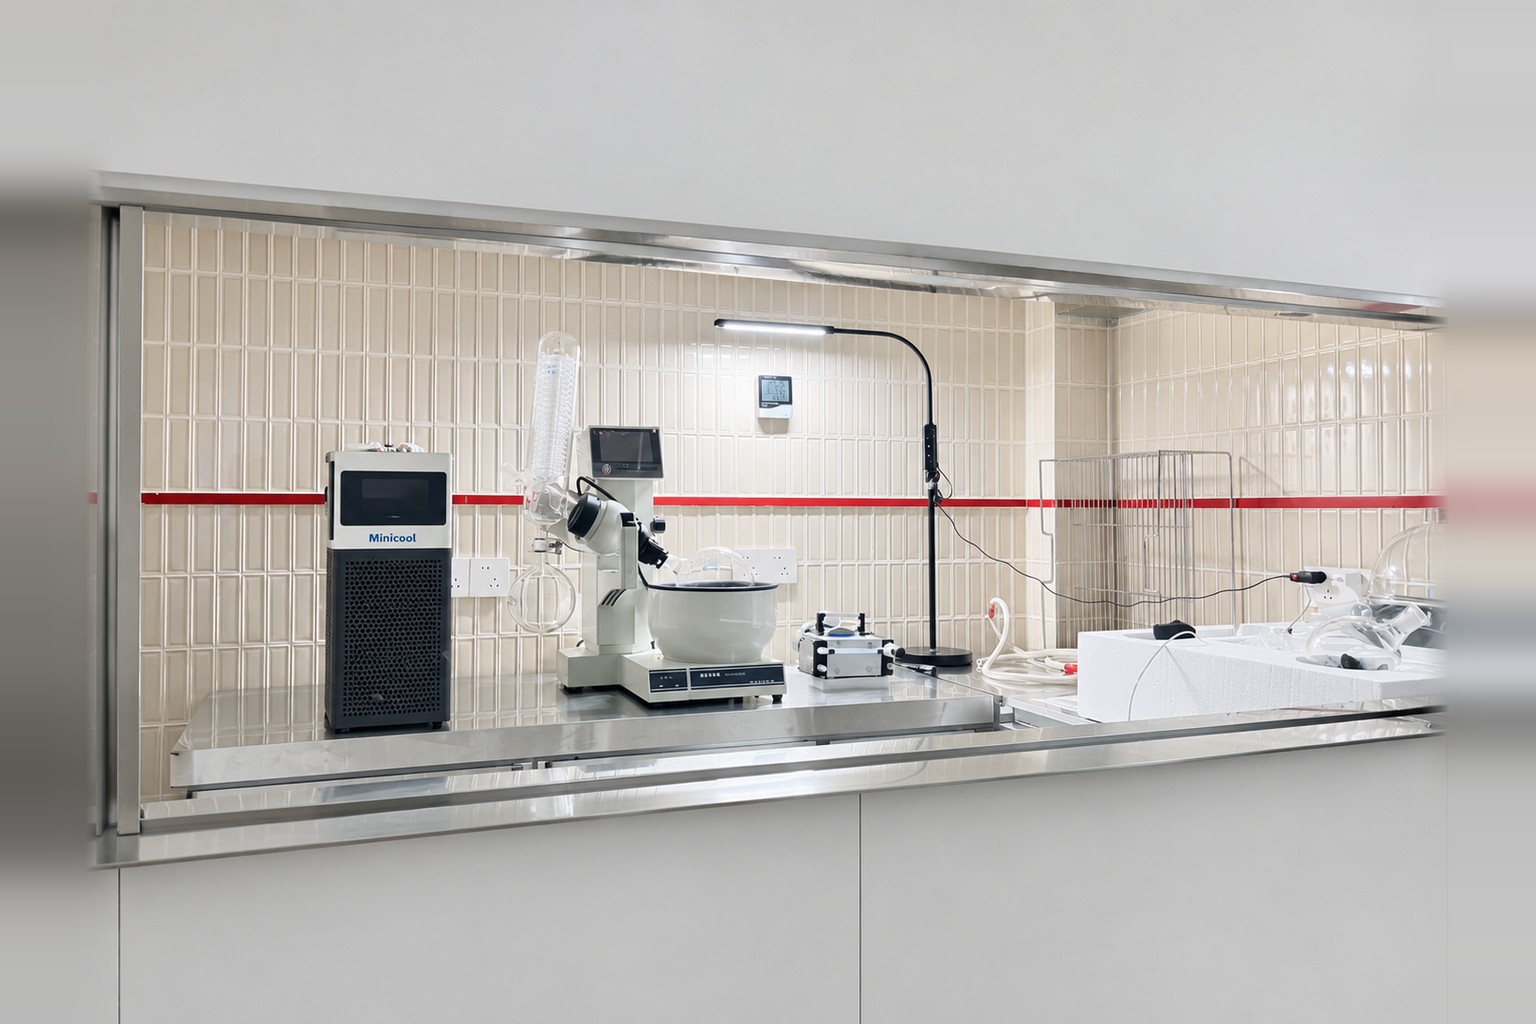 The heat load arithmetic for a cold finger condenser surprises most people the first time. All values below are assumed for illustration; substitute your own compound and apparatus.
| Source of heat | Assumption | Load |
|---|---|---|
| Latent heat of deposition | 80 kJ/mol enthalpy of sublimation, 150 g/mol, 5 g deposited per hour | About 0.7 W |
| Radiation from the heated vessel | Surface at 150 °C, finger at −20 °C, 50 cm² finger area, effective emissivity 0.2 | About 1.6 W |
| Residual gas conduction | Soft vacuum; depends strongly on pressure | Small, often under 1 W |
| Hoses and fittings | Two meters of insulated hose at −20 °C in a 22 °C room | Roughly 10–20 W |
| Circulation pump heat | Depends on the machine; not published for many units | Treat as unknown |
The finger itself absorbs only a few watts. The loop around it — hoses, fittings, the pump — accounts for most of what the chiller actually removes. For gram-scale runs like this one, choosing a chiller for sublimation is mainly a temperature decision rather than a capacity decision: under these conditions the questions that matter most are how cold it goes, how steadily it holds, and how cleanly it connects to small glassware. Larger apparatus, hotter vessels, bigger fingers or long hose runs change the balance, so repeat the arithmetic for your own setup.
The same arithmetic explains why static dry ice works at all. A few hundred grams of dry ice absorb several hundred kilojoules as they sublime, which is far more than a few watts for a couple of hours. The problem is not capacity but steadiness: the slurry temperature and level change through the run, and someone has to top it up.
Where a Sub-Zero Recirculating Chiller Fits
A countertop recirculating chiller earns its place in sublimation work when runs are long, repeated daily, or left unattended — and when the lab would rather not handle dry ice and acetone at the bench. The MiniCool range is published for set points from 0 °C down to −40 °C, with models at 450 W, 800 W and 850 W, a 200 × 430 × 450 mm footprint, quick-connect or threaded ports, and noise below 45 dB; full data is on the MiniCool product page.
Against the heat load in this example, even the smallest model’s listed capacity is far above the load, although capacity at a sub-zero set point is not listed and should be confirmed. That headroom is the point: the spare capacity is what holds the coolant steady while hoses gain heat and the operator opens and closes things around the apparatus. It also means one machine can often serve a sublimation setup alongside other sub-zero duties on the same bench, provided the combined load and flow are checked.
Be clear about the boundary. A −40 °C floor covers a wide range of routine purifications, but it does not reach the −78 °C of a dry ice slurry. If a compound genuinely needs a surface that cold, keep using dry ice for that step, or pair the chiller with a separate cryogenic trap. Low-temperature circulator applications and their limits are covered in more depth in our −40 °C circulator applications guide.
Connecting a Chiller to a Cold Finger Condenser
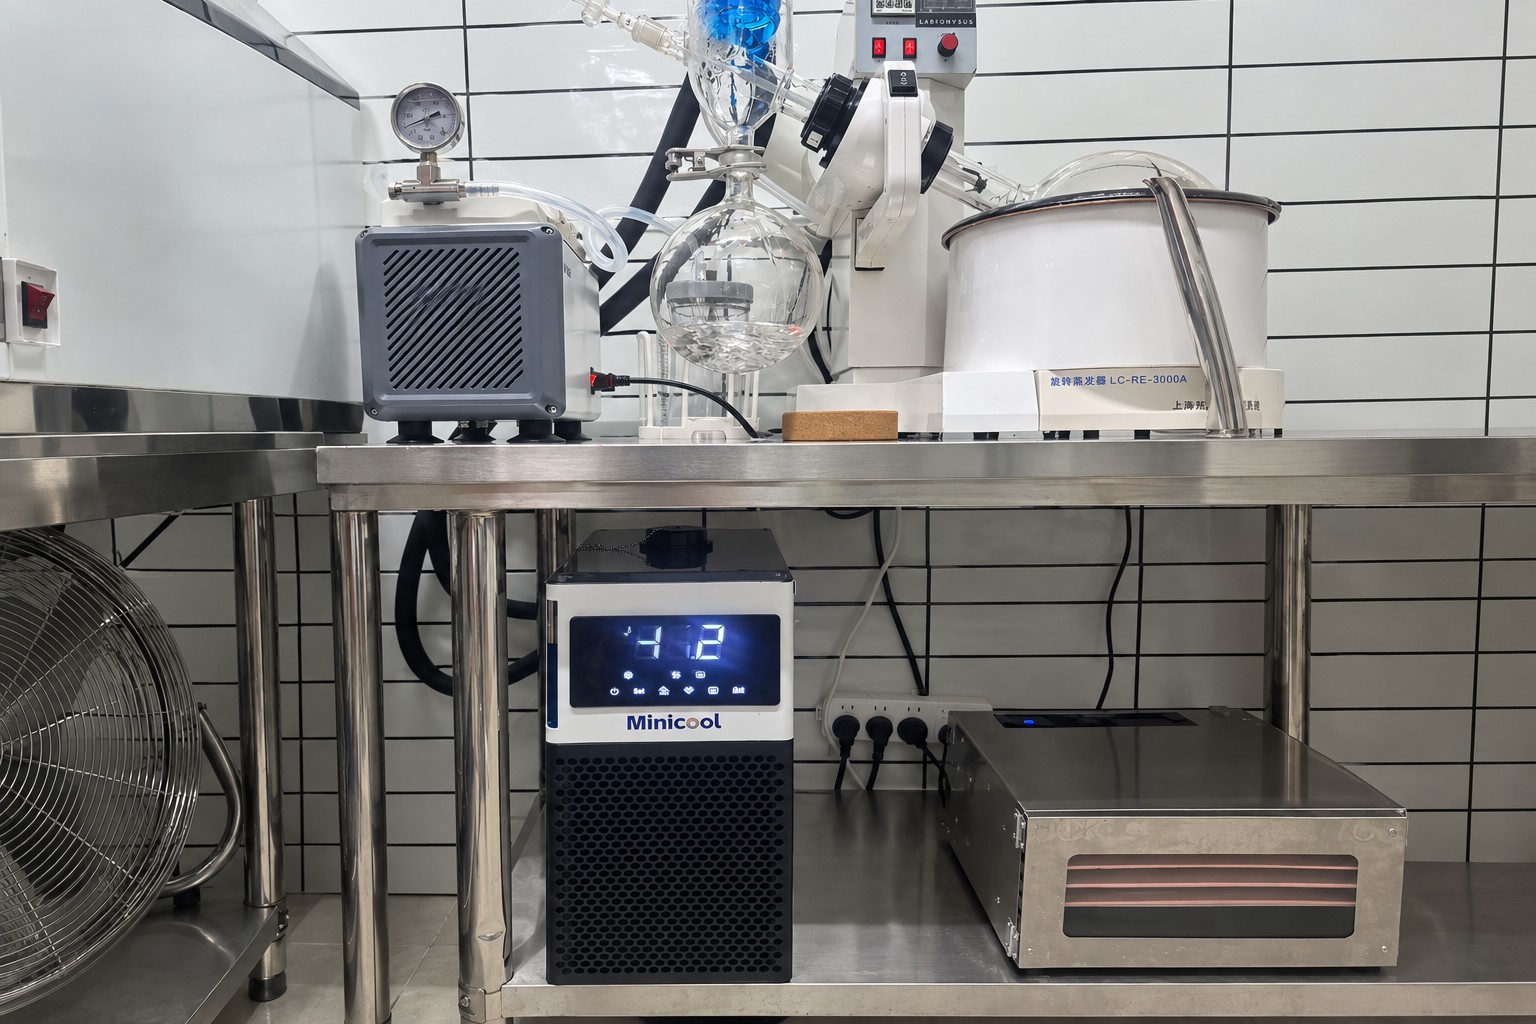 Connection details decide whether the setup is reliable or fragile. Glass cold fingers are designed for gentle, low-pressure flow, and a recirculating chiller is designed to push coolant through hoses and fittings. The interface between them deserves more attention than it usually gets.
- Flow direction. Coolant should enter through the inner tube and leave through the outer annulus, so the coldest fluid reaches the tip of the finger first. Reversed flow warms the very surface you are trying to keep cold.
- Short, flexible adapters at the glass. Hose barbs on cold fingers are small and brittle; a stiff or heavy hose levered against them is the most common way to snap one.
- Pressure. Pump flow and head are not published for every chiller, so do not assume the glass will tolerate whatever the pump delivers. A bypass valve or a pressure-limiting arrangement keeps the finger below its rating, especially if the return line can be pinched or kinked.
- Insulation on both hoses. Below the room’s dew point every exposed hose collects condensation, which drips onto the heating mantle and the bench.
- Coolant suited to the set point. Below 0 °C, use the fluid the chiller manufacturer specifies — commonly a glycol or alcohol mixture, or a silicone fluid — and never plain water. Our lab chiller coolant selection guide covers the trade-offs.
Secure both hoses so that a pressure pulse or a knocked hose cannot pull the finger out of its joint. A cold finger that lifts while the apparatus is under vacuum and hot is a far bigger problem than a slow start.
A Run Sequence That Protects the Glass and the Product
The sequence below is a general outline, not a validated method. Adapt it to the compound, the apparatus and your laboratory’s own procedures.
- Assemble dry. Crude material should be as dry as practical; residual solvent co-deposits and ruins the separation. Grease the joint lightly with a grease rated for the temperatures involved.
- Start circulation at room temperature to purge air from the finger and hoses, and check every connection for leaks before anything is cold.
- Evacuate the apparatus before cooling the finger. Cooling first lets moisture from the air inside condense and freeze onto the surface where crystals will later grow.
- Bring the coolant to set point and let the finger stabilize. Avoid dropping a warm glass finger straight to its coldest set point if the manufacturer’s guidance on thermal shock is conservative.
- Apply heat gradually, watching where the deposit forms. A ring near the lower edge often means the heating is too aggressive for the gap.
- Keep the set point constant through the run. Large changes with hot crude underneath stress the glass and change crystal growth partway through.
Shutdown: Where Most Product Is Lost
The end of a sublimation is where good runs are spoiled. The deposit is at its most exposed: cold, finely divided, and sitting in a chamber about to be opened to room air.
- Remove the heat and let the lower vessel cool while the finger stays cold. Warming the finger first lets crystals re-sublime back onto the crude.
- Break vacuum with dry nitrogen or argon, slowly, rather than with room air.
- Raise the chiller set point toward room temperature, or stop cooling, and let the finger warm under the dry gas.
- Only then remove the finger and harvest the deposit.
Breaking vacuum with dry gas and warming the finger before opening is the single step that most often separates clean crystals from a wet, sticky deposit. Room air rushing onto a surface at −20 °C deposits frost directly into the product, and that water is very hard to remove afterward without losing material.
Common Problems and What They Point To
| Symptom | Likely cause | What to check |
|---|---|---|
| Product found in the trap or pump oil | Finger too warm for the compound at that pressure | Lower set point, or moderate the vacuum |
| Wet or smeared deposit | Moisture condensation at opening, or solvent in the crude | Dry gas backfill, warm before opening, dry the crude |
| Deposit falling back into the vessel | Too much material on a small finger, or vibration | Shorter runs, harvest more often, isolate the chiller |
| Frost or leaks at the joint | Uninsulated joint below the dew point, grease stiffening | Insulate, use a grease suited to the temperature |
| Cracked cold finger | Thermal shock or excessive coolant pressure | Gradual set point changes, bypass or pressure limit |
| Temperature creeping up during the run | Ice or dry ice depleting, or large hose gains | Steady circulation, insulated hoses, shorter runs |
Vibration deserves a mention because it is easy to overlook: a compressor-based chiller sitting on the same bench as the apparatus can shake loose a heavy deposit. Placing the machine on a separate surface, or on a vibration-damping pad, is cheap insurance. The same sub-zero loop disciplines apply to vacuum-side cold traps, covered in our cold trap sizing guide.
Dry Ice or a Chiller: a Short Decision
- Need a surface below about −40 °C for a very volatile compound → dry ice or a cryogenic trap remains the right tool.
- Runs longer than an hour or two, repeated regularly, or unattended → a recirculating chiller holds conditions that consumables cannot.
- Concerns about acetone vapor, dry ice handling or supply → a sealed recirculating loop removes both.
- Tap water is adequate only for compounds that deposit well at room-adjacent temperatures, and it wastes water on long runs.
If you want a sublimation setup checked, send the following and our engineers will advise: the compound or its approximate volatility, the cold finger temperature you need, run length and frequency, how the finger connects (hose barb size and rating if known), and what else the chiller would serve on the same bench. Send your setup details to our engineering team.
Frequently Asked Questions
What temperature should a cold finger condenser be for sublimation?
Cold enough that the compound’s vapor pressure at the surface is far below the pressure in the apparatus, and no colder than that. Many moderately volatile organic solids deposit well between 0 °C and −20 °C; very volatile compounds may need dry-ice temperatures near −78 °C. If product appears in the vacuum trap, the cold finger condenser is too warm; if the deposit is wet or contaminated, it may be colder than necessary.
Can I use a recirculating chiller instead of dry ice?
For many sublimations, yes. A sub-zero recirculating chiller holds a steady set point for hours without consumables, which suits long or repeated runs. Machines in this class typically reach about −40 °C, so they do not replace dry ice for compounds that genuinely need a −78 °C surface.
How much cooling capacity does a cold finger need?
Very little at the finger itself — often only a few watts from latent heat and radiation. Hoses, fittings and pump heat usually account for most of the loop’s load. For gram-scale runs, temperature, stability and a safe connection usually matter more than capacity; larger setups should be checked with their own heat load.
Why is my sublimed product wet when I open the apparatus?
Most often because room air reached a cold deposit. Break vacuum with dry nitrogen or argon, let the cold finger warm toward room temperature under that dry gas, and only then open the apparatus. Residual solvent in the crude is the other common cause.
Which direction should coolant flow through a cold finger?
In through the inner tube and out through the outer annulus, so the coldest coolant reaches the tip first. Reversing it warms the part of the finger where crystals grow.
Can chiller pressure crack a glass cold finger?
It can, particularly if the return line is kinked or pinched. Glass cold fingers are meant for gentle flow, and pump pressure is not always published. Use short flexible adapters, keep the return path clear, and add a bypass or pressure-limiting arrangement where the rating of the glass is unknown.