
A DC Air Conditioner That Runs Is Not the Same as One That Works
The unit is mounted, the wiring is done, cold air comes out. Most installations are declared finished at exactly this point, and most of the problems that surface three weeks later were already present on day one.
The reason is that the failures which matter in a DC air conditioner installation are not the ones that stop it working. They are the ones that quietly cost capacity: a supply cable that drops half a volt under load, a condenser breathing its own discharge, a drain that works on the level but not on a slope, a return-air path blocked by the first thing anybody stored near it. None of these prevent cold air. All of them show up on the hottest afternoon of the year, when the margin they consumed was the margin you needed.
Commissioning is the half-hour that catches them. Here are the eight checks, in the order that finds problems fastest.
Check 1: Voltage at the Unit, Under Load
This is the most valuable single measurement, and almost nobody takes it.
Measure at the unit’s own terminals while the compressor is running — not at the battery, and not at rest. The difference between the two readings is your cable drop, and it is entirely wasted.
Why it matters: DC units protect themselves with a low-voltage cut-out. If cable drop puts the machine below that threshold, it stops — while a meter at the battery still reads a healthy 12.6 V. The symptom is a system that “randomly shuts down”, and the cause is invisible unless you measure in the right place.
Budget about 3% of nominal for the round trip: roughly 0.35 V on a 12 V system, 0.7 V on 24 V. If you exceed it, the fix is cable, not a lower cut-out setting.
Real current figures help here. A Micro DC Aircon DV1910E-AC draws 1–8 A at 12 V with a 10 A maximum for its 450 W (1,535 Btu) of cooling. The 24 V DV1920E-AC delivers the same 450 W at 1–7 A, maximum 8.5 A. A Portable DC Air Conditioner LC2810E-AC at 12 V draws 16 A for ≥500–700 W (2,387 Btu), and the 24 V LC2820E-AC does the same job at 8 A. Size the cable for the maximum figure, not the average.
Which supply voltage an installation should use in the first place is covered in the 12V, 24V and 48V voltage selection guide — and the higher the voltage, the less of this particular problem you have.
Check 2: Condenser Intake Temperature
Hold a thermometer at the air entering the condenser while the unit runs. It should read close to ambient.
If it reads several degrees warmer, the condenser is drawing in its own hot discharge. This is the most common installation fault in a DC air conditioner, and it is silent — the unit works, it just works against an ambient it created for itself. Capacity falls, run time climbs, and nothing on the display suggests why.
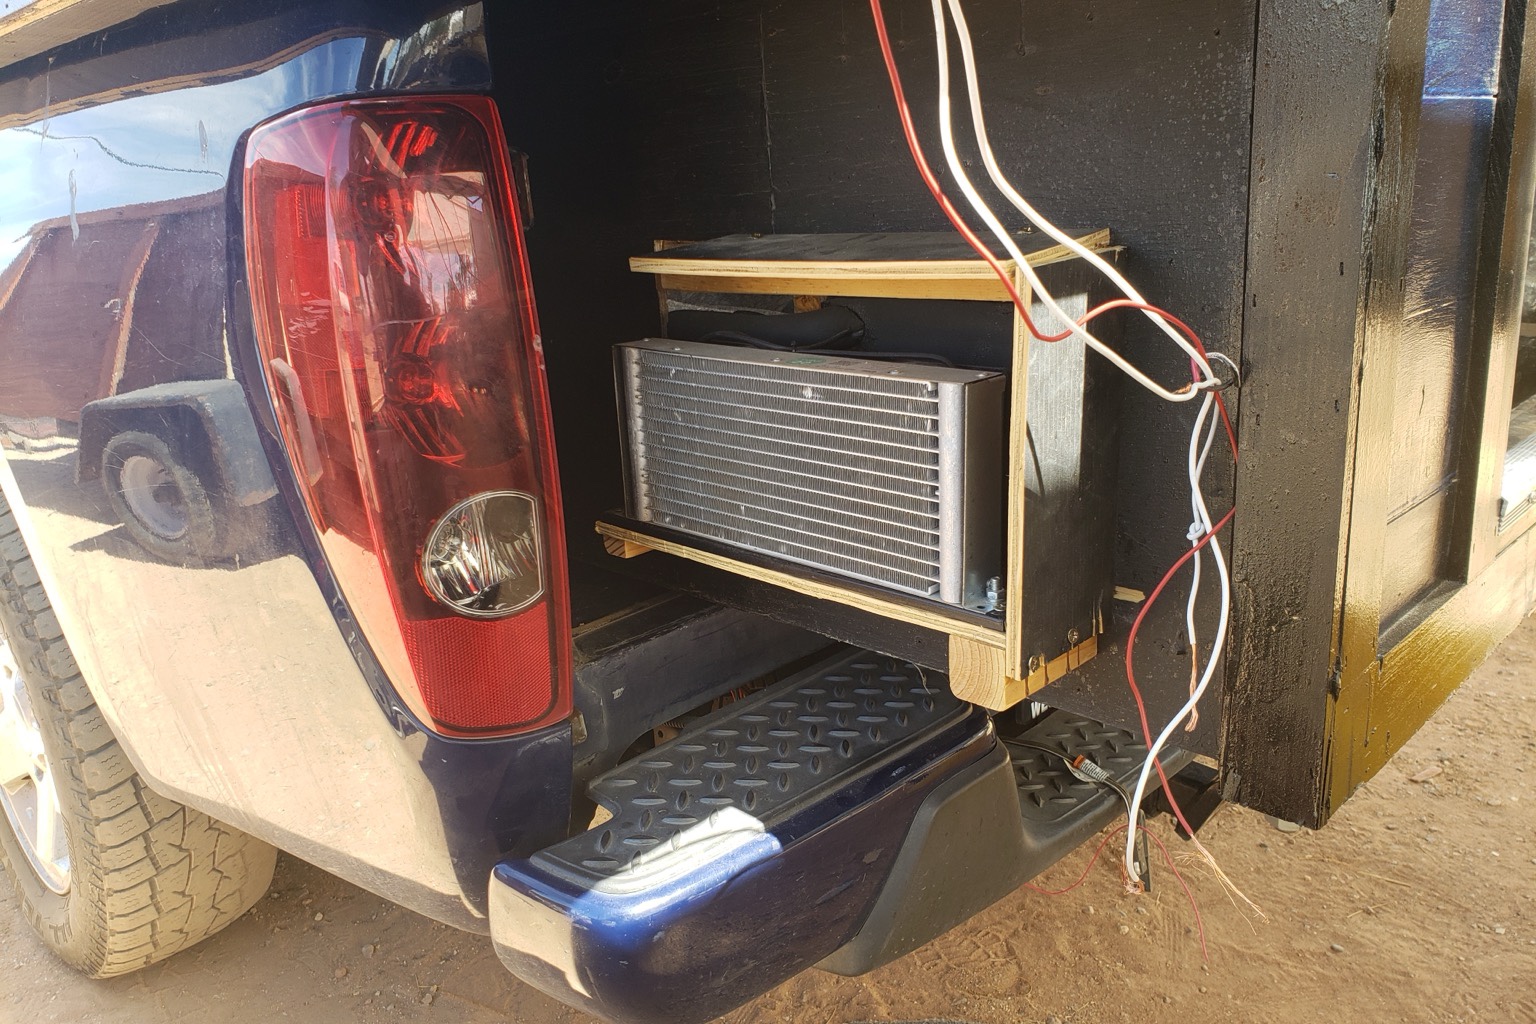
The cure is separation: intake and discharge must not be able to see each other. In a locker or a cabinet, that usually means a divider or ducting rather than two holes in the same panel.
Check 3: Clearance, Measured Not Estimated
Manufacturer clearance figures are minimums, not suggestions, and installations shrink over time. A unit commissioned with adequate space acquires boxes, cabling, and a neighboring appliance within a season.
Take the measurement now and write it on the installation record. It gives the next person a number to compare against, and it makes “someone put a crate there” a finding rather than a mystery.
Check 4: The Condensate Path, on the Slope It Will Live On
Any unit cooling below the dew point produces water. Where that water goes is decided at installation and discovered at the worst possible moment.
Three things to verify. The drain must fall continuously — a sagging tube holds water and backs up. The path must work at the angle the installation actually sits at, which for a vehicle or a boat means testing on a camber rather than on a level workshop floor. And the drain must not discharge into a cable entry, a bilge, or anywhere it will be found by electronics.
Pour a little water into the tray and watch where it goes. This takes two minutes and settles the question permanently.
Check 5: Return Air
Cooled air has to get back to the unit. A space with the supply blowing in and no return path will not cool, regardless of the machine’s capacity.
This is easy to create by accident: a curtain across a sleeping area, a door that gets closed, a cabinet packed to the panel. The test is simple — run the unit with the space in its normal configuration, not with everything open for the commissioning visit.
On vehicles and other moving installations, mounting is a commissioning item in its own right; the vibration and shock mounting guide covers what to check before the first road test.
Check 6: Airflow Direction and Duct Runs
A condenser fan installed backwards still moves air and still sounds correct. Confirm direction physically rather than assuming it.
On ducted installations, check two more things. Flexible duct is a pressure drop, and every extra bend costs airflow. And any supply duct passing through a warm space picks up heat along its length — an uninsulated run through an engine compartment or a hot locker delivers air noticeably warmer than it left.
Check 7: Run It Through a Full Cycle and Watch
Twenty minutes of observation tells you more than any instantaneous reading.
What you want to see is a long pull-down followed by steady running or gentle modulation. What you do not want is short cycling — starting and stopping every few minutes. Starts are the hardest thing a compressor does, and frequent ones mean either the unit is oversized for the load or the control differential is set too tight.
Note the discharge air temperature at the end of the cycle and write it down. It is the single most useful baseline you can leave behind.
Check 8: Test the Protection, Don’t Assume It
Low-voltage cut-out, over-temperature, and any alarm output should be tested once, while it is convenient, rather than discovered during a failure.
On a battery installation, confirm the cut-out threshold matches the chemistry. A lead-acid house bank wants the compressor to stop well above flat; a LiFePO₄ bank with its own BMS is already protected and a high cut-out just prevents you using capacity you paid for.
The Commissioning Record
| Measurement | What good looks like | Why it matters later |
|---|---|---|
| Voltage at unit, running | Within ~3% of battery voltage | Cable drop causes “random” shutdowns |
| Condenser intake temp | At or near ambient | Recirculation silently removes capacity |
| Clearance, all faces | At or above manufacturer minimum | Installations acquire obstructions |
| Condensate flow on slope | Drains continuously | Water finds electronics |
| Discharge air temp, settled | Recorded | The baseline for every later comparison |
| Cycle pattern over 20 min | Long runs, few starts | Short cycling shortens compressor life |
| Max current drawn | Within the model’s stated range | Confirms the circuit and the fuse |
| Protection tested | Trips and recovers as expected | An untested alarm is decoration |
The last column is the point of the whole exercise. Without a commissioning record, gradual degradation is invisible until it becomes an outage — because there is nothing to compare against.
If any of the above raises a question about whether the right machine was specified, the complete DC air conditioner guide covers selection, and the notes on off-grid equipment shelters work through a sealed-enclosure case end to end.
One more habit worth building into the visit: photograph the installation before anything is closed up. Cable routing, clearance, duct runs, and the drain path are all easy to see now and impossible to inspect later without dismantling. A handful of photographs attached to the commissioning record answers most of the questions that arise a year later, and it removes the temptation to guess about work nobody remembers doing.
The same applies to what you leave with the owner. A unit that will be operated by someone who was not present at commissioning needs three things written down: what the normal discharge temperature looks like, what the cycle pattern should be, and which single measurement to take first if it stops. Without those, the first fault becomes a call-out regardless of how simple it turns out to be.
What Commissioning Will Not Fix
Two problems are decided before the unit arrives, and no amount of careful setup recovers them.
An undersized unit. If the load genuinely exceeds the capacity, the compressor runs continuously and the space settles somewhere above target. Check the cooling figure against the space and the worst-case ambient rather than adjusting the setpoint downward, which changes nothing except the energy bill.
An uninsulated space. On a vehicle or a small cabin, insulation is a permanent multiplier on everything downstream. A DC air conditioner in an uninsulated metal box is fighting a load that a few hours of work would have halved.
Where the Unit Class Fits
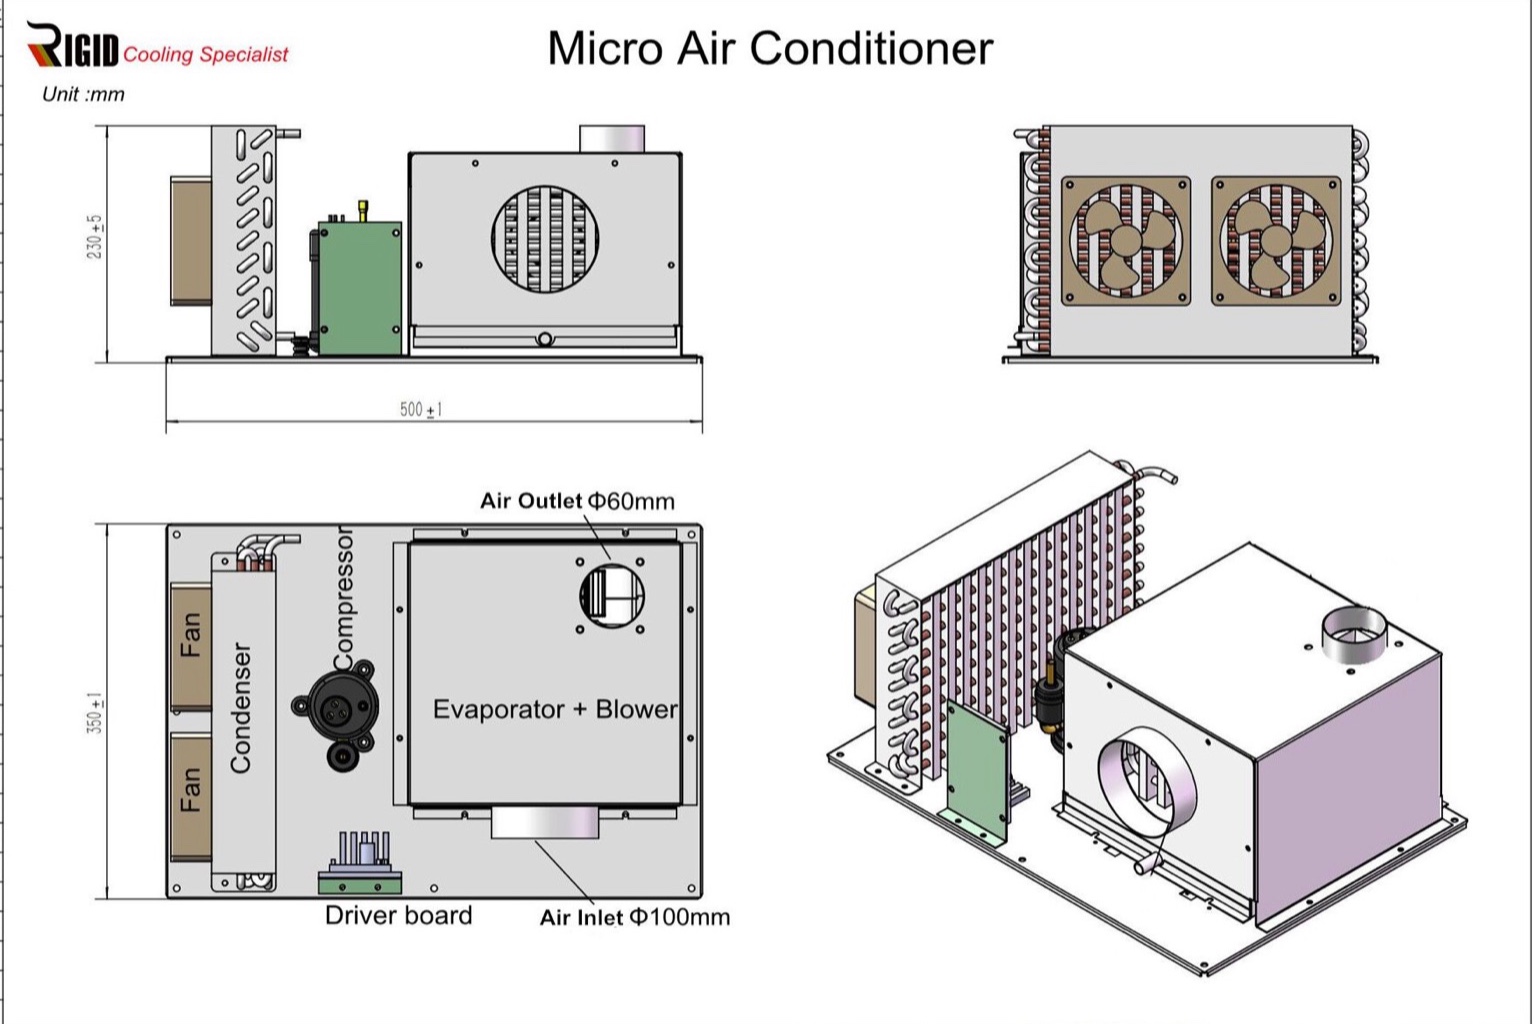
The checks above apply across the range, but the numbers differ by class. Module-style units such as the Micro DC Aircon DV series (450–550 W, 350×260×180 mm, around 5 kg) are built into a cabinet or a vehicle compartment and stand or fall on ducting and clearance. Self-contained units such as the Portable DC Air Conditioner LC series (≥500–700 W, 565×255×245 mm, 11 kg) are moved between a tent, a truck cab, and a garage, so their commissioning is repeated with every relocation.
The Portable DC Air Conditioner range covers the self-contained end on 12 V, 24 V, and 48 V supply. Which class suits an installation depends mostly on whether the unit will stay where you put it.
If a commissioning check produces a number you are unsure how to read — a voltage drop that seems borderline, a discharge temperature that feels high for the ambient — send the figures rather than guessing. Contact the RIGID engineering team with the model, the measured current, and the two temperatures, and you will get a straight answer about whether the installation is healthy.
Frequently Asked Questions
Why does my DC air conditioner shut down at random?
Almost always low voltage at the unit rather than at the battery. Measure at the unit’s terminals while the compressor runs; if the drop exceeds roughly 3% of nominal, the cable is the cause and lowering the cut-out setting only hides it.
How much clearance does the condenser need?
Use the manufacturer’s figure as a minimum, and verify that intake and discharge cannot see each other. Recirculation costs capacity continuously and produces no symptom other than longer run times.
Is short cycling a fault?
Not a fault in itself, but a warning. It usually means the unit is oversized for the load or the control differential is too tight. Starts cause most compressor wear, so frequent cycling shortens life.
Where should the condensate drain go?
Somewhere with a continuous downward fall, tested at the angle the installation actually sits at, and never into a cable entry or over electronics. Pour water into the tray during commissioning and watch.
What should I write down when the installation is finished?
Voltage at the unit under load, condenser intake temperature, settled discharge air temperature, maximum current, and the cycle pattern. Those five numbers turn every future problem from a guess into a comparison.
Summary
Commissioning a DC air conditioner is about finding the faults that do not stop it working. Measure voltage at the unit while it runs, because cable drop is the cause of most unexplained shutdowns and it is invisible at the battery. Confirm the condenser is not breathing its own discharge, and that the clearance you have is the clearance the manufacturer asked for. Test the condensate path on the slope the installation will live on, verify that return air can get back, and watch a full cycle rather than an instant. Then write the numbers down — because degradation over the following years is only visible against a baseline, and the half hour spent recording one is the cheapest diagnostic tool the installation will ever have.