
Why a DC Powered Chiller Comes Up at All
Most laboratory cooling runs from a wall socket, and nobody thinks about it. The question changes the moment the laboratory moves: a survey vessel, a mobile testing van, a container laboratory at a remote site, a bench that has to keep running through a power cut.
In those places the electrical system is a battery bank. Every AC appliance then needs an inverter, and the inverter brings its own losses, its own failure mode and its own noise. A DC powered chiller removes that layer by taking the battery voltage directly.
This guide covers where that actually helps, what changes in current and cabling, how to size the battery, and which details have to be confirmed with the supplier before an order.
What the Product Page Says
RIGID’s MiniCool countertop recirculating chiller is listed with a power supply of AC 120–240 V or DC, a temperature range of 0 to −40 °C, cooling capacities of 450, 800 and 850 W, stability of ±0.1 °C (test conditions not stated), and a 200 × 430 × 450 mm footprint.
Two things follow from that listing, and both matter before you plan a DC powered chiller installation.
- The DC option exists, but the page does not state which DC voltages apply to which model, what current they draw, or what protection the unit expects upstream. Those have to come from the supplier in writing.
- A cooling capacity figure is quoted without test conditions, so it cannot be read as the capacity available at your set point and ambient temperature.
The rest of this article is the engineering that sits around those two facts.
For duties above 0 °C, where a sub-zero laboratory chiller is the wrong tool, RIGID’s DC mini water chiller modules cover 100 to 550 W on 12, 24 or 48 V, and the same electrical reasoning below applies to them. A 12V lab chiller and a 48V one differ far more in cabling than in cooling.
What You Gain by Skipping the Inverter
| Aspect | Battery → inverter → AC chiller | Battery → DC chiller |
|---|---|---|
| Conversion losses | Inverter losses apply whenever the chiller runs | None from conversion |
| Failure points | Inverter is an extra component that can fail or trip | One fewer box in the chain |
| Idle draw | Inverters draw standby power even when nothing runs | No standby layer |
| Start behavior | Inverter surge rating has to cover compressor start | Battery and cabling have to cover it instead |
| Cabling | Thin AC wiring after the inverter | Heavier DC cable, sized for the current |
The trade is visible in the last row, and it is the defining characteristic of a DC powered chiller installation: DC removes conversion hardware and moves the burden onto the cable. At 12 V a given power draw needs roughly twenty times the current it would take at 240 V, and current is what decides cable size, connector choice and fuse rating.
Current, Voltage and Why 48 V Changes the Job
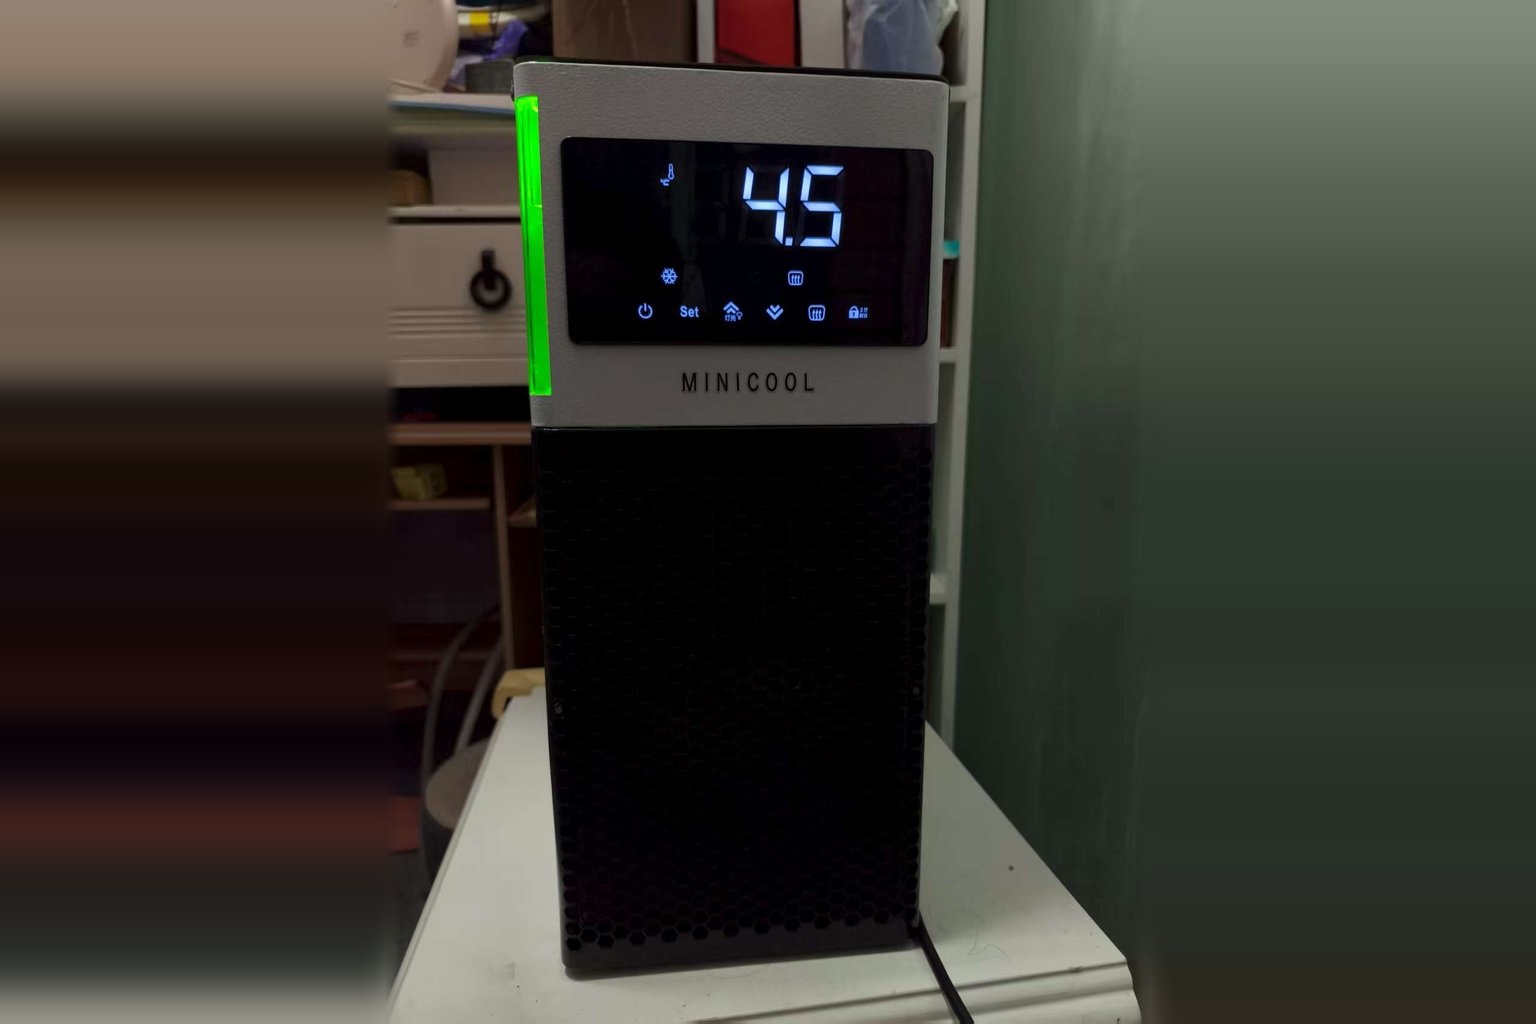 The current figures below are arithmetic from power, not measurements of any particular model. They show why the supply voltage matters more than anything else in a DC installation.
| Input power (assumed) | At 12 V | At 24 V | At 48 V |
|---|---|---|---|
| 200 W | 16.7 A | 8.3 A | 4.2 A |
| 350 W | 29.2 A | 14.6 A | 7.3 A |
| 500 W | 41.7 A | 20.8 A | 10.4 A |
Input power is not the same as cooling capacity: a unit removing 450 W of heat draws a different amount depending on its set point, its ambient and its efficiency at that condition. Ask for input power at your working point rather than assuming it equals the capacity figure.
For the same input power, doubling the voltage halves the current, halves the voltage drop in a given cable and quarters the I²R heating in that cable. That is why a 48 V system is easier to wire than a 12 V one at the same power.
Cable Sizing and Voltage Drop
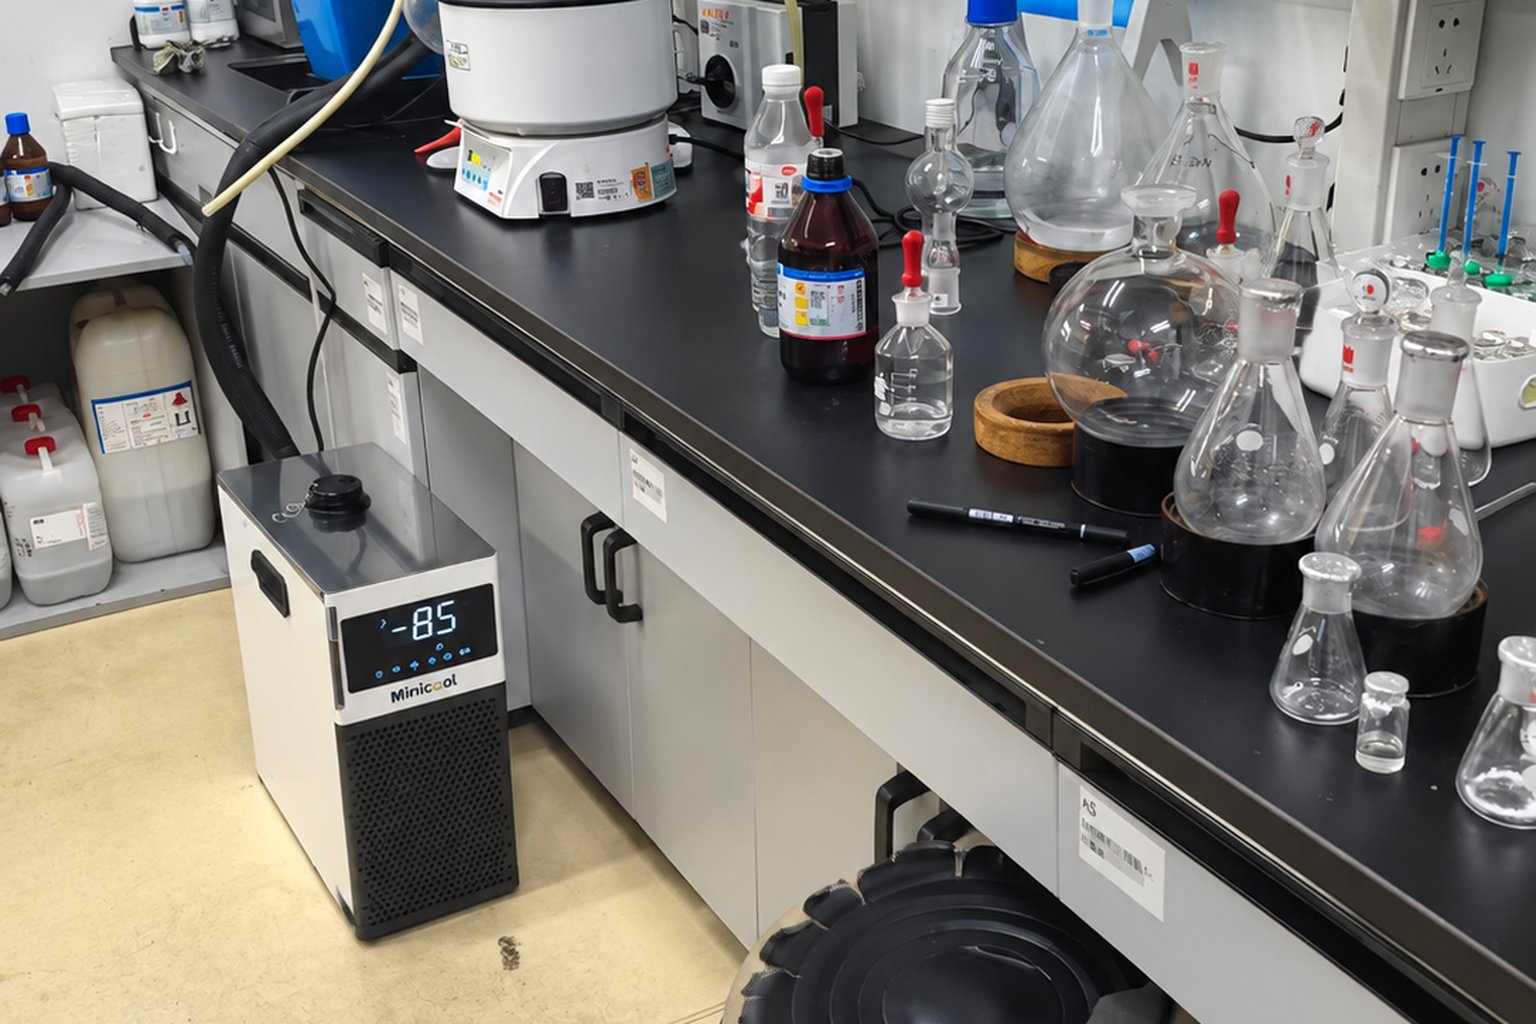 Cable sizing is the part that gets underestimated, because the chiller is usually not next to the battery. It is also the part that most often turns a working DC powered chiller into an intermittent one.
- Size for the round-trip length, not the one-way distance. A unit five meters from the battery has ten meters of conductor.
- Decide an acceptable drop first. Many DC installations work to about 3% at continuous current; tighter is better where the equipment has a low-voltage cut-out.
- Check the drop at start current, not only at running current, because that is when a marginal cable trips protection.
- Terminate properly. On a vessel or a vehicle, a loose lug on a high-current DC circuit is a fire risk, not an inconvenience.
Undersized DC cable shows up as nuisance shutdowns, not as a blown fuse. The unit sees a sagging supply during start, its protection acts, and the fault looks like a chiller problem when it is a wiring problem.
Protection, Isolation and the Rest of the Circuit
- Fuse or breaker sized for the cable and the load, located at the battery end of the run.
- An isolator that lets the chiller be disconnected for service without pulling the main battery switch.
- Reverse polarity protection, or connectors that make reverse connection impossible.
- Agreement with the supplier on what upstream protection the unit expects, and on the acceptable voltage window at its terminals.
- A plan for what happens when the battery management system disconnects: the chiller stops, and whatever it was cooling starts warming.
Sizing the Battery for a Run
The useful question is not how many amps the unit draws but how long the bank can carry it.
As a worked example with assumed values: a unit drawing an average 250 W over an eight-hour shift consumes 2 kWh. On a 24 V bank that is about 83 Ah of throughput; allowing for usable depth of discharge, a lithium bank of roughly 120 Ah would cover it with margin, and a lead-acid bank would need to be considerably larger for the same usable energy.
- Average draw matters more than peak, because a chiller cycles or modulates rather than running flat out.
- Pull-down at the start of a shift is the heaviest period; include it separately.
- Ambient temperature changes both the chiller’s draw and the battery’s usable capacity.
- Where solar is part of the system, the panel has to cover the daily energy, not the instantaneous load.
Refrigerant and supply options interact with capacity at the working point, which is why capacity has to be read from the curve rather than the label; see small water chiller sizing and set point derating. The same arithmetic applied to DC air conditioning is worked through in our battery and solar sizing guide, and the method transfers directly to a chiller.
Where a DC Supply Genuinely Helps
- Vessels and vehicles, where the whole electrical system is already DC and an inverter is an added box in a wet, vibrating environment. A DC powered chiller fits that architecture without adaptation.
- Remote stations running on solar and storage, where conversion losses come straight out of the energy budget.
- Ride-through requirements, where a battery keeps a sub-zero loop cold during a grid interruption instead of the loop warming up.
- Clean electrical environments, where an inverter’s switching noise interferes with sensitive measurement nearby.
Where a laboratory has reliable mains and no mobility requirement, the AC supply is simpler and the question does not arise. It is worth being honest about that: a DC powered chiller is a solution to an electrical architecture problem, not a performance upgrade. The cooling side behaves the same either way.
One more case deserves a mention. Sites with poor mains quality sometimes use a battery as a buffer rather than as the primary supply, charging it from the grid and running the equipment from the battery. That arrangement gives ride-through without an inverter, and it makes the DC option attractive even where mains power exists.
What to Confirm Before Ordering
These are the questions that decide whether the installation works, and none of them can be answered from the published page.
- Which DC voltages are available for the model and capacity you need.
- Input current at your set point and ambient, both average and starting.
- The acceptable voltage window at the unit’s terminals, and what it does outside it.
- Required upstream fuse or breaker rating and type.
- Connector type, cable entry and the maximum cable length the supplier will support.
- Whether the same model can be supplied for AC and DC, in case the deployment changes.
Commissioning deserves the same treatment as any other installation: run an acceptance test with the real loop, record the supply voltage under load, and keep the numbers. Our laboratory chiller acceptance test checklist covers what to record.
Common Mistakes
- Assuming cooling capacity equals input power when sizing the battery.
- Sizing cable for running current and ignoring the start.
- Measuring supply voltage at the battery instead of at the chiller terminals.
- Treating a DC option in a product list as a confirmed voltage for a specific model.
- Forgetting that the loop warms up the moment a battery protection device disconnects.
- Putting the fuse at the load end of a long run instead of at the battery.
If you are planning a mobile or off-grid installation, send us the supply voltage, the distance from the battery, the set point and the heat load, and our engineers will help check the electrical side with you. Ask about a DC installation.
Frequently Asked Questions
Is a DC powered chiller able to run from a battery bank directly?
Where the model is offered with a DC supply, yes. The MiniCool series page lists AC 120–240 V or DC as the power supply, and the practical questions are which voltage applies to your model, what current it draws and how the cabling is sized.
Is DC more efficient than using an inverter?
It avoids conversion losses and inverter standby draw, which matters most on a solar or battery system. The saving depends on the inverter, so compare its efficiency at the chiller’s actual load rather than at its rated output.
Why does everyone recommend 24 V or 48 V over 12 V?
Because current falls as voltage rises for the same power. At 48 V a 350 W load draws about 7.3 A against 29.2 A at 12 V, which makes cable, connectors and protection far easier to specify.
What size cable do I need?
It depends on current, round-trip length and the voltage drop you accept, so it has to be calculated for the installation. Check the result against the start current as well as the running current.
What happens when the battery runs low?
Either the unit’s own protection or the battery management system disconnects, and cooling stops. Decide in advance what that means for whatever the loop is holding cold, and whether an alarm is needed.
Can I switch an existing AC unit to DC?
Not by rewiring it. The DC option is a different supply arrangement inside the machine, so it has to be specified with the order; ask whether your chosen capacity is available in both.
References
- RIGID, 12V DC small chiller systems — DC-powered compact chiller range and the voltages offered.