
How to Choose the Right Laboratory Chiller: 7 Factors That Matter
Choosing the wrong chiller costs more than money. It costs time — in failed experiments, in recalibrations, in waiting for service calls that shouldn’t have been necessary. Whether you’re outfitting a new lab or replacing aging equipment, the decision comes down to matching the chiller’s capabilities to your actual workload.
This guide breaks down how to choose a laboratory chiller into seven concrete factors. No marketing speak. Just the variables that determine whether your chiller performs reliably for years or becomes the bottleneck nobody budgeted to fix.
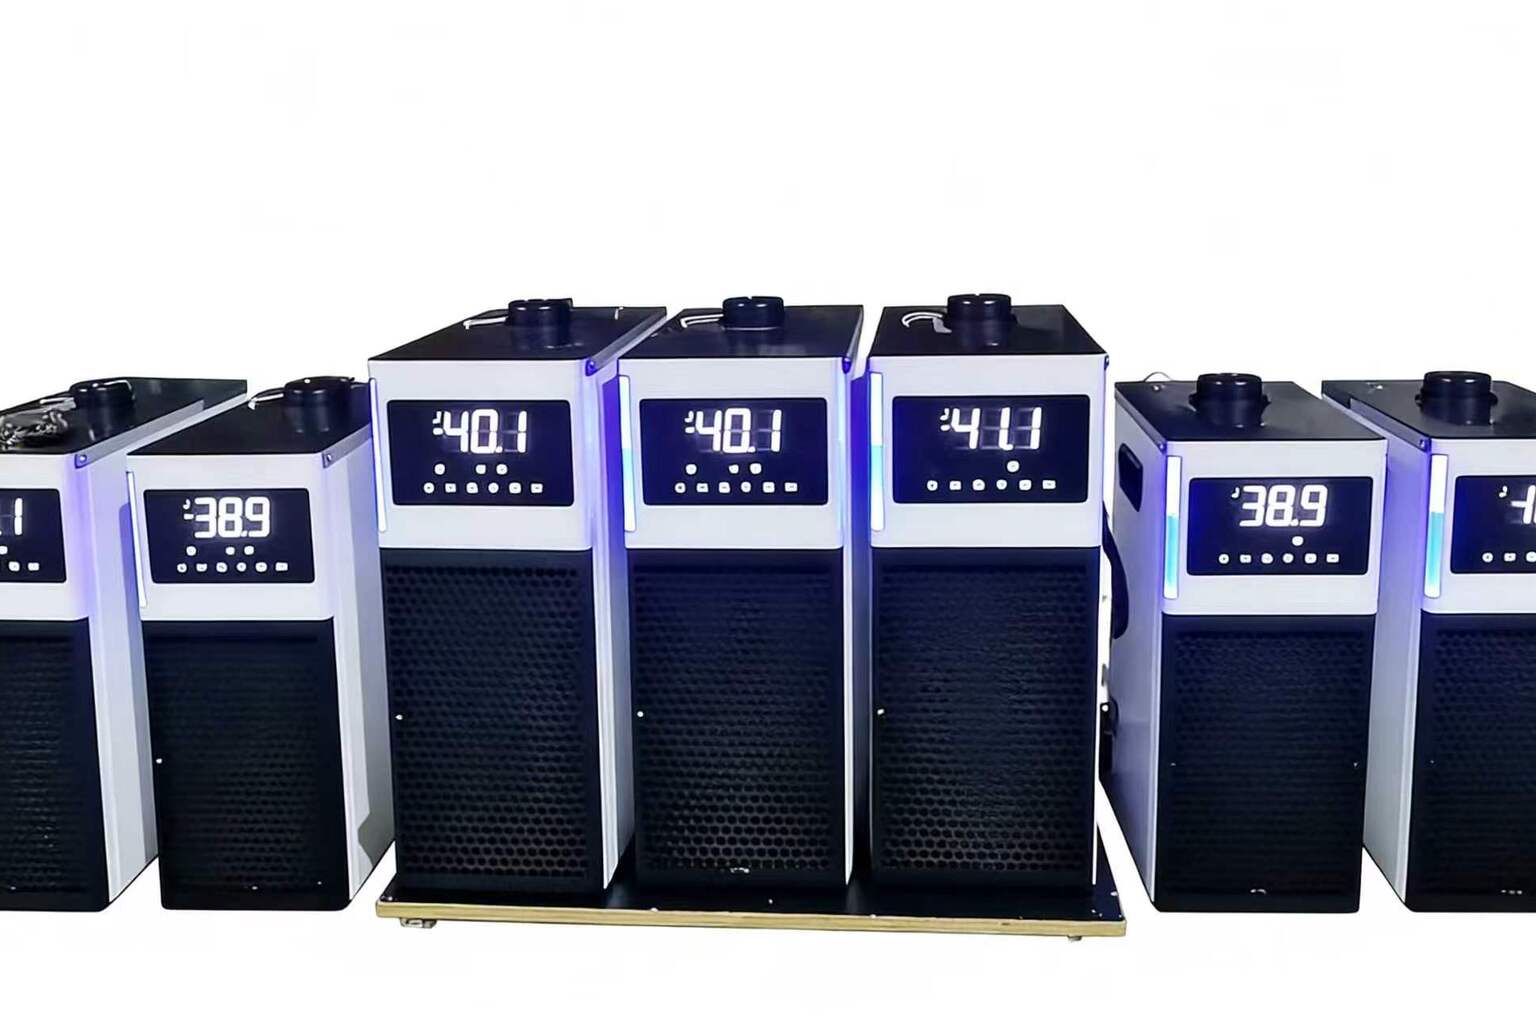
How to Choose a Laboratory Chiller: The 7 Factors
Every chiller purchase is a balancing act. You need enough capacity without overspending, enough precision without overengineering, and a footprint that fits your actual lab — not the lab you wish you had. Here’s how to evaluate each factor systematically.
1. Temperature Range: What Temperature Do You Actually Need?
Start here, because temperature range eliminates options faster than any other spec. Different applications demand fundamentally different cooling technologies:
- Ambient to +5°C: Basic recirculating coolers work fine. Laser cooling, electronics thermal management, analytical instruments.
- 0°C to -20°C: Standard refrigeration chillers. Reaction cooling, condensation traps, rotary evaporators.
- -20°C to -40°C: Low-temperature chillers with cascade or mixed-refrigerant systems. Pharmaceutical freeze-drying prep, cold-trap applications, low-temperature synthesis.
- Below -40°C: Ultra-low temperature systems. Specialized cryogenic prep, materials testing.
Key questions to ask:
- What’s your minimum required temperature? Add a 5-10°C safety margin below your target.
- Do you need heating as well? Some applications require both cooling and heating cycles.
- What’s the ambient temperature in your lab? A chiller rated to -40°C in a 20°C room may only reach -35°C in a 30°C room.
Practical tip: Don’t buy colder than you need. Every 10°C below ambient requires significantly more energy and a larger compressor. A chiller rated to -40°C that only ever runs at -10°C is wasted capital and wasted electricity.
2. Cooling Capacity: How Many Watts Do You Need to Remove?
Cooling capacity — measured in watts (W) or kilowatts (kW) — tells you how much heat the chiller can extract from your process at a given temperature. This is where most sizing mistakes happen.
How to calculate your heat load:
| Heat Source | How to Estimate |
|---|---|
| Instrument waste heat | Check manufacturer specs for thermal dissipation (W) |
| Exothermic reactions | Calculate from reaction enthalpy and throughput |
| Pump energy | All pump power eventually becomes heat in the loop |
| Ambient heat gain | Estimate from tubing length, insulation, and ΔT |
| Fluid mass cool-down | m × Cp × ΔT ÷ time = watts needed for initial pull-down |
Critical detail: Cooling capacity drops at lower temperatures. A chiller rated at 1kW at 20°C might deliver only 400W at -20°C. Always check the capacity at your operating temperature, not the headline number.
Sizing rules of thumb:
- Add 20-25% margin above your calculated heat load for safety
- Account for peak loads, not just steady-state operation
- If multiple instruments share one chiller, sum their simultaneous maximum loads
- For batch processes, factor in the pull-down time from ambient to setpoint
Undersizing means the chiller runs at 100% continuously, shortening compressor life and never quite reaching setpoint on warm days. Oversizing by 50%+ means you paid for capacity that cycles on and off excessively, also reducing longevity and increasing wear on contactors.
3. Temperature Stability and Precision: When Does ±0.1°C Matter?
Temperature stability (how much the actual temperature fluctuates around setpoint) and precision (the resolution of control) are different specs with different price implications.
| Stability Level | Typical Applications | Cost Impact |
|---|---|---|
| ±2-5°C | General equipment cooling, laser diodes, electronics | $ |
| ±0.5-1°C | HPLC columns, spectrophotometers, viscometers | $$ |
| ±0.1-0.5°C | Calorimetry, PCR thermal cycling, pharmaceutical QC | $$$ |
| ±0.01-0.1°C | Reference standards, calibration baths, precision rheometry | $$$$ |
What drives stability:
- Compressor type: Variable-speed (inverter) compressors modulate output smoothly. Fixed-speed compressors cycle on/off, creating temperature swings.
- Control algorithm: PID control with properly tuned parameters holds tighter than simple on/off logic.
- Thermal mass: Larger fluid reservoirs dampen oscillations but slow response time.
- Heat exchanger design: Plate heat exchangers transfer heat faster than coil-in-tank designs, enabling quicker corrections.
Don’t overspend on precision you won’t use. If you’re cooling a rotary evaporator condenser, ±1°C is fine. If you’re running isothermal calorimetry, ±0.1°C is a hard requirement. Know which camp your application falls in before comparing specs.
4. Pump Performance: Flow Rate and Pressure for Your Application
The internal circulation pump must deliver enough flow at enough pressure to move fluid through your entire system — tubing, connectors, instrument heat exchangers, and back. An undersized pump means inadequate heat transfer regardless of the chiller’s cooling capacity.
What to evaluate:
- Flow rate (L/min): Your instrument manufacturer specifies a minimum flow rate. The chiller must deliver at least that much at the system’s actual pressure drop — not at zero back-pressure.
- Pressure (bar or psi): Long tubing runs, small-bore fittings, and complex manifolds all add resistance. More pressure overcomes more restriction.
- Pump curve: Flow and pressure are inversely related. Ask for the pump curve chart. Find your system’s pressure drop on the Y-axis and read across to confirm adequate flow.
Common pitfalls:
- Using 1/4″ tubing over a 3-meter run when 3/8″ would halve the pressure drop
- Ignoring elevation changes — pumping fluid up 2 meters costs roughly 0.2 bar
- Daisy-chaining multiple instruments on one pump without checking if total flow is sufficient for all
Practical tip: If your instrument needs 2 L/min at 0.5 bar back-pressure, choose a chiller whose pump delivers at least 3 L/min at 0.5 bar. The 50% margin accounts for aging tubing, fluid viscosity increases at low temperatures, and future system additions.
5. Physical Size: Benchtop vs. Floor-Standing, and Fume Hood Fit
Lab space is expensive and usually allocated long before the chiller arrives. Size constraints are non-negotiable — unlike specs you might compromise on, a chiller either fits or it doesn’t.
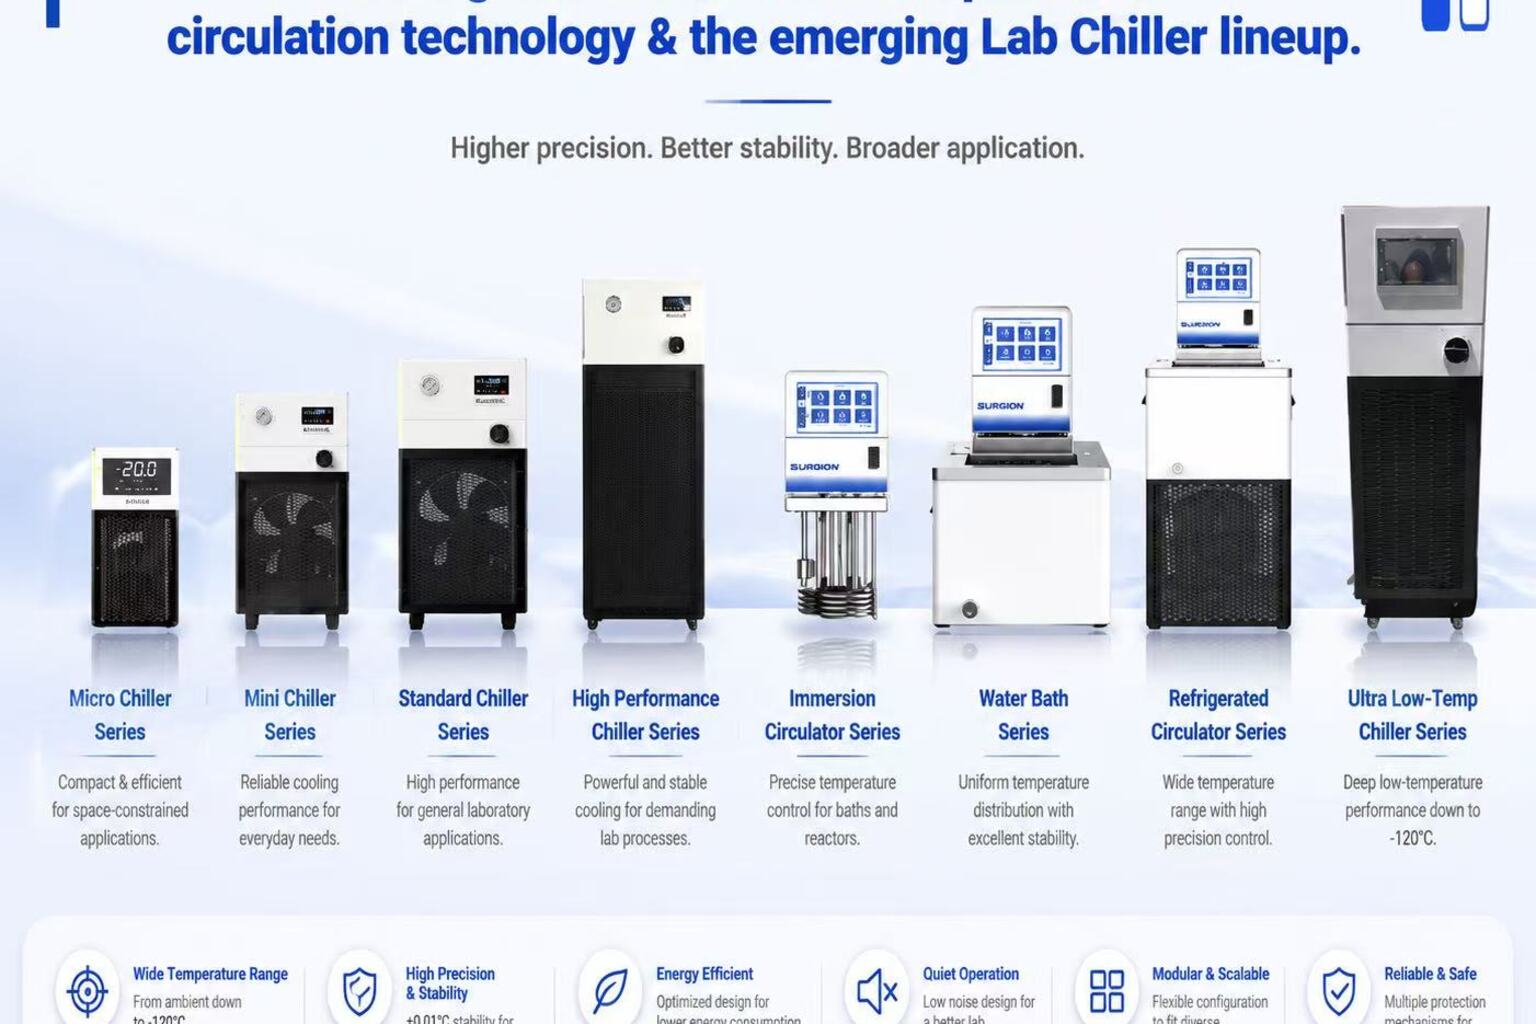 –>
Form factors:
| Type | Typical Capacity | Footprint | Best For |
|---|---|---|---|
| Benchtop / countertop | 200W – 2kW | 30×40 cm to 50×60 cm | Individual instruments, limited space |
| Under-bench | 500W – 3kW | Fits below standard 90cm bench | Keeping bench space clear |
| Floor-standing | 2kW – 20kW+ | 60×80 cm and up | High-capacity, multi-instrument cooling |
| Fume hood compatible | 200W – 1kW | Must fit within hood opening | Volatile solvents, toxic materials |
Dimensions to verify:
- Height including any top-mounted reservoir or controls
- Depth including rear connections and minimum clearance for ventilation
- Weight — can your bench support it? Fully loaded with fluid?
- Ventilation clearance — air-cooled chillers need 10-15 cm on exhaust side minimum
Fume hood placement: If your application involves volatile or toxic substances, the chiller may need to sit inside the hood. This severely limits your options. Look for units specifically designed with compact dimensions and front-facing ventilation that won’t compromise hood airflow.
6. Noise Level: Lab Environment Considerations
Noise rarely makes the shortlist — until the chiller is installed 2 meters from where someone sits for 8 hours a day. Compressor-based chillers produce noise. The question is how much and whether it matters for your space.
Reference points:
- 35-45 dB(A): Comparable to a quiet library or whispered conversation. Acceptable for open-plan labs, shared offices adjacent to labs.
- 45-55 dB(A): Normal conversation level. Fine for dedicated equipment rooms, tolerable in labs with other noise sources.
- 55-65 dB(A): Noticeably loud. Should be in a separate room or enclosed space.
- 65+ dB(A): Requires hearing protection for prolonged exposure. Equipment room only.
Noise reduction strategies:
- Variable-speed compressors run quieter at partial load (most of the time) compared to fixed-speed units at full blast
- Vibration-isolating feet or rubber mats reduce structure-borne noise transmission
- Placing the chiller under a bench (with adequate ventilation) uses the bench as a partial sound barrier
- Water-cooled condensers are quieter than air-cooled (no condenser fan) but require facility water
Ask for the noise spec at typical operating conditions, not just at minimum load. A chiller that’s 42 dB(A) at 50% capacity might hit 58 dB(A) when the compressor runs full-speed on a hot day.
7. Budget and Total Cost of Ownership
Purchase price is the most visible cost but rarely the largest over a chiller’s 10-15 year lifespan. Total cost of ownership (TCO) includes energy, water, maintenance, and downtime.
TCO breakdown:
| Cost Category | Recirculating Chiller | Single-Pass Tap Water |
|---|---|---|
| Purchase price | $3,000 – $15,000+ | $0 (just a hose) |
| Annual water cost | ~$0 (closed loop) | $2,000 – $8,000+ |
| Annual energy cost | $200 – $800 | $0 |
| Maintenance | Fluid changes, filter cleaning | Scale removal, valve replacement |
| Temperature control | ±0.1°C achievable | Varies with supply temperature |
| 10-year TCO | $5,000 – $25,000 | $20,000 – $80,000+ |
A recirculating chiller typically pays for itself within 1-3 years compared to single-pass cooling, depending on local water rates. In water-scarce regions or facilities with sustainability mandates, the payback is even faster.
Hidden costs to budget for:
- Coolant fluid: Some units require specific (expensive) heat transfer fluids. Others run on simple water-glycol mixes.
- Replacement parts: Pump seals, fan motors, and control boards. Ask about parts availability and lead times.
- Downtime cost: What happens to your research timeline when the chiller fails? Redundancy or rapid service response may justify a higher purchase price.
- Installation: Electrical requirements (single-phase vs. three-phase), plumbing, ventilation modifications.
Budget tip: Get quotes for 2-3 capacity tiers. Sometimes the next size up costs only 15-20% more but gives you headroom for future equipment additions.
Putting It All Together: A Decision Framework
Rather than optimizing each factor independently, prioritize based on your application:
- Start with non-negotiables: Temperature range and physical size are usually hard constraints. These narrow the field immediately.
- Calculate required capacity: This is math, not preference. Get it right.
- Match precision to application: Don’t pay for ±0.1°C if ±1°C serves your purpose.
- Verify pump compatibility: Confirm flow and pressure meet your instrument’s requirements at operating temperature.
- Evaluate environment fit: Noise and size become deciding factors between otherwise equal options.
- Compare TCO: The cheapest unit often isn’t the cheapest to own.
When Compact Design and Precision Converge
For labs where space is limited but temperature precision cannot be compromised, RIGID’s MiniCool™ countertop recirculating chiller delivers 450W to 1kW of cooling capacity at temperatures down to -40°C with ±0.1°C stability — in a footprint designed to sit on a bench, under it, or inside a fume hood. For higher-capacity requirements (1.3kW to 4.6kW), the MidiCool™ series provides the same precision at -40°C to 0°C for larger instruments and multi-device configurations.
Both lines use variable-speed compressor technology to maintain tight temperature control while minimizing energy consumption and noise output.
Frequently Asked Questions
What size laboratory chiller do I need for my application?
Calculate your total heat load in watts at your operating temperature: sum up instrument waste heat, reaction enthalpy, pump energy, and ambient heat gain. Add a 20-25% safety margin. Then verify the chiller’s published cooling capacity at your specific setpoint temperature — not the maximum rated capacity, which is measured at higher temperatures.
How much does a laboratory chiller cost to operate annually?
A typical recirculating lab chiller costs $200-$800 per year in electricity, depending on capacity and duty cycle. This is significantly less than single-pass tap water cooling, which can run $2,000-$8,000+ annually in water costs alone. Recirculating chillers also eliminate concerns about supply water temperature fluctuations affecting your results.
Can I place a laboratory chiller inside a fume hood?
Yes, but only chillers specifically designed for it. The unit must have a compact enough footprint to fit within the hood opening, front-facing ventilation that doesn’t disrupt hood airflow, and adequate clearance for heat dissipation. Standard floor-standing or large benchtop chillers are not suitable for fume hood placement.
What temperature stability do I need for HPLC or analytical work?
Most HPLC column temperature control and general analytical instruments perform well with ±0.5°C stability. For high-precision calorimetry, reference standard calibration, or applications where small temperature changes affect measurement accuracy, ±0.1°C or tighter is required. Match the stability spec to your instrument manufacturer’s recommendations.
Not Sure Which Specs You Need?
Get a personalized sizing recommendation from RIGID’s application engineers. Share your instrument details, temperature requirements, and space constraints — we’ll identify the right chiller configuration for your lab.