
Lab Chiller Maintenance: A Practical Schedule to Prevent Downtime
Laboratory chillers operate quietly in the background of research facilities, medical labs, and industrial testing environments. They hold temperatures steady so that instruments produce reliable data and sensitive processes stay within tolerance. When a chiller fails unexpectedly, the consequences go far beyond a repair bill. Experiments stall, samples degrade, and production schedules slip by days or weeks.
A structured laboratory chiller maintenance program is the single most effective way to prevent those disruptions. This guide lays out a practical, task-by-task schedule you can adapt to your own facility, along with troubleshooting guidance and answers to frequently asked questions.
Why Laboratory Chiller Maintenance Matters
Chillers are mechanical systems with moving parts, flowing fluids, and heat-exchange surfaces that degrade over time. Without regular attention, small issues compound into major failures. Here are three reasons a proactive maintenance approach pays for itself many times over.
Prevent Unplanned Failures
Most chiller breakdowns do not happen without warning. A slightly clogged condenser raises head pressure gradually. A slow coolant leak drops fluid level over weeks. A worn pump bearing vibrates a little more each day. Each of these problems is easy and inexpensive to fix when caught early. Left unchecked, they cascade into compressor damage, overheating shutdowns, or catastrophic leaks that halt operations entirely.
Routine laboratory chiller maintenance catches these early-stage symptoms before they become emergencies. A ten-minute daily check can save thousands in emergency repairs and lost research time.
Maintain Temperature Precision
Many laboratory processes require temperature stability within fractions of a degree. Analytical instruments, laser systems, PCR thermal cyclers, and chemical reactors all depend on consistent coolant delivery. As condensers accumulate dust, coolant degrades, or flow rates drop, the chiller works harder to maintain setpoint—and eventually cannot keep up.
Scheduled maintenance keeps heat-exchange surfaces clean, coolant chemistry within specification, and flow rates at design capacity. The result is stable, precise temperature control throughout the chiller’s service life.
Extend Equipment Life
A well-maintained laboratory chiller can operate reliably for many years. Compressors last longer when head pressures stay within design limits. Pumps last longer when coolant is clean and free of particulates. Seals and hoses last longer when fluid chemistry remains neutral rather than turning acidic from neglect.
The cost of preventive maintenance is a fraction of early replacement. For labs running tight budgets, keeping existing equipment in service as long as possible is a practical financial strategy.
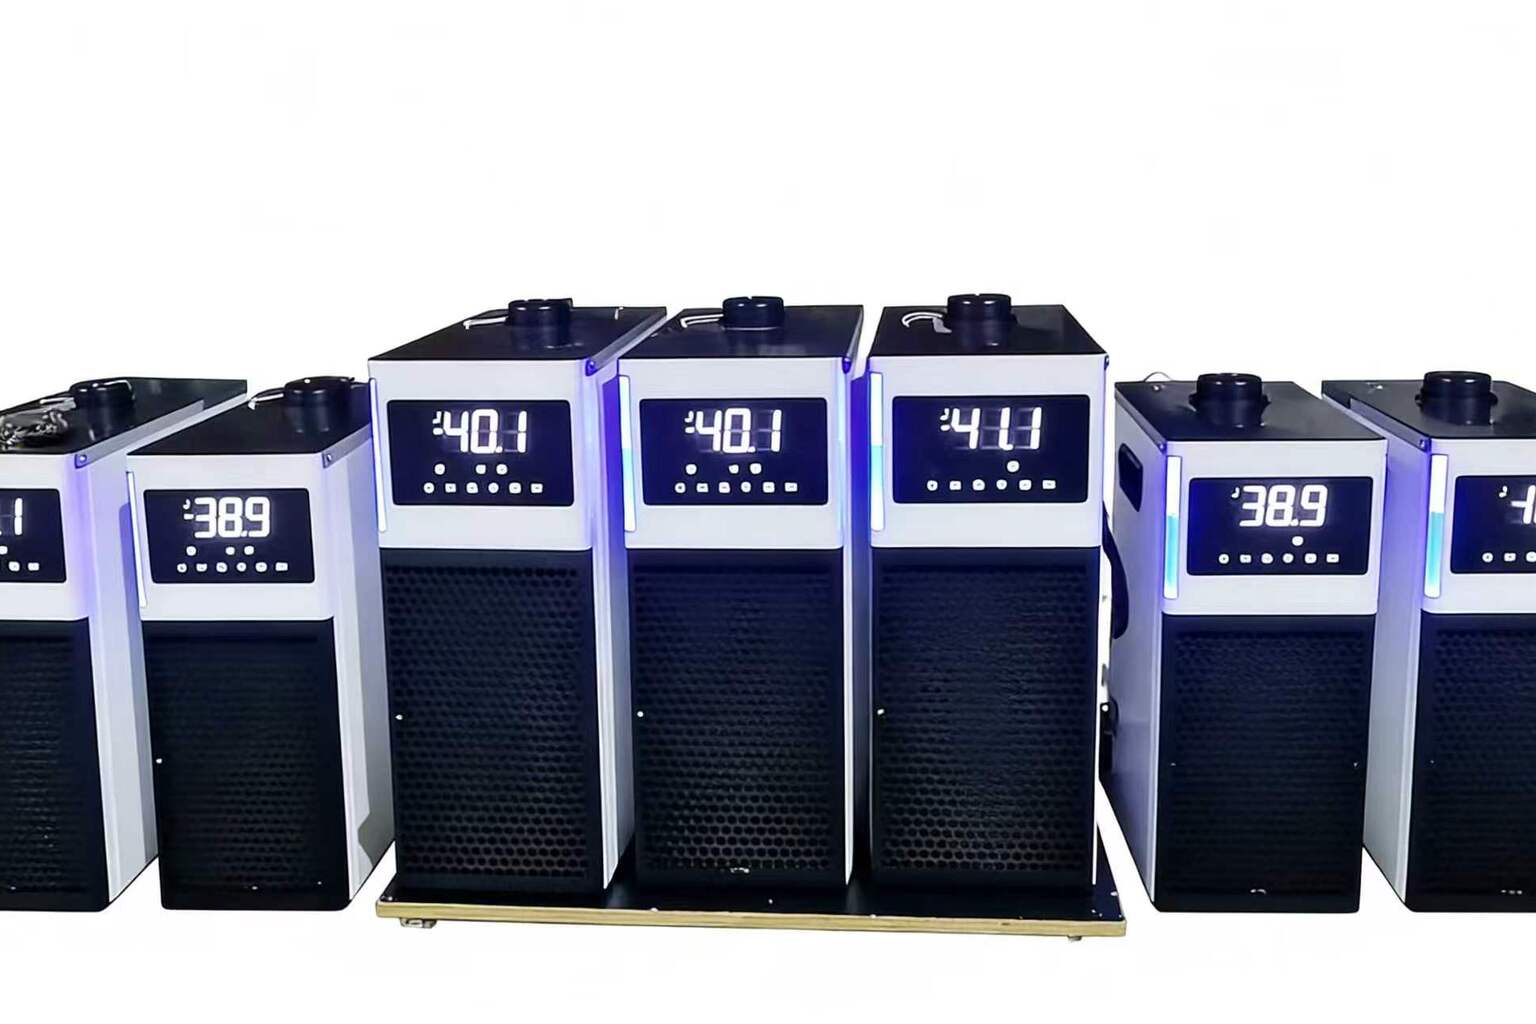
Laboratory Chiller Maintenance Schedule
The following table organizes maintenance tasks by frequency. Use it as a starting template and adjust intervals based on your environment. Dusty labs or high-runtime applications may need more frequent condenser cleaning, while climate-controlled cleanrooms may allow slightly longer intervals.
| Frequency | Task | Purpose |
|---|---|---|
| Daily | Check coolant level in reservoir | Detect leaks early; prevent pump cavitation |
| Daily | Verify temperature readout matches setpoint | Confirm control loop is functioning |
| Daily | Listen for unusual noise or vibration | Catch bearing wear, loose components |
| Daily | Confirm airflow around condenser is unobstructed | Prevent overheating from blocked ventilation |
| Weekly | Inspect coolant color and clarity | Detect contamination or chemical breakdown |
| Weekly | Check hose connections for drips or moisture | Catch slow leaks before they worsen |
| Weekly | Wipe exterior surfaces and air intake grilles | Reduce dust ingress into condenser |
| Monthly | Clean condenser coils or fins | Maintain heat rejection efficiency |
| Monthly | Test coolant pH and concentration | Ensure corrosion protection remains active |
| Monthly | Inspect pump for vibration or noise changes | Identify impeller or bearing degradation |
| Monthly | Verify all alarm and safety cutoff functions | Confirm protection systems remain operational |
| Quarterly | Replace or clean air filters (if equipped) | Maintain airflow volume through condenser |
| Quarterly | Inspect electrical connections and wiring | Prevent loose connections from causing faults |
| Annually | Full coolant drain, flush, and refill | Remove accumulated contaminants and restore chemistry |
| Annually | Inspect compressor for refrigerant leaks | Maintain cooling capacity and efficiency |
| Annually | Calibrate temperature sensors and controllers | Ensure displayed values match actual output |
| Annually | Check and replace worn seals, gaskets, hoses | Prevent future leaks from aged components |
Condenser Cleaning: The Highest-Impact Task
If you could only perform one maintenance task on a regular basis, condenser cleaning would deliver the greatest return. The condenser is where your chiller rejects heat to the surrounding air. When dust, lint, or debris coat the fins or coils, heat transfer drops and the compressor must work harder to maintain temperature.
How Dirty Condensers Cause Problems
A fouled condenser raises condensing pressure. Higher pressure means the compressor draws more current, generates more heat internally, and cycles more frequently. Over weeks and months, this accelerates wear on valves, bearings, and motor windings. In extreme cases, high-pressure safety switches trip and shut the unit down entirely.
In laboratory environments, even moderate dust accumulation can raise operating pressures enough to reduce cooling capacity by a noticeable margin. The chiller may still run, but it struggles to hold setpoint under full load.
Cleaning Procedure
For most air-cooled laboratory chillers, condenser cleaning is straightforward:
- Power down the chiller and disconnect from power if accessing internal components.
- Remove any external panels or grilles covering the condenser.
- Use compressed air (low pressure, around 30 PSI) or a soft brush to remove dust from the fins. Blow air in the opposite direction of normal airflow to push debris out rather than deeper in.
- For stubborn buildup, use a coil cleaner spray designed for HVAC equipment. Follow the product’s dwell time, then rinse gently if the manufacturer permits wet cleaning.
- Inspect fins for bending or damage. Straighten bent fins with a fin comb to restore airflow.
- Replace panels, restore power, and verify normal operating pressures and temperatures.
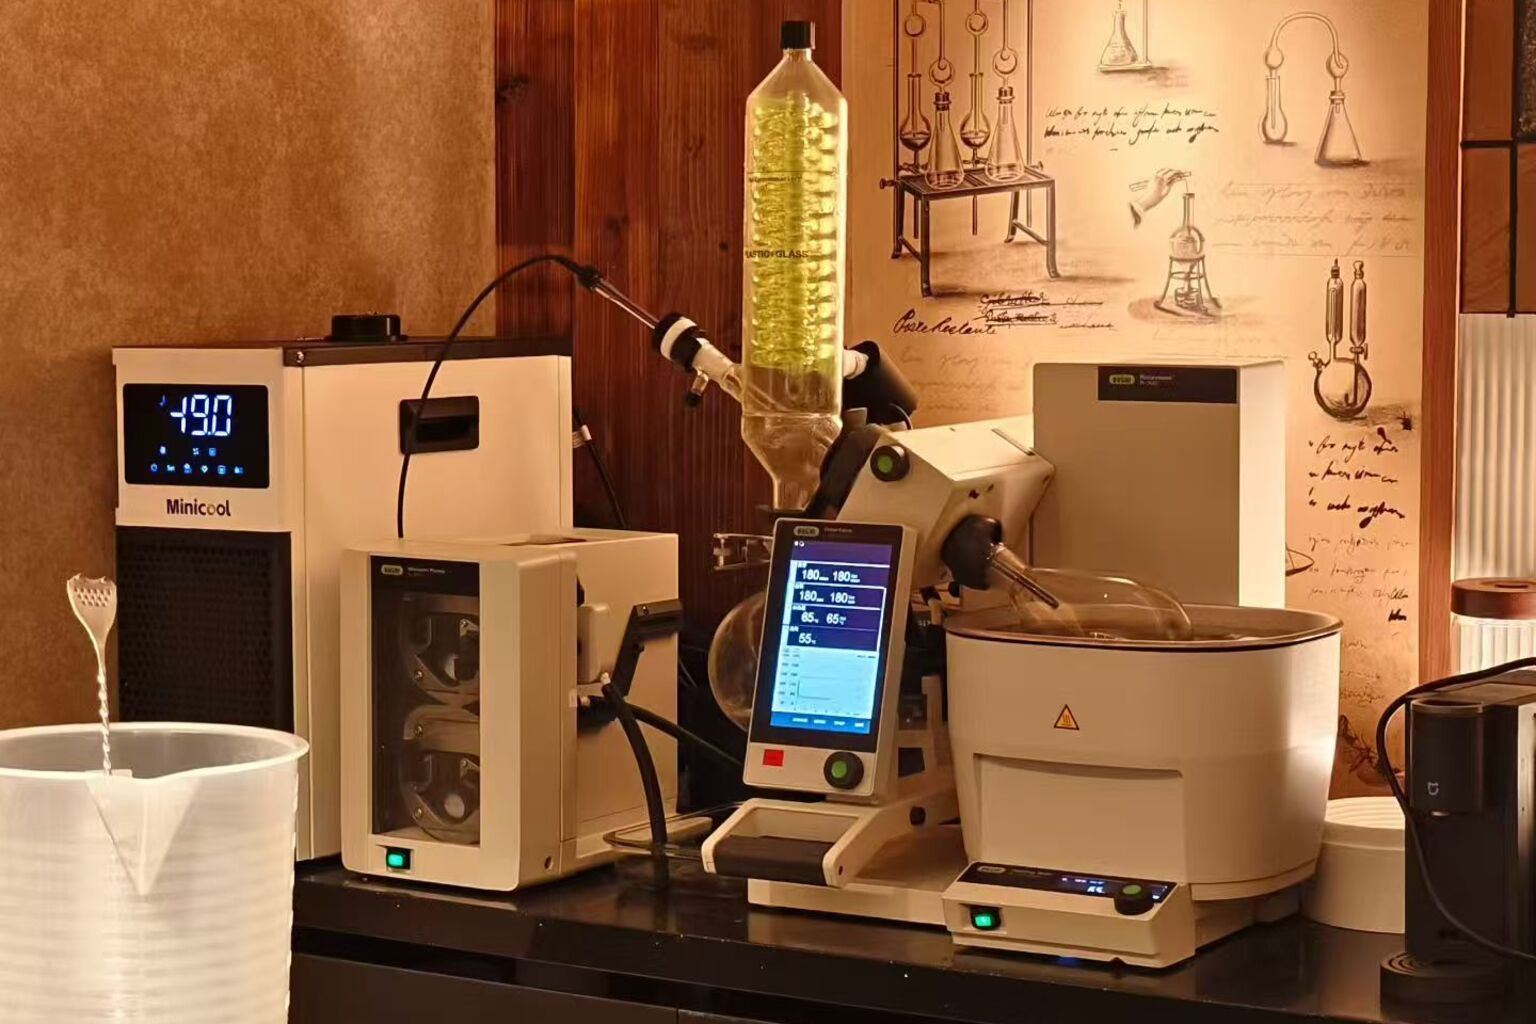
The RIGID MiniCool™ countertop recirculating lab chiller is designed with front-facing service ports and accessible condenser placement, making this cleaning process quick and tool-minimal. The compact form factor means you can reach all maintenance-critical surfaces without removing the unit from its bench position.
Coolant Monitoring and Replacement
Coolant is the working fluid that carries heat from your instruments to the chiller’s evaporator. Its condition directly affects heat transfer efficiency, pump longevity, and internal corrosion rates.
What to Monitor
Level: Check the reservoir daily. A dropping level indicates a leak somewhere in the loop. Even small losses matter—if the level drops below the pump inlet, the pump cavitates, introducing air bubbles that reduce cooling performance and damage the impeller.
Color and clarity: Fresh coolant is typically clear or lightly tinted. Cloudy, dark, or discolored fluid suggests biological growth, chemical breakdown, or contamination from corroding metals in the loop. Any visible particles or sediment warrant immediate attention.
pH: Most coolant mixtures include corrosion inhibitors that maintain a slightly alkaline pH. As inhibitors deplete, pH drifts toward acidic. Monthly pH testing with a simple test strip catches this drift before corrosion begins attacking internal surfaces.
Concentration: If using a glycol-water mixture, verify the ratio remains within specification. Evaporation over time can shift the balance, changing both freezing point and heat transfer characteristics.
Replacement Procedure
Annual coolant replacement is standard practice for most laboratory chillers. The process involves:
- Drain the reservoir and loop completely through the drain port.
- Flush the system with clean water or a compatible flushing solution to remove deposits.
- Inspect the reservoir interior for scale, biofilm, or sediment. Clean as needed.
- Refill with fresh coolant mixed to the manufacturer’s specification.
- Run the chiller briefly with the fill port open to purge trapped air.
- Top off the reservoir to the correct level and verify stable operation.
Document the date, coolant type, and concentration for your maintenance records. This history helps diagnose future issues and ensures consistency across service intervals.
Pump Inspection and Care
The circulation pump is the heart of your chiller’s fluid loop. It moves coolant through your instruments and back to the evaporator at a consistent flow rate. Pump failures stop cooling immediately, making regular inspection critical to your laboratory chiller maintenance program.
What to Check
Noise: A healthy pump produces a consistent, low hum. Grinding, rattling, or intermittent sounds indicate bearing wear, impeller damage, or cavitation from low fluid level or air ingestion.
Vibration: Place your hand on the pump housing during operation. A smooth buzz is normal. Harsh vibration or pulsing suggests impeller imbalance or a partially blocked inlet.
Flow rate: If your system includes a flow meter, record readings monthly. Declining flow may indicate pump wear, a developing restriction in the loop, or increased fluid viscosity from coolant degradation.
Seal condition: Check around the pump shaft seal for any signs of weeping or dripping. Mechanical seals wear over time, and a small drip today becomes a significant leak next month.
Extending Pump Life
Keep coolant clean and at the correct level. Particulates in the fluid accelerate impeller and seal wear. Air ingestion from low fluid levels causes cavitation damage. Running the pump dry, even briefly, can destroy seals in minutes. These are all preventable with consistent daily and weekly checks.
Common Failure Signs to Watch For
Recognizing early warning signs is a core skill for anyone responsible for laboratory chiller maintenance. The following symptoms indicate developing problems that need attention before they cause downtime.
- Temperature instability: The chiller cycles between overshooting and undershooting setpoint. This may indicate a dirty condenser, low refrigerant charge, or a failing expansion device.
- Increased run time: The compressor runs longer or continuously where it previously cycled off. The system is losing cooling capacity, often from fouled heat exchangers or low refrigerant.
- Elevated noise level: Any new or louder sound warrants investigation. Compressor knocking, pump grinding, or fan rattling all point to specific component issues.
- Coolant consumption: If you are adding coolant more than once a month, there is a leak in the system that needs to be located and repaired.
- Error codes or alarms: Do not simply reset alarms and continue operating. Each alarm indicates a condition that exceeded safe limits. Investigate the root cause before resuming operation.
- Condensation or frost on refrigerant lines: Unusual frost patterns on suction lines may indicate low refrigerant charge or restricted airflow. Condensation on surfaces that are normally dry suggests environmental or insulation issues.
- Higher electrical consumption: If you monitor power draw, a gradual increase over weeks indicates the system is working harder—typically from fouled condensers or degrading compressor efficiency.
Troubleshooting Quick Guide
When problems arise, this quick reference helps you identify likely causes and appropriate responses.
| Symptom | Likely Causes | Action |
|---|---|---|
| Chiller not cooling; compressor not running | Power supply issue; high-pressure lockout; thermal overload tripped | Check power connections; inspect condenser cleanliness; allow cool-down period and reset |
| Compressor runs but temperature rises | Low refrigerant; blocked condenser; fan failure | Clean condenser; verify fan operation; call technician for refrigerant check |
| Temperature oscillates around setpoint | Dirty condenser causing high pressure cycling; incorrect control settings; low coolant flow | Clean condenser; verify flow rate; check control parameters |
| Low or no coolant flow | Low reservoir level; pump failure; blocked filter or strainer | Refill coolant; inspect pump operation; clean strainers |
| Unusual noise from unit | Fan blade obstruction; pump cavitation; loose panel or component | Inspect fan clearance; check coolant level; tighten all panels and fasteners |
| Coolant level dropping consistently | Hose connection leak; pump seal failure; reservoir crack | Inspect all connections; check pump seal area; pressure test if needed |
| Unit shuts down on high-pressure alarm | Condenser severely fouled; ambient temperature too high; condenser fan not running | Thorough condenser cleaning; verify ventilation; check fan motor and wiring |
For issues involving refrigerant charge, compressor internals, or electrical faults beyond basic connections, contact a qualified service technician. These repairs require specialized tools and training.
Building a Maintenance Culture
The most effective laboratory chiller maintenance programs succeed because they become habit rather than afterthought. A few practical steps help build this culture in your facility:
- Assign responsibility: Designate a specific person or role for daily and weekly checks. When everyone is responsible, no one is.
- Use a logbook or digital tracker: Record each check, observation, and service action with dates. This history is invaluable for diagnosing intermittent problems and planning replacements.
- Post the schedule visibly: A laminated checklist near the chiller serves as a constant reminder and makes it easy for anyone to verify that checks are current.
- Stock basic supplies: Keep coolant, test strips, compressed air, cleaning supplies, and spare hose clamps on hand. If performing maintenance requires a trip to the supply room, it is less likely to happen on time.
- Review and adjust: Every six months, review your maintenance log. If certain issues recur, shorten the interval for related tasks. If everything runs smoothly, your schedule is working.
The MiniCool™ from RIGID supports this maintenance-friendly approach with its compact, bench-accessible design. Front-facing service ports mean daily visual checks take seconds rather than minutes, and monthly cleaning tasks do not require moving the unit or disconnecting plumbing. When maintenance is easy, it gets done consistently.
Frequently Asked Questions
How often should I perform laboratory chiller maintenance?
Daily visual checks (coolant level, temperature, noise) take only a minute or two and should never be skipped. Weekly inspections add fluid condition and connection checks. Monthly tasks include condenser cleaning and coolant chemistry testing. A full annual service covers coolant replacement, sensor calibration, and component inspection. This layered approach catches problems at every stage of development.
What type of coolant should I use in my lab chiller?
Always follow the manufacturer’s recommendation for coolant type and concentration. Most laboratory chillers use either distilled water, a deionized water and propylene glycol mixture, or a specialized heat transfer fluid. Using the wrong coolant can damage seals, reduce heat transfer, or void your warranty. When in doubt, contact the manufacturer before filling.
Can I clean the condenser while the chiller is running?
It is safer and more effective to power down the chiller before cleaning the condenser. This prevents debris from being pulled into the unit during cleaning and eliminates any risk from spinning fan blades. If your process cannot tolerate downtime, schedule condenser cleaning during planned maintenance windows or shift changes.
What are the signs that my chiller needs professional service rather than routine maintenance?
Call a qualified technician when you observe refrigerant leaks (oily residue near fittings), compressor electrical faults, repeated high-pressure shutdowns after condenser cleaning, unusual compressor noises that do not resolve with basic inspection, or any situation where the unit fails to reach setpoint despite all user-serviceable components being in good condition. Professional service is also appropriate for annual refrigerant system inspections and any warranty-related repairs.