
Chiller Acceptance Test: Why Lab Machines Skip It and Pay Later
A plant chiller arrives with a commissioning engineer, a method statement, and a signed test report. A laboratory chiller arrives in a box, gets filled, plugged in, and judged by a single criterion: the display reached setpoint. Everything else about its condition — capacity, stability, protections, fluid — is assumed from the fact that it is new.
The cost of skipping a chiller acceptance test is not usually a dead-on-arrival machine; those announce themselves. The cost is the absence of baselines. Two years later, when pull-down has stretched and the pump sounds different, there is no commissioning record to compare against — and “has it degraded or was it always like this” becomes unanswerable, for the owner and for the manufacturer’s support engineer alike.
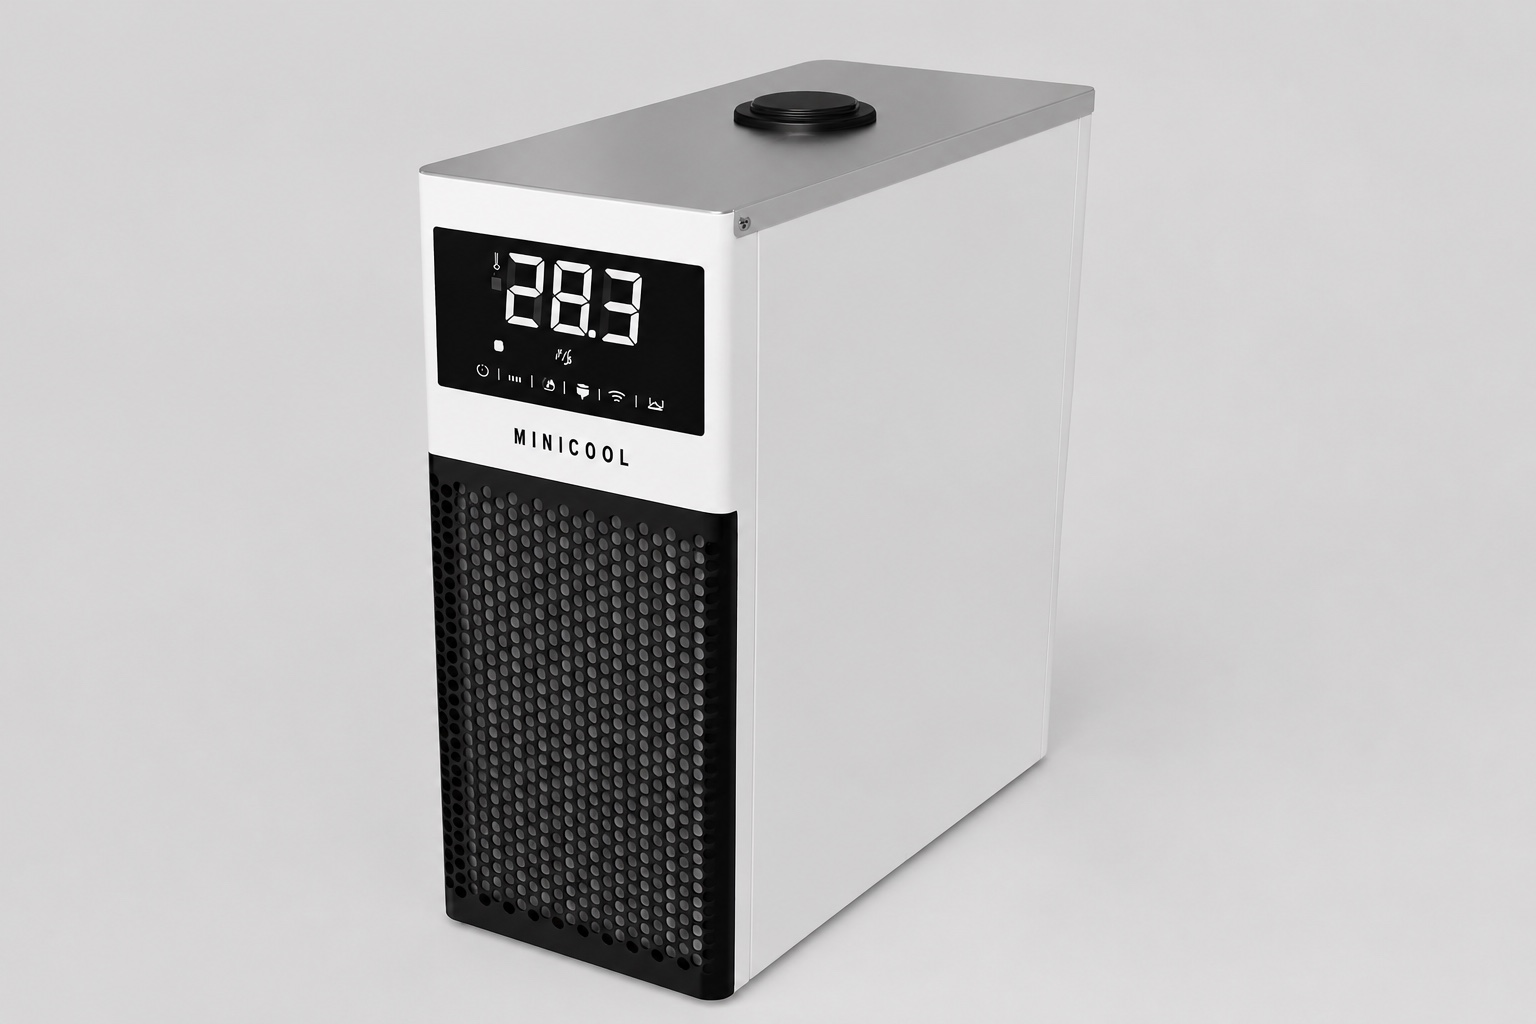 The sequence below fits in one afternoon, needs a thermometer, a stopwatch, a refractometer if glycol is involved, and a notebook that will outlive the person holding it. It is written for lab-scale recirculating machines — the MiniCool class and its neighbors — not for plant equipment with its own contractual commissioning.
Stage 1: Before Power
- Unpack against the order: model, voltage variant, port sizes, included accessories. Photograph any transit damage before the packaging leaves the room — claims age badly.
- Placement against the manual’s clearances: condenser intake and discharge unobstructed, and discharge not aimed at the intake of anything else, including its own. Warm discharge recirculating into the intake is the single most common self-inflicted derate in bench installations, and it is invisible until someone holds a hand in the airflow.
- Hose routing without tight bends, rated for the coldest setpoint planned, clamped at both ends. Insulation on any run that will operate sub-zero.
- Fill with the correct fluid mixed to the correct ratio — and verify the ratio with a refractometer after circulation, not from the bucket arithmetic; the mixing pitfalls are covered in the glycol ratio guide. Keep a sealed reference jar of the fill; it is the comparison standard for every future fluid check.
- Record ambient temperature. Every performance number that follows is conditional on it.
Stage 2: First Power and Idle Behavior
- Power at the nameplate voltage, measured at the machine’s inlet under load if the supply is at all questionable — generators and long extension runs both sag, and a start attempt is the only moment the sag shows its true depth.
- Pump-only circulation first where the controller allows: verify flow, listen for cavitation, watch the level as trapped air leaves the loop and top up to the mark. Ten minutes of pump-only running finds most plumbing mistakes before refrigeration can disguise them.
- Let the refrigeration start and settle. Note the sound signature — this is the reference for every future “it sounds different” conversation, and it costs thirty seconds of attention. A chiller acceptance test is mostly the discipline of noticing things while they are still normal.
Stage 3: the Timed Pull-Down
One number carries more diagnostic value than any other in a chiller acceptance test: time from ambient-temperature start to setpoint, with the loop in its normal configuration.
- Start from a genuinely warm loop — a machine that idled cold overnight gives a flattering, unrepeatable number.
- Time to the working setpoint, and note the curve’s character: steady descent that slows toward the bottom is normal physics; stalls, oscillation, or a floor above setpoint are findings, not quirks.
- Record time, start temperature, setpoint, and ambient together. The four travel as a set — any three without the fourth lose most of their value.
This is the baseline that later separates fluid degradation, fouling, and genuine capacity loss from imagination. Its diagnostic career is covered in our coolant selection guide; acceptance day is the only day the pristine version of the number can be captured.
Stage 4: Hold and Load
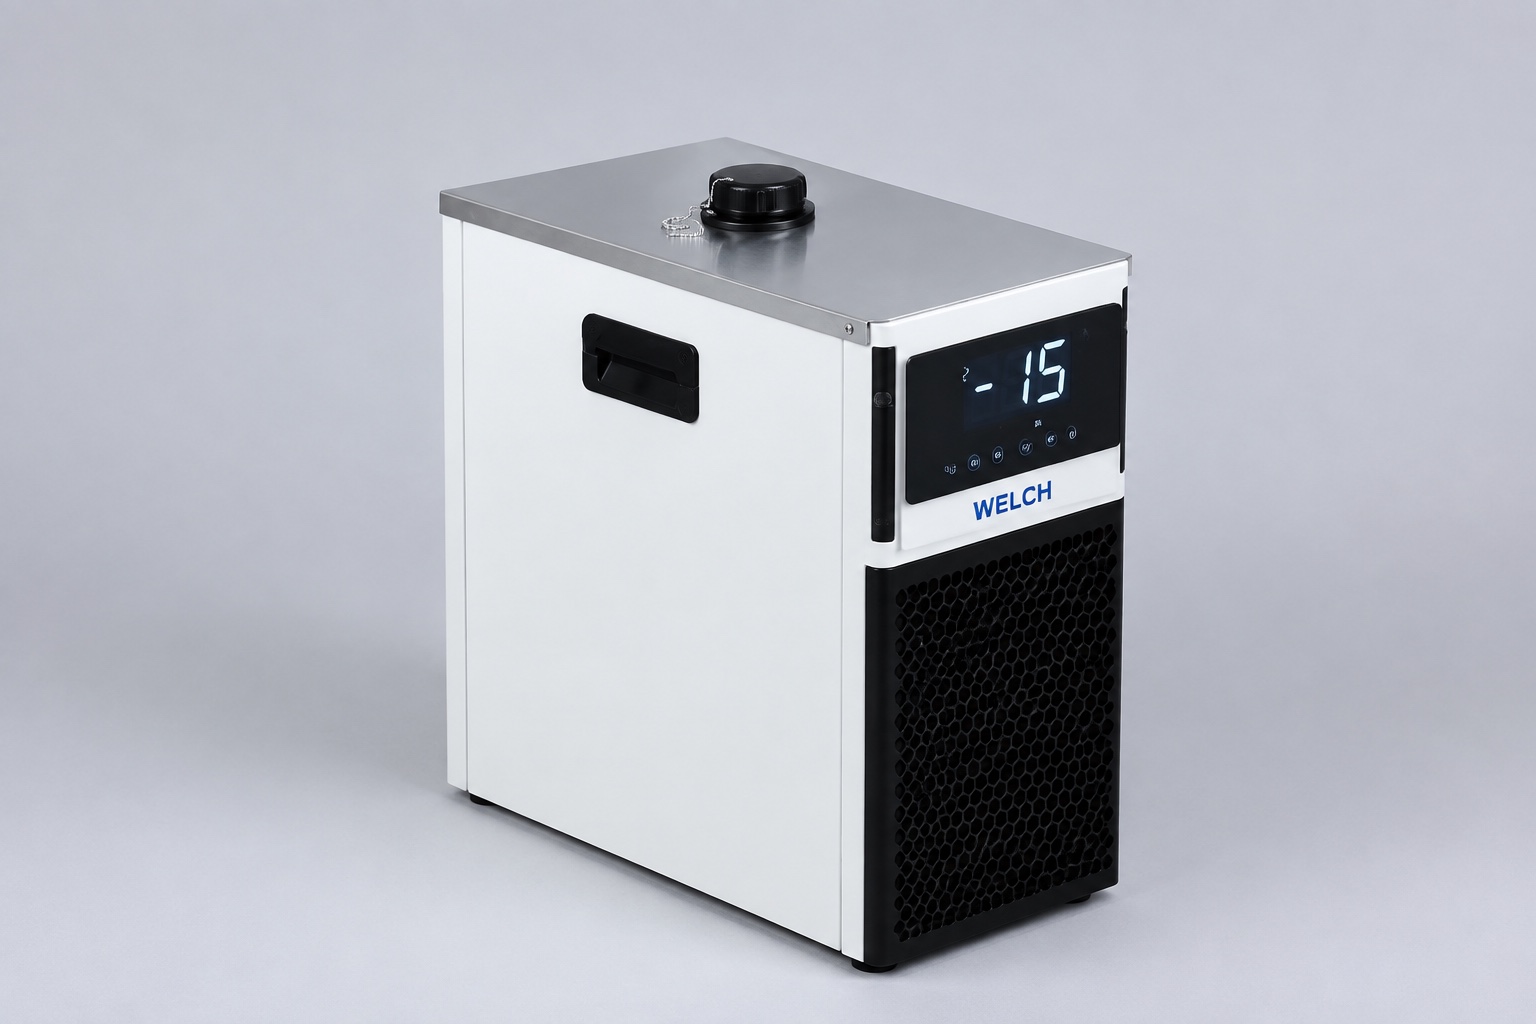 Holding is a different test from arriving. Pull-down exercises the machine at full effort against a falling temperature; holding exercises the control loop against a steady one, and the two fail independently — a machine can descend beautifully and then hunt around setpoint all day, or hold rock-steady but take twice the expected time to arrive. Acceptance needs a verdict on both. With the loop at setpoint:
- Stability unloaded: watch the displayed and, better, an independently measured loop temperature for a settling period. Small, regular cycling around setpoint is control behavior; drift or growing oscillation is not.
- Response to a load step where the application allows one — connect the instrument, or introduce a known heat source. The machine should dip, recover, and hold; how far it dips and how fast it recovers is the practical meaning of “capacity margin” for your loop, recorded once while everything is known-good.
- Check the actual loop temperature against the display with the independent probe. A small fixed offset is normal and worth writing down; correcting for a known offset beats trusting an unknown one.
Stage 5: Protections, Deliberately
Protection circuits are the parts everyone hopes never operate, which is exactly why acceptance is the moment to see them work.
- Low-flow response: briefly pinch or valve the return line and confirm the machine alarms or trips rather than running on. Restore and confirm recovery.
- Alarm behavior generally: does it latch, does it auto-restart, and is the restart behavior what an unattended overnight run needs it to be? The answer belongs in the handover notes, not in institutional memory.
- Confirm setpoint limits: that the controller refuses setpoints outside the machine’s published envelope, and where the fluid’s freeze point sits relative to the coldest setpoint anyone might dial in later. A fluid protected to −25 °C in a machine that will accept −40 °C is a standing invitation to a frozen evaporator, and acceptance day is when the mismatch is cheapest to fix — by fluid, by controller limit, or by a written warning in the record.
Do not improvise protection tests beyond what the manual sanctions — the goal is witnessing the designed responses, not inventing fault conditions the design never claimed to cover.
The First Week Is Part of the Test
The afternoon establishes the baselines; the first week of real duty confirms them under conditions no bench test reproduces. Three low-effort extensions of the chiller acceptance test:
- Recheck the fluid level after the first days of thermal cycling. Loops swallow trapped air slowly, and the level that was correct on day one commonly drops once the last pockets clear. Topping up now, with the correct mixture, closes out the fill.
- Re-verify the ratio once after a week of circulation — a fill diluted by flush water left in the loop shows itself here, while the reference jar is still fresh and the correction is still cheap.
- Note the first real duty cycle’s behavior: how the machine handles the instrument’s actual load pattern, where the display sits during the heaviest hour. This is the number the load-step test approximated; the real one supersedes it in the record.
After the week, close the record and file it where the machine’s future operators will actually find it — taped inside a cabinet door has outlived more document management systems than it should have.
What Goes in the Handover Record
| Item | Why it earns its line |
|---|---|
| Model, serial, firmware if shown, delivery date | Anchors every future support conversation |
| Fluid type, ratio, refractometer reading, fill date | The fluid clock starts here |
| Pull-down time + start temp + setpoint + ambient | The primary performance baseline |
| Hold behavior and display-versus-probe offset | Separates control drift from sensor drift later |
| Load-step dip and recovery | The measured meaning of margin for this loop |
| Protection responses observed | Documents that they worked when new |
| Sound notes, photos of installation | The cheap evidence future disputes want |
One page is enough. Its value is not the page; it is that every later symptom gets compared against a measured “new” instead of a remembered one — and that a warranty conversation opens with data instead of impressions. The record also transfers: labs rotate people faster than they rotate equipment, and the machine’s third operator inherits either a baseline or a mythology. The page is cheaper than the mythology.
Acceptance Failures Worth Escalating
Most acceptance findings are installation-side: a starved condenser, a kinked hose, a ratio mixed wrong — which is good news, because installation-side findings are fixed by the person who found them, the same afternoon, at no cost beyond mild embarrassment. Sorting findings into “mine” and “theirs” honestly is half the discipline; the machine gets blamed for its environment far more often than the reverse. The findings that justify a call to the supplier before further use:
- Pull-down that stalls far above setpoint at documented ambient, with clean airflow and verified fluid — a capacity question the seller should answer while the machine is newest.
- A protection that demonstrably fails to respond in a sanctioned test.
- Persistent oscillation or drift at steady conditions that no settling period cures.
- Any refrigerant-circuit symptom — oil traces, frost where the manual says none belongs. The sealed circuit is not user territory; evidence beats exploration.
The published envelope is the reference for all of it: for the MiniCool range that is 450–850 W across 0 to −40 °C, model-dependent, on the MiniCool product page; positive-temperature loops belong to the DV compact liquid chiller family instead, and acceptance for those runs the identical sequence with a gentler fluid. A machine tested against its own published numbers, on its first afternoon, with the results written down, is the least dramatic insurance a lab ever buys.
If an acceptance finding needs a second opinion, send the following and our engineers will advise: model and serial, the recorded pull-down set, ambient, fluid and verified ratio, what stalled or tripped, and photographs of the installation. Send your acceptance record to our engineering team.
Frequently Asked Questions
What should a chiller acceptance test include?
Five stages: physical and installation checks before power; first-power idle behavior; a timed pull-down from a warm start with ambient recorded; hold stability and a load-step response; and deliberate operation of the protection circuits the manual sanctions. The output is a one-page baseline record, which is the test’s real product.
How long does lab chiller commissioning take?
One afternoon for a lab-scale recirculating machine — most of it waiting on the pull-down and settling periods rather than working. The instruments are a thermometer, a stopwatch, a refractometer where glycol is involved, and a notebook. Plant-scale chillers with contractual commissioning are a different exercise entirely.
Why time the pull-down on a brand-new machine?
Because the number is only pristine once. Pull-down time embeds capacity, fluid condition, flow, and installation quality in a single measurement; recorded new, it becomes the reference that later separates fluid aging, coil fouling, and genuine faults. Without it, “slower than it used to be” is an impression rather than a finding.
Should I really test the protection circuits?
The sanctioned ones, yes — briefly restricting flow to witness the low-flow response, and observing alarm and restart behavior. A protection that has never been seen to operate is a hope, not a feature, and acceptance is the cheapest moment to convert it. Stay inside what the manual permits; the test is of designed responses, not invented faults.
What if the chiller acceptance test finds a shortfall?
Separate installation-side causes first: condenser airflow, hose routing, fluid ratio verified by refractometer, and supply voltage under load. If the shortfall survives those checks at a documented ambient, escalate to the supplier immediately with the recorded numbers — a capacity conversation is strongest while the machine is newest, and data-backed reports age far better than impressions.
Do I need to repeat the test later?
Not in full. Repeat the timed pull-down and the fluid checks at service intervals — six-monthly is a common rhythm — under conditions as close to the baseline as practical. The comparison against acceptance-day numbers is the entire point of having taken them.