
Your mini fridge stopped cooling. The compressor clicks, hums for a second, then shuts off — or it does nothing at all. You have two choices: buy another cheap mini fridge that will fail the same way in two years, or replace the compressor with something better. A DC compressor upgrade changes the game entirely.
This guide covers whether a DC compressor swap makes sense for your situation, what is involved mechanically and electrically, and where the idea does not work.
Why Your Mini Fridge Compressor Failed
Most mini fridges use small AC reciprocating compressors manufactured for the lowest possible cost. These units have predictable failure modes:
- Stuck compressor. The motor cannot overcome starting friction after sitting idle or after a power surge damages the start winding. The compressor draws locked-rotor current for a few seconds, trips the overload protector, clicks off, tries again. Repeat until you notice the warm beer.
- Failed start relay or PTC device. The starting circuit that gives the motor its initial kick wears out. The compressor motor is fine but cannot start. This is actually the cheapest fix — a $5 relay — but most people do not diagnose it separately from compressor failure.
- Refrigerant leak. Cheap aluminum evaporators develop pinhole leaks at stress points. The system loses charge slowly over months. The compressor runs continuously but cannot cool because there is insufficient refrigerant mass to carry heat. Eventually the compressor overheats from lack of suction gas cooling.
- Winding failure. The motor insulation breaks down from repeated thermal cycling, voltage spikes, or simply age. The compressor draws excessive current, trips the breaker or overload, and will not restart.
The common theme: these failures relate to the AC motor design (brush-equivalent wear mechanisms, starting circuit complexity, sensitivity to power quality) and cost-driven material choices. A BLDC DC compressor eliminates several of these failure paths by design.
DC Mini Fridge Compressor: What Changes in the Upgrade
Replacing an AC compressor with a DC unit is not a direct swap. The physical form factor, electrical interface, and system control all differ. Here is what the conversion involves:
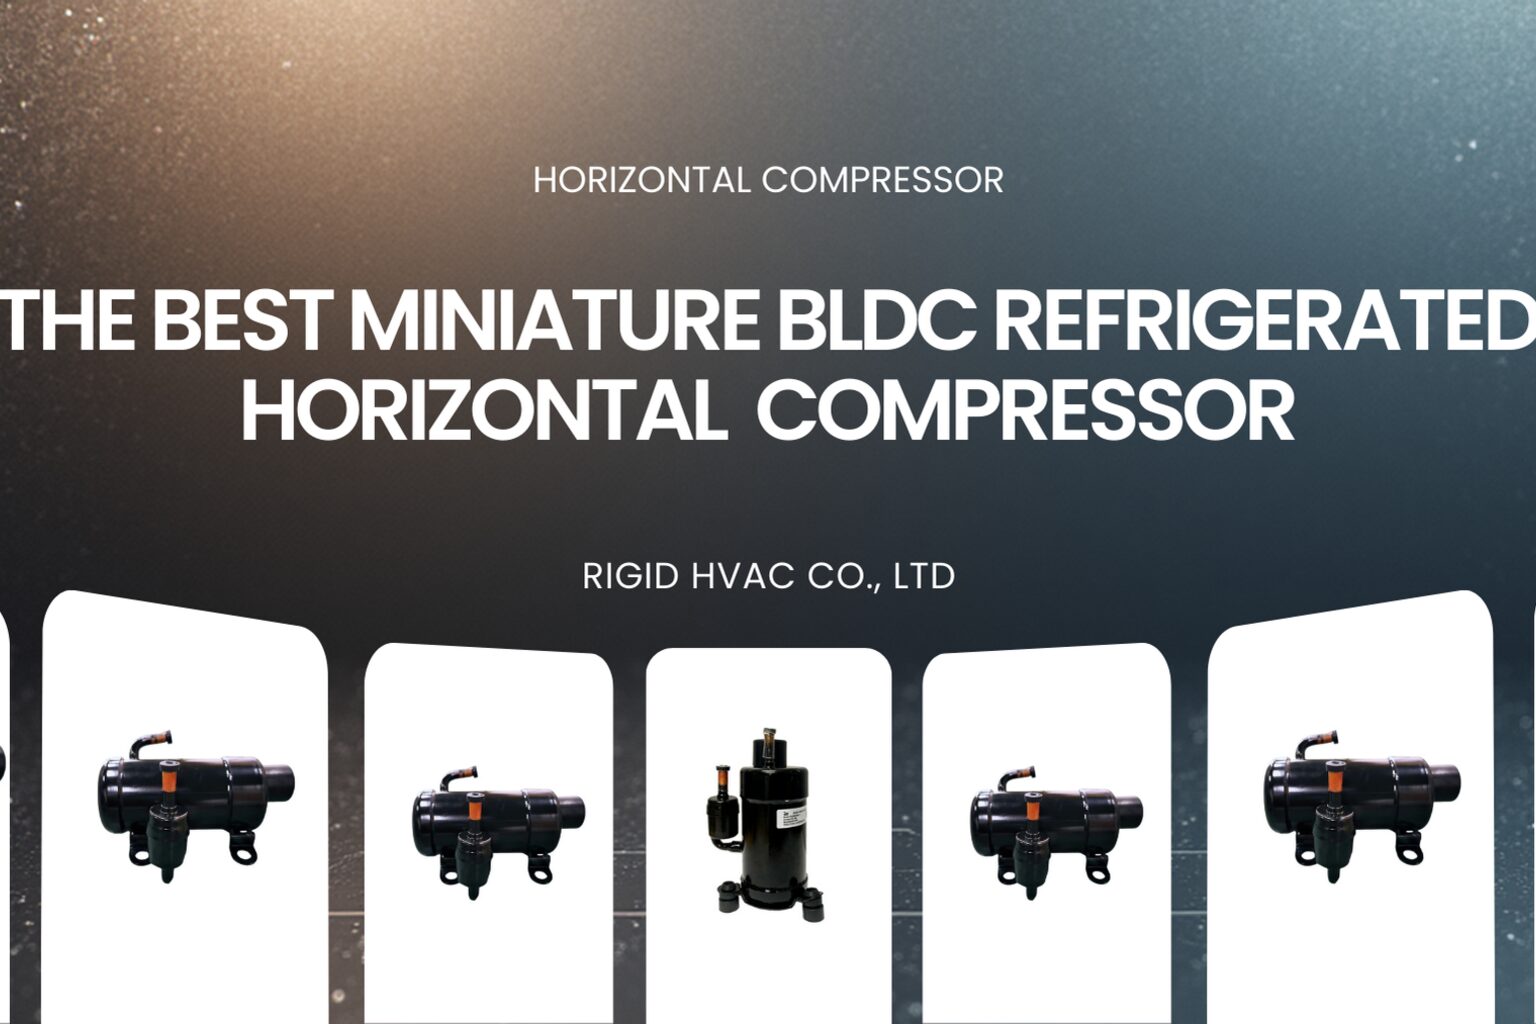
Physical mounting: A standard mini fridge AC compressor is a vertical can approximately 100-130mm diameter × 150-180mm tall, mounted on the back lower section. RIGID DC compressors are horizontal rotary units, typically 89mm diameter × 158mm length. You will need to fabricate a mounting bracket and possibly relocate the compressor within the fridge chassis.
Electrical system: The AC compressor runs from 110V/220V mains through a thermostat and start relay. The DC compressor needs 12V or 24V DC power from either a power supply (for grid operation) or direct battery connection (for off-grid use). You will need:
- A 12V or 24V DC power supply (if running from mains): 150-200W capacity, quality switching supply with good regulation
- The BLDC motor controller (usually supplied with the compressor or integrated)
- Temperature controller: a simple digital thermostat with relay output, or a microcontroller sending speed commands to the BLDC controller
Refrigerant circuit: The existing evaporator and condenser may be reusable if they are in good condition and compatible with the new compressor’s refrigerant. Key considerations:
- If the original system used R134a and the new compressor uses R134a, the heat exchangers are directly compatible
- Capillary tube may need resizing — the DC compressor operates at different flow rates than the original AC unit
- System charge amount will need recalculation based on new compressor displacement and line volumes
- All connections must be properly brazed and the system evacuated before charging
When the DC Upgrade Makes Sense
Not every dead mini fridge deserves a DC compressor transplant. The upgrade makes financial and practical sense in these scenarios:
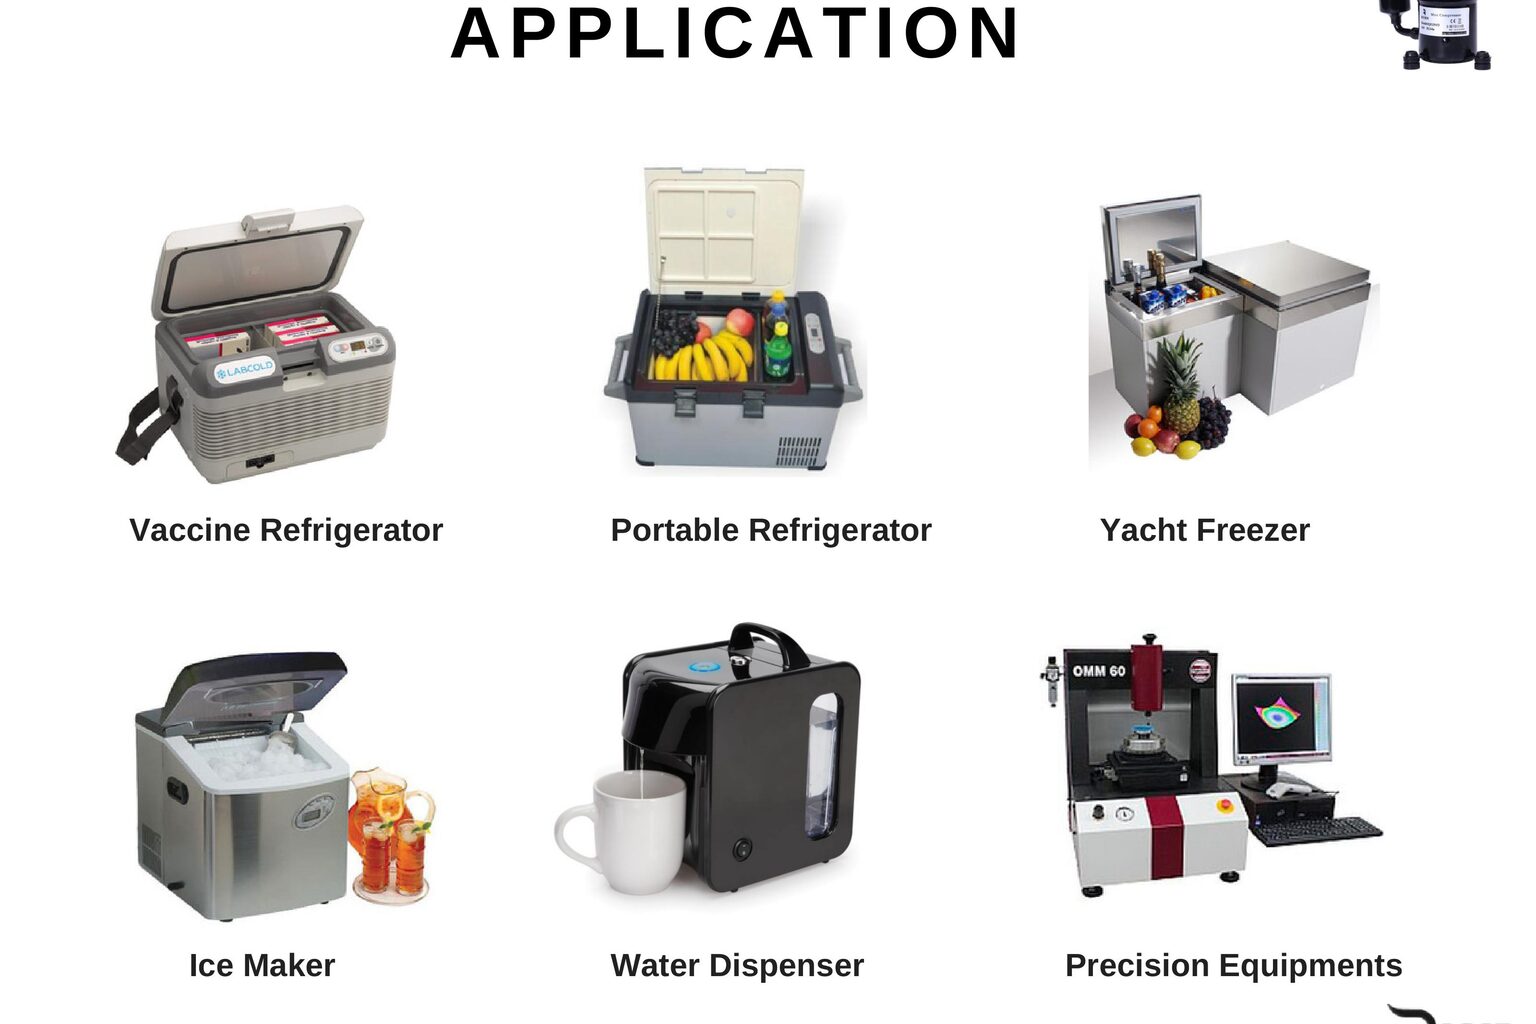
Off-grid or solar-powered operation: If you want the fridge to run from a 12V battery bank or solar panel system, a DC compressor eliminates the inverter entirely. A typical mini fridge draws 60-80W average from an AC compressor through an inverter. The same cooling from a variable-speed DC compressor might draw 30-50W directly from the battery — better efficiency, no inverter loss, no inverter to fail.
 Vehicle or boat installation: Converting a mini fridge for vehicle use requires DC operation anyway. Rather than running the AC compressor through an inverter (inefficient, noisy, hard on the inverter), a DC compressor runs natively from the vehicle’s electrical system.
Noise reduction: AC mini fridge compressors are notoriously loud in small spaces — bedrooms, offices, dorm rooms. They cycle on and off with a noticeable click-and-hum pattern. A BLDC DC compressor running at variable speed operates significantly quieter, especially at partial load. No startup click, no cycling noise.
Longer lifespan: If you are tired of replacing cheap mini fridges every 2-3 years, investing in a quality DC compressor with 50,000+ hour design life gives you a fridge that outlasts several generations of disposable units.
Learning project: If you enjoy DIY refrigeration and want to understand vapor compression systems hands-on, this conversion teaches you more about refrigeration than a degree in HVAC. You will learn system design, brazing, evacuation, charging, and controls.
When It Does Not Make Sense
Honest assessment saves time and money:
- The fridge cost less than the compressor. A $60 mini fridge with a dead compressor is not worth a $210+ DC compressor plus power supply plus mounting hardware plus your time. Buy a new fridge.
- The evaporator or condenser is damaged. If the original heat exchangers have leaks, corrosion, or contamination, replacing just the compressor does not fix the system. You need a complete refrigeration system at that point.
- You lack brazing equipment and refrigerant handling tools. Connecting refrigerant lines requires silver brazing (or flare fittings if available), a vacuum pump, manifold gauges, and refrigerant. Renting or buying this equipment costs $200-500. If this is a one-time project, the economics do not work.
- Grid power is reliable and cheap. If you just want a working mini fridge on mains power and noise does not bother you, buying a new unit is faster and cheaper than converting.
Step-by-Step Conversion Overview
For those proceeding with the conversion, here is the high-level process. Each step requires specific skills and tools — this is not a beginner project:
- Recover existing refrigerant using a recovery machine (legally required in most jurisdictions — venting refrigerant is illegal and environmentally harmful).
- Remove the old compressor, start relay, and overload protector. Cut the refrigerant lines at the compressor connections.
- Design and fabricate the mounting bracket for the new DC compressor. Ensure vibration isolation with rubber grommets.
- Connect refrigerant lines. Braze or flare-fit the suction and discharge lines from the existing evaporator and condenser to the new compressor ports. Install a new filter-drier.
- Size and install the capillary tube. The original cap tube may work if both systems use R134a at similar capacity. If not, calculate the correct length and ID based on the new operating conditions.
- Install the electrical system: DC power supply, BLDC controller, temperature sensor, and control logic. Wire with appropriate gauge for the DC current draw.
- Evacuate the system with a vacuum pump to below 500 microns. Hold vacuum for 30 minutes to confirm no leaks.
- Charge with refrigerant. Weigh in the calculated charge amount. Start with manufacturer’s recommendation and adjust based on operating superheat and subcooling measurements.
- Test and tune. Monitor temperature stability, compressor current draw, and suction/discharge pressures. Adjust controller speed settings for optimal COP at your target temperature.
Choosing the Right DC Compressor for Mini Fridge Conversion
For a standard mini fridge (40-100 liter capacity, target 3-5°C), you need approximately 80-150W of cooling capacity at steady state. The appropriate compressor choices:
- QX1901VDL (12V, 110-360W): The most popular choice for mini fridge conversions. At partial speed (providing ~100W cooling), it draws approximately 3-4A at 12V. Small enough to fit in most mini fridge chassis with creative mounting. Price: $210.
- QX1902VDL (24V, 125-400W): Better efficiency at higher voltage. Lower current draw means thinner wiring. Requires a 24V power supply or two 12V batteries in series. Price: $220.
Both use R134a refrigerant, which is compatible with most existing mini fridge heat exchangers and widely available for purchase (where legal in your jurisdiction for DIY use).
The variable speed capability means you can tune the compressor to run slowly and quietly for normal operation, then ramp up for quick pull-down after the door has been open. This behavior — impossible with the original AC compressor — is what makes the conversion worth doing for noise-sensitive applications.
For the complete compressor lineup with detailed specifications, dimensions, and performance curves, see the RIGID Mini Compressor product page.
Power Supply Selection for Mains-Connected Operation
If you want DC compressor benefits but still run from wall power, you need a quality DC power supply:
- Voltage: Match the compressor (12V or 24V)
- Current capacity: At least 2× the compressor’s maximum running current. A 12V compressor drawing 8A maximum needs a power supply rated for 16A continuous. This handles startup transients and keeps the supply running cool.
- Regulation: The BLDC controller needs stable voltage. Cheap supplies with poor regulation cause control instability. Look for supplies with ±3% or better regulation across the load range.
- Cooling: Fanless supplies run quieter (matching the quiet compressor) but derate at higher ambient. Fan-cooled supplies are smaller but add noise.
A quality 12V/200W switching power supply costs $25-50. Combined with the DC compressor, this gives you better efficiency than the original AC system because you eliminate the reactive power losses and starting current penalties of the AC motor.
Performance Comparison: DC vs Original AC in a Mini Fridge
To set realistic expectations, here is what changes when you swap the compressor in a typical 50-liter mini fridge:
| Parameter | Original AC Compressor | DC BLDC Compressor (QX1901VDL) |
|---|---|---|
| Power input (running) | 65-80W AC | 25-45W DC (variable) |
| Starting current | 4-6× running current | Soft start, 1.2× running |
| Noise (typical) | 42-48 dB | 32-38 dB at partial load |
| Temperature stability | ±3°C (cycling) | ±0.5°C (modulating) |
| Expected lifespan | 10,000-20,000 hours | 50,000+ hours |
| Off-grid capable | Requires inverter | Direct 12V battery |
| Pull-down time (25°C→5°C) | 45-60 minutes | 30-40 minutes (full speed) |
The energy savings are most dramatic in scenarios where the fridge runs 24/7 (as fridges do). At 50% average load, a DC compressor drawing 30W average versus an AC unit consuming 60W effective (including cycling losses and inverter inefficiency for off-grid) saves 720Wh per day. Over a year, that is 263 kWh — measurable on your electric bill or significant for battery sizing in an off-grid system.
Common Mistakes in Mini Fridge DC Conversion
Having seen hundreds of DIY conversion projects online, certain mistakes appear repeatedly:
- Skipping the vacuum pull. Air and moisture in the system destroy performance and eventually the compressor. You cannot flush a system with refrigerant and call it good. A proper vacuum pump and gauge set is non-negotiable.
- Wrong capillary tube. Using the original cap tube from an AC compressor with different displacement characteristics causes flooding (too long) or starving (too short) of the evaporator. If you do not have the equipment to measure superheat and adjust, start with the compressor manufacturer’s recommendation for your evaporator size.
- Undersized wiring. A 12V compressor drawing 8A maximum at full speed needs 14AWG minimum for runs under 3 feet. People use speaker wire and wonder why their voltage drops 2V at the compressor terminals. Voltage drop directly reduces compressor performance and can prevent starting.
- No temperature control. Running the compressor at fixed speed without any thermostat creates either an energy-wasting over-cooling cycle or frozen food. At minimum, use a digital temperature controller with a relay to enable/disable the compressor. Better: send a speed command proportional to temperature error.
- Ignoring oil compatibility. The new DC compressor has its own lubricant type (usually POE oil for R134a systems). Mixing with residual mineral oil from the old compressor can cause problems. Flush the system properly during conversion to remove old oil.
Cost Breakdown: Is the Upgrade Worth It?
Total conversion cost for a realistic DIY project:
- DC compressor (QX1901VDL): $210
- 12V power supply (200W, quality brand): $35-50
- Digital temperature controller: $15-25
- Mounting hardware, vibration isolators: $10-20
- Refrigerant (R134a, 12oz can): $10-15 (where legal for DIY purchase)
- Filter-drier and fittings: $15-30
- Miscellaneous (wire, connectors, tubing adapters): $20-30
Total: $315-380 (assuming you already have brazing equipment and a vacuum pump)
Compare against buying a new quality mini fridge ($150-400) or a purpose-built DC fridge ($400-800 for 12V models). The conversion makes economic sense primarily when:
- You already own the tools from other refrigeration work
- You want specific performance (ultra-quiet, off-grid, precise temperature) that commercial units do not offer at reasonable price
- The fridge chassis, shelving, and form factor are worth preserving (built-in units, custom installations)
- You value the learning experience and ongoing tuning capability
For most people replacing a dorm-room mini fridge that cost $89 new — just buy another mini fridge. For van-lifers building a custom galley, off-gridders optimizing solar budgets, or hobbyists who enjoy refrigeration engineering, the DC compressor conversion opens capabilities that no stock product offers at any price.