
A Mobile Laboratory Chiller Has to Survive the Road, Not Just the Bench
Bench chillers are designed for a static, level, conditioned room. Put one in a van, a trailer or a container-based field laboratory and the machine encounters four conditions its bench specification never addressed: road shock, tilt, an unstable electrical supply, and an ambient that swings further in a day than a laboratory does in a year.
None of those makes a mobile laboratory chiller installation impossible. They do mean the installation decisions are different from the ones that matter indoors, and that the failures come from mounting, orientation and power quality rather than from thermal performance. A machine that holds setpoint perfectly in a lab will still fail in a vehicle if the coolant sloshes out of the reservoir on the first corner.
This guide covers securing the machine and its fluid, orientation limits, the electrical supply, condenser airflow inside a vehicle, and what to check after the first few hundred kilometers.
The Four Conditions a Bench Specification Does Not Cover
| Condition | What changes | What it threatens |
|---|---|---|
| Road shock and vibration | Continuous broadband input at levels no bench sees | Fasteners, hose connections, refrigerant tubing, compressor mounts |
| Tilt and lateral acceleration | Reservoir surface moves; sustained tilt while parked | Pump priming, reservoir level sensing, coolant spillage |
| Vehicle electrical supply | Voltage sag during engine start, generator transients | Compressor start, controller resets, protective lockouts |
| Enclosed vehicle ambient | Interior can exceed outdoor temperature substantially | Condensing temperature, capacity, thermal cutouts |
Worth noting what is not on that list: cooling capacity. A machine correctly sized for a bench load is correctly sized for the same load in a vehicle, provided the condenser can still reject heat. Capacity becomes a problem only as a consequence of the fourth row, when compartment ambient drives condensing temperature up.
These are ranked roughly by how often they cause trouble. Mounting and fluid containment account for most first-month failures; power quality accounts for most intermittent ones; ambient accounts for the seasonal ones.
Mounting: Restrain the Mass, Isolate the Vibration
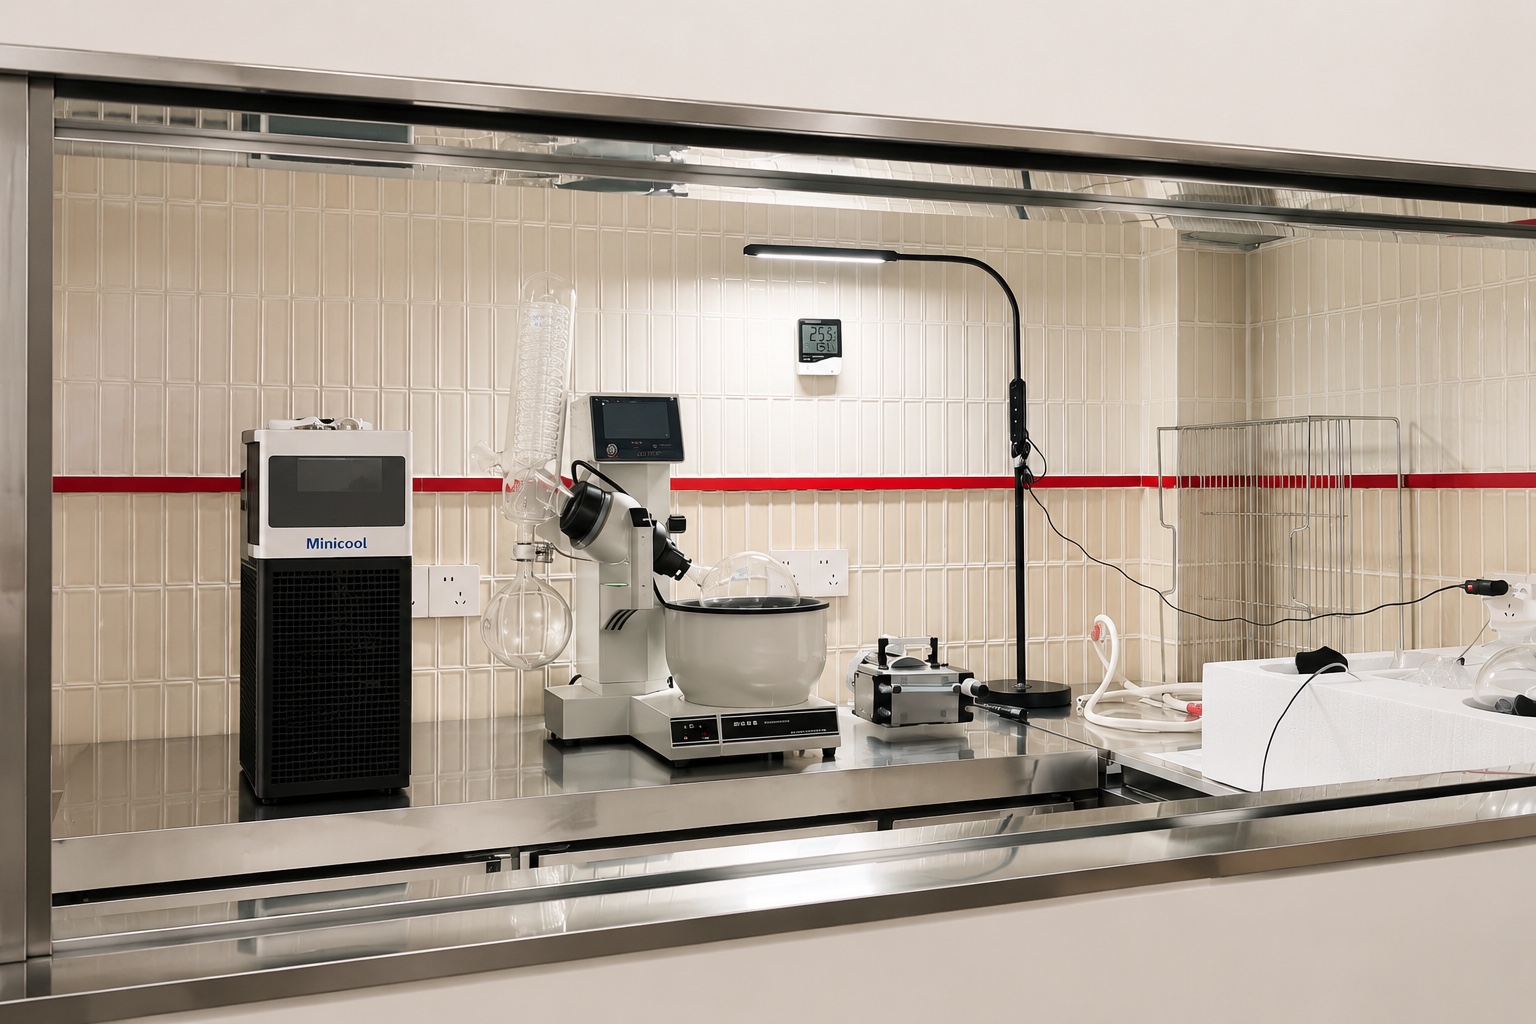 Mounting is where most mobile laboratory chiller installations are won or lost, and two requirements pull in opposite directions. The machine must not move relative to the vehicle, and the vehicle’s vibration should not pass directly into a machine containing a compressor and a pump on their own soft mounts.
The workable arrangement is restraint at the base plus compliance in the path:
- Bolt through to structure, not to panel. A chiller in the 18 to 25 kg range — the published weight for the MiniCool series — becomes a substantial projectile under braking. Fixings must reach vehicle structure, and the load path has to be checked in all three axes, not just downward.
- Use anti-vibration mounts sized for the actual mass. A mount chosen for a lighter machine bottoms out and transmits shock directly; one chosen for a heavier machine allows excessive movement.
- Leave slack and strain relief in every hose and cable crossing the isolated interface. A rigidly clamped hose across a compliant mount defeats the mount and fatigues the hose.
- Check the natural frequency of the mounted assembly against the vehicle’s dominant road input. A resonance amplifies rather than isolates.
The compressor and pump inside the machine already have internal isolation designed for a static installation. The external mount is being asked to handle road input, which is a different problem and needs its own solution. Acoustic and vibration isolation in static laboratory settings is covered separately in our discussion of chiller vibration and acoustic placement; the mobile case adds shock and sustained tilt on top of that.
Fluid Containment and Orientation
The second mobile laboratory chiller constraint is the fluid itself. A recirculating chiller carries an open or vented reservoir, and that reservoir behaves very differently in motion.
- Lateral acceleration moves the free surface. On a cornering vehicle the level at the pump inlet can drop far enough to draw air, and a pump that ingests air loses prime and stops moving fluid — with the loss of cooling appearing seconds later at the load.
- Sustained tilt while parked has the same effect without any motion at all. A vehicle parked across a slope can put the reservoir permanently off-level.
- Fluid that leaves the reservoir does not come back. Repeated slosh through a vent can lower the charge over weeks until the level alarm trips or the pump runs dry.
The failure sequence is worth spelling out because it is easy to misdiagnose. Air ingestion at the pump does not announce itself; the pump keeps turning and drawing current, so nothing electrical changes. What changes is flow, and the first visible symptom is the process warming while the chiller reports setpoint reached — the same signature as a blocked loop. On a vehicle, a fault that appears only on winding roads and clears on straight ones is almost always this.
Practical measures: fill to the level recommended for the installed orientation rather than to the maximum mark; site the machine so its long axis aligns with the direction of most frequent acceleration; establish the maximum tilt the installation will see, including parking, and verify operation at that angle before committing; and route any vent so that expelled fluid is captured rather than lost.
Because reservoir volume is not published for this range, the practical approach is to establish the safe operating level empirically on the installed machine at the tilt angles it will actually see.
Power: the Supply Is the Usual Culprit
A mobile laboratory chiller runs from a generator, an inverter, shore power, or a combination that switches between them. Each brings its own problem, and the symptom is almost always the same: the chiller stops, restarts, or refuses to start, without any thermal cause.
- Engine start sag. Cranking pulls the supply down briefly. If the chiller’s controller sees an undervoltage it may stop or lock out, and depending on the design it may not restart automatically.
- Generator transients on load step. A small generator responds to a compressor start with a voltage and frequency excursion that can trip protection.
- Transfer between sources. The break during a switch from shore power to generator can be long enough to drop the controller.
- Inverter waveform. Some equipment is sensitive to modified sine wave supplies in ways that only appear under load.
The MiniCool range is published as AC (120–240 V) or DC compatible, which widens the options — a DC-supplied machine avoids the inverter entirely in a vehicle that already has a DC bus. Where AC is used, size the generator for the compressor’s starting demand rather than its running demand, and confirm that the chiller restarts automatically after a supply interruption rather than requiring someone to press a button in the back of a moving vehicle.
Condenser Airflow Inside a Vehicle
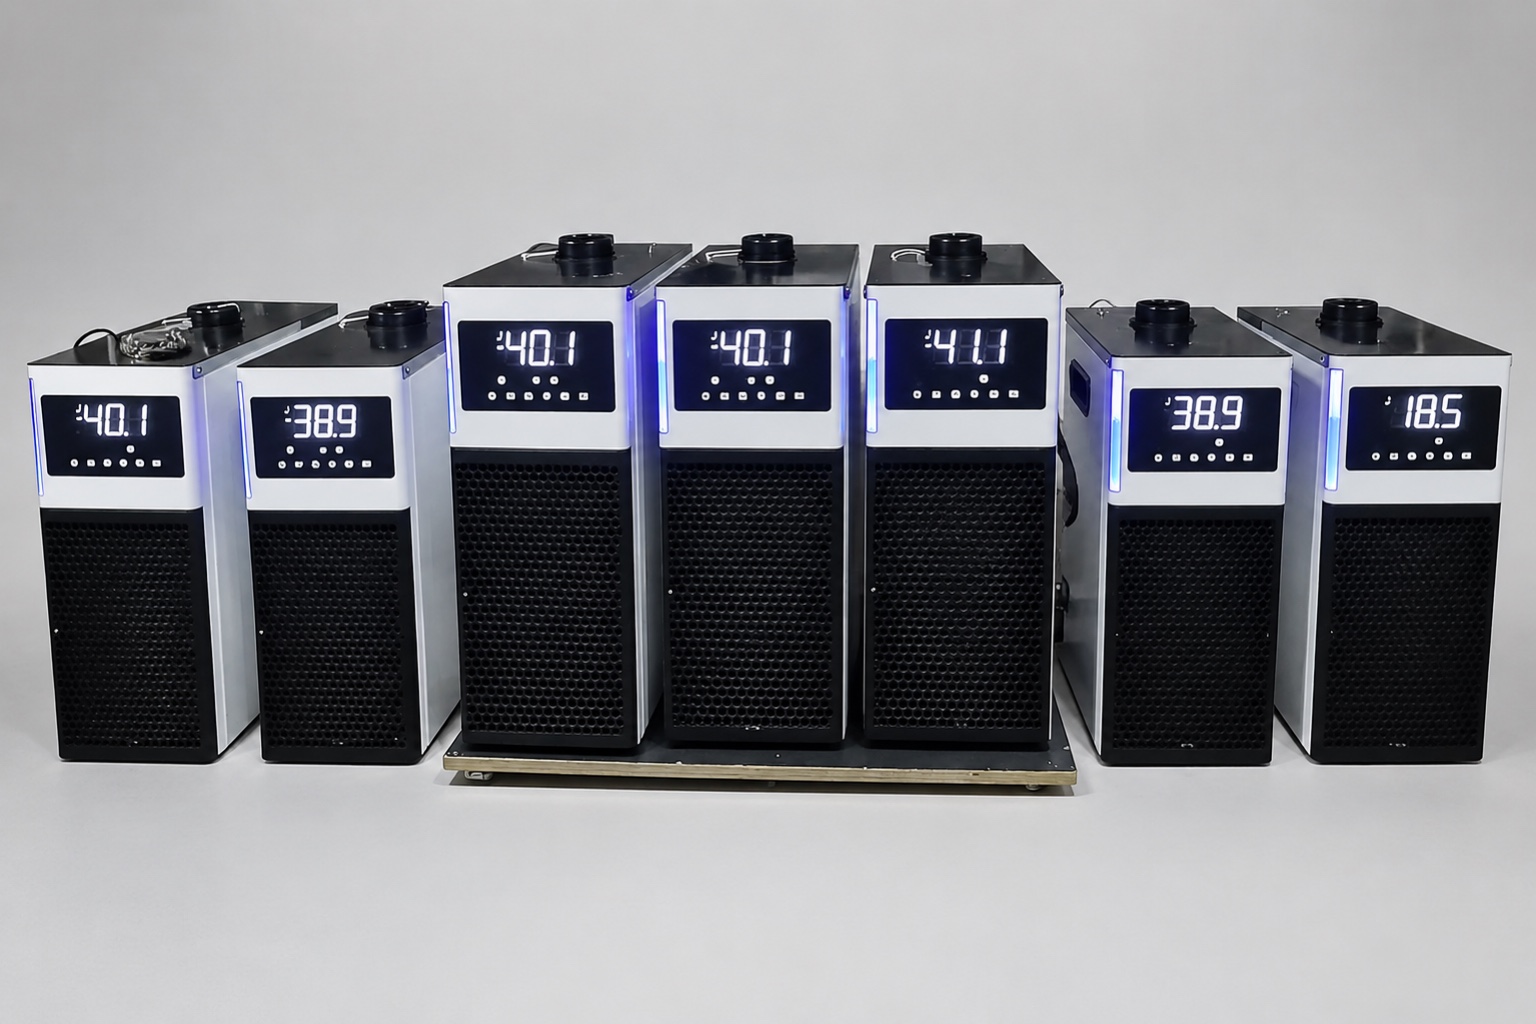 The last mobile laboratory chiller constraint is air. Indoors, condenser clearance is a matter of leaving space. In a vehicle it is a matter of designing an air path, because the volume is small, sealed, and shared with everything else that generates heat.
Our own installation guidance for small water chillers calls for a minimum of 300 mm clearance on the condenser air discharge side. In a vehicle that figure is a starting point rather than a sufficient condition, because clearance without a path to outside air simply recirculates the discharge:
- Give the discharge a route out of the compartment. Warm air returning to the intake raises condensing temperature continuously, which reduces capacity and raises current draw at the same time.
- Separate intake and discharge as far as the geometry allows, and confirm there is no short circuit between them.
- Account for other heat sources sharing the compartment — instruments, power electronics, the vehicle itself when parked in sun.
- Measure the actual intake air temperature under working conditions rather than assuming it equals outdoor ambient. In a closed vehicle the difference can be large.
The consequence of getting this wrong is not a sudden failure but a machine that works in spring and cuts out in July. Sizing under realistic mobile ambients is discussed in our guide to small water chiller units for laboratory and OEM equipment.
A Commissioning Sequence for a Vehicle Installation
- Confirm the mounting load path reaches structure in all three axes, and that fixings are torqued and recorded.
- Verify operation at the maximum tilt the installation will see, parked, before the vehicle moves.
- Set the fluid level for the installed orientation, not to the maximum mark, and note it for future top-ups.
- Measure supply voltage at the machine during an engine start and during a generator load step, not at rest.
- Confirm automatic restart after a deliberate supply interruption.
- Measure condenser intake temperature with the compartment closed and everything else running.
- Run a full pull-down and hold in that state, at the highest ambient available.
- Re-inspect after the first few hundred kilometers: fastener torque, hose chafe points, fluid level, and any sign of movement at the mounts.
Step 8 is the one that gets skipped and the one that catches the settling failures — a fastener that has relaxed, a hose that has found something to rub against, or a fluid level that has dropped from slosh.
Full model data, including the 200 × 430 × 450 mm envelope and 18–25 kg weight that determine the mounting design, is on the MiniCool product page. For positive-temperature mobile loops between 0 °C and +20 °C, the DV compact liquid chiller range at 100–550 W is the applicable family and is available in DC supply variants.
If you are specifying a mobile laboratory chiller installation, send the following and our engineers will review it: vehicle type and available mounting structure, maximum tilt including parked, electrical supply arrangement and whether DC is available, compartment volume and available air paths, expected interior ambient in summer, instrument cooling load and setpoint, and hose routing between machine and instruments. Send your installation details to our engineering team.
Frequently Asked Questions
Can a benchtop recirculating chiller be used in a vehicle?
Frequently yes, but the installation carries the burden the bench specification does not. Restraint to vehicle structure, vibration isolation sized for the actual mass, fluid level set for the installed orientation, a supply that survives engine starting, and a condenser air path out of the compartment are all required. The machine’s thermal performance is rarely the limiting factor in a mobile laboratory chiller installation.
What tilt angle can a recirculating chiller tolerate?
It depends on reservoir geometry and where the pump draws from, and reservoir volume is not published for this range — so the honest answer is to establish it empirically on the installed machine. Fill to the level appropriate for the installed orientation, then verify operation at the maximum tilt the installation will actually see, including parking across a slope, which is often a larger angle than anything encountered while driving.
Why does the chiller stop when the engine starts?
Cranking pulls the supply voltage down briefly, and the controller’s undervoltage protection responds. Measure voltage at the machine during an actual engine start rather than at rest, and confirm whether the unit restarts automatically afterwards. If it does not, that is a commissioning problem to solve before the vehicle is in service, not a fault.
How much condenser clearance is needed in a vehicle?
Our installation guidance calls for a minimum of 300 mm on the discharge side, but in a vehicle clearance alone is not sufficient. Discharge air must have a route out of the compartment, otherwise it recirculates to the intake and raises condensing temperature continuously. Measure intake air temperature with the compartment closed and everything else running, since that is the number the machine actually experiences.
Does vibration damage a recirculating chiller?
Road input is a different problem from the internal vibration a bench machine is designed around. The components most affected are external: fasteners loosening, hoses chafing, and connections working free. Use anti-vibration mounts sized for the actual mass, leave strain relief in everything crossing the isolated interface, and re-inspect after the first few hundred kilometers, which is when settling failures appear.
Should I choose an AC or DC supplied machine for a vehicle?
If the vehicle has a suitable DC bus, a DC-supplied machine avoids the inverter and the failure modes that come with it, including waveform sensitivity and transfer breaks. The MiniCool range is published as compatible with AC (120–240 V) or DC. Where AC is unavoidable, size the generator for the compressor’s starting demand rather than its running demand.