
Why Refrigerated Bath Replacement Goes Wrong
When an old refrigerated bath fails, the obvious move is to buy something with a similar headline rating and plug it in. That works surprisingly often, and fails in predictable ways when it does not. The replacement cools more slowly, cannot hold the set point on a busy day, has the wrong connections, or does not offer the open bath the old unit had.
Refrigerated bath replacement is easier than a new specification in one important way: the old unit has been running your real process for years, so it is the best sizing data you have. The trick is to read that data correctly rather than copying a number off a label.
This guide covers what the old nameplate does and does not tell you, a simple test to measure the actual heat load, and the range, form, connection and layout checks that decide which replacement fits.
What the Old Nameplate Tells You, and What It Does Not
Nameplates vary by maker and age, but they usually carry electrical and refrigeration data rather than the performance numbers you actually need.
| Nameplate item | Useful for | Not useful for |
|---|---|---|
| Voltage, frequency, current | Checking the laboratory supply and circuit | Cooling capacity |
| Rated input power | Electrical sizing, rough class of machine | Cooling capacity at your set point |
| Refrigerant type and charge | Understanding service options and regulatory status | Performance |
| Temperature range, if shown | Confirming the old unit’s limits | What you actually used |
| Model and serial number | Finding the old manual and capacity curve | Anything on its own |
The most common error is treating input power as cooling capacity. At sub-zero set points, a small refrigerated unit can deliver cooling well below its electrical input, because refrigeration efficiency falls as the temperature drops. Use the model number to find the original manual; if it includes a capacity-versus-temperature curve, read the capacity at your working temperature. If it does not, measure the load instead.
For a refrigerated bath replacement, then, the nameplate’s real value is the model number that leads to the manual, plus the electrical data that tells you whether the new unit can use the same supply. Treat every other number on it with caution.
Record How the Old Bath Was Actually Used
Before the old unit is removed, write down how it was really used. Specifications written years ago often describe a process that has since changed.
- The set points actually used, including the coldest and the warmest, not the range on the label.
- Whether samples were immersed in the bath itself, or coolant was pumped to external equipment, or both.
- Bath fluid type and volume, and how often it was topped up or changed.
- Hose length and route to any external equipment, and the connection type at each end.
- How long pull-down took from room temperature, and whether that was acceptable.
- Any complaints: slow recovery after loading, drift on warm afternoons, frost, noise.
This list often reveals that a lab used only a narrow part of the old unit’s range, which widens the choice of replacement, or that it relied on a function such as heating or an open bath that the new unit must also provide.
Photograph the old installation before anything is disconnected: hoses, fittings, cable route, where the unit sat and the clearances around it. Those photos answer most of the questions that come up when the refrigerated bath replacement arrives.
Measure the Real Load With a Warm-Up Test
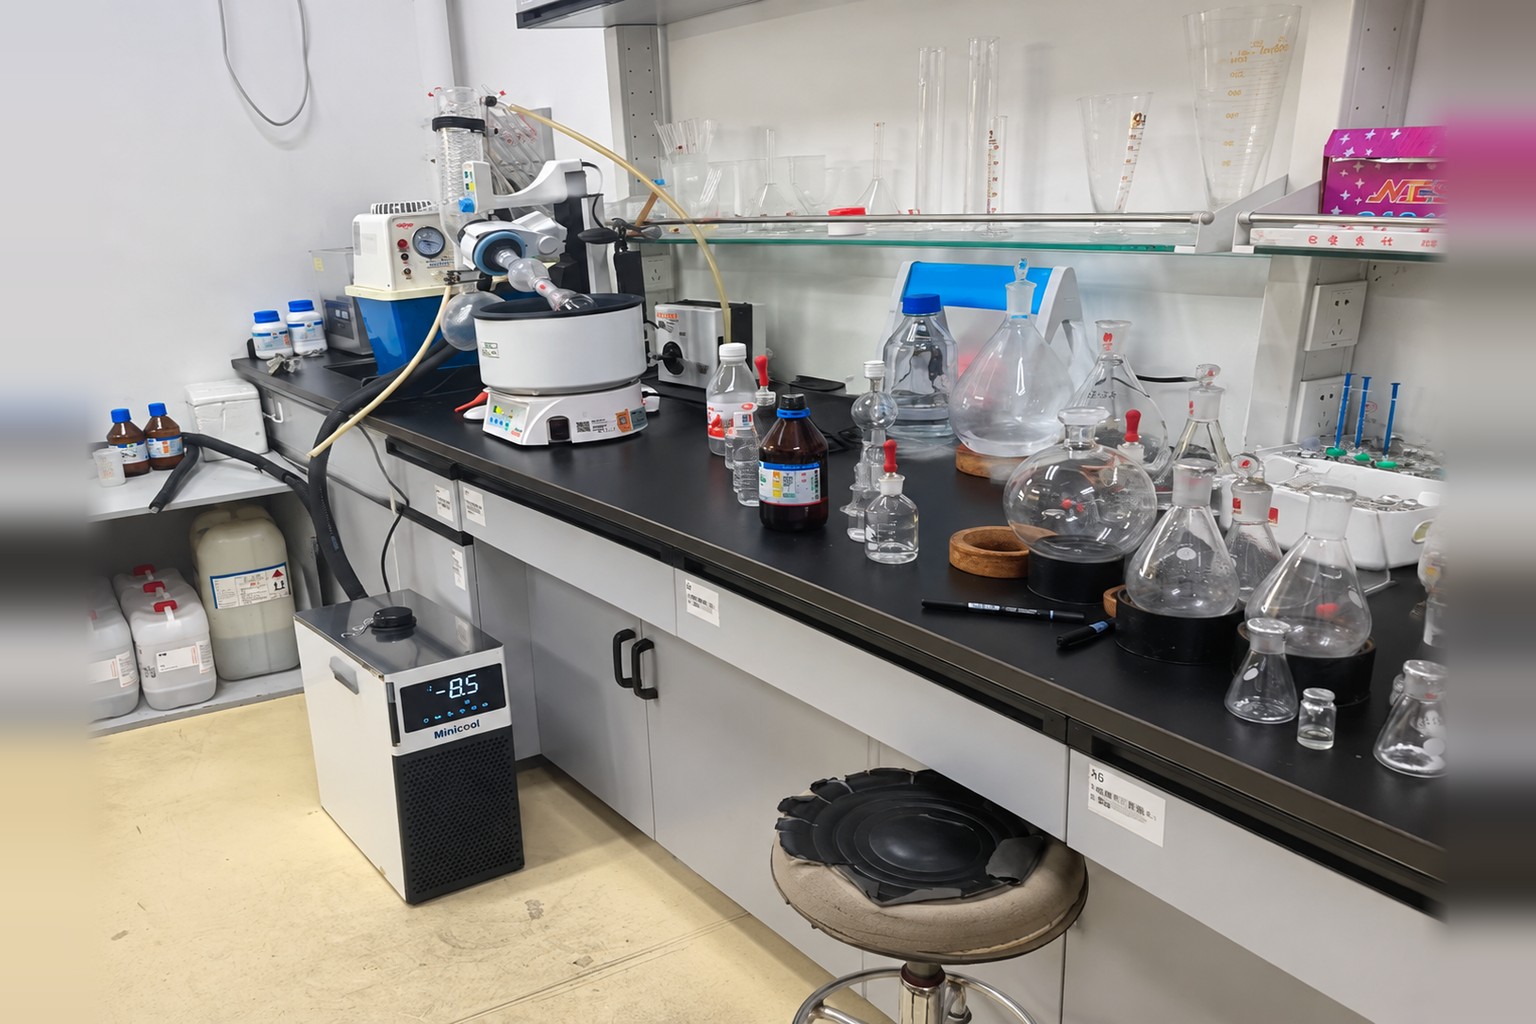 A practical way to estimate the load for a refrigerated bath replacement is a warm-up test on the old unit, provided the process can tolerate a short, small temperature rise. It needs a thermometer, a clock and an estimate of the heat capacity of everything that warms with the bath.
- Bring the bath to the working set point with the process connected and running as normal.
- Switch off the cooling only, keeping circulation running if possible.
- Record the bath temperature every minute for ten to fifteen minutes.
- Calculate heat gain from the rate of temperature rise and the effective heat capacity: bath fluid, fluid in hoses and external equipment, and tank and pump metal where it can be estimated.
- Repeat once with the process idle to separate the bath’s own heat leak from the process load.
Keep the lid on and circulation running during the test, avoid opening the bath, and use the same thermometer throughout. Use the slope over the first degree or two near set point; letting the bath warm much further changes the heat gain and can upset the process.
The example below uses assumed values for illustration at a −20 °C set point.
| Input | Process idle | Process running |
|---|---|---|
| Bath fluid mass | 8 kg | 8 kg |
| Specific heat, water-glycol mixture (assumed) | 3.0 kJ/kg·K | 3.0 kJ/kg·K |
| Temperature rise in 10 minutes | 1.5 K | 2.6 K |
| Heat gained | 36 kJ | 62 kJ |
| Average heat load | About 60 W | About 104 W |
The table counts only the bath fluid. The tank walls, pump, coolant in hoses and external equipment, and any samples also store heat, so a fluid-only calculation can underestimate the load by more than a small margin, and residual cold in the system or a changing process load can skew the slope. Treat the result as an estimate, add what heat capacity you can, and keep a generous margin for warmer days and future changes. Do not run a warm-up test where a temperature rise could be hazardous or spoil the work. In this example a replacement with around 150 W of capacity at −20 °C, measured at the working temperature and not at a nominal rating point, would be a sensible target.
If the old unit has already failed, the same test can be run on the replacement during commissioning, or the load can be estimated from the process; our guide to refrigerated circulator types and sizing walks through that route.
Temperature Range Decides the Product Family
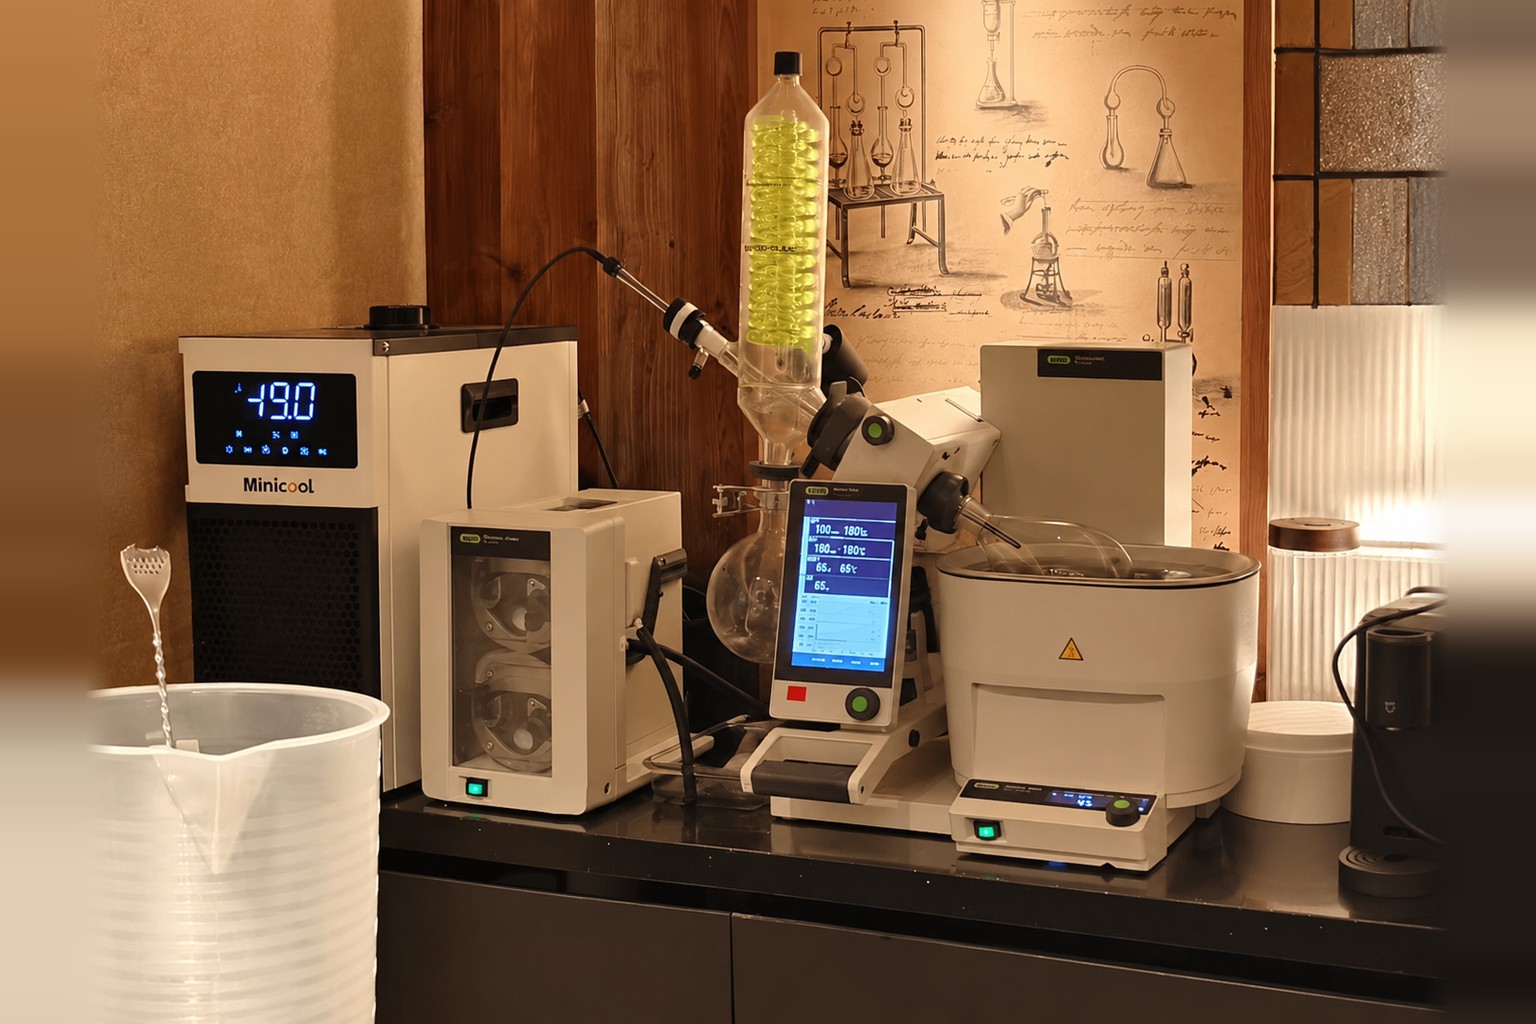 Temperature decides the product family before capacity does. A replacement that has plenty of capacity but does not cover your set points is simply the wrong machine.
| Set points you actually use | What to look for | RIGID range that fits |
|---|---|---|
| 0 to −40 °C | Sub-zero recirculating chiller with capacity at the coldest set point | MiniCool, 0 to −40 °C |
| Above 0 °C, up to +20 °C | Compact liquid chiller sized for the load | Compact Liquid Chiller |
| Both sub-zero and above 0 °C | Either two units, or one unit whose range covers both | Check each set point against each range |
| Above +20 °C, or heating required | Heating circulator or combined unit | Outside the ranges listed here |
RIGID’s MiniCool countertop recirculating chiller is listed at 450, 800 and 850 W with a range of 0 to −40 °C, temperature stability of ±0.1 °C (test conditions not stated), AC 120–240 V or DC supply, and a 200 × 430 × 450 mm footprint. It is intended for sub-zero work and should not be chosen for set points above 0 °C. For work between 0 and +20 °C, the Compact Liquid Chiller range, listed at 100 to 550 W, is the relevant family. Capacity at your specific set point is not listed for either, so confirm it against the load you measured.
If your set points straddle 0 °C, decide first whether one unit really must cover both. Two small units, each working inside its own range, are often simpler and more reliable than stretching for a single machine, and they let sub-zero and above-zero work run at the same time.
Bath Form, Fluid and Connections
Old refrigerated baths often combined an open bath for immersing samples with pump outlets for external equipment. Many modern compact chillers are closed recirculating units instead. Check which one your process needs.
- If samples were immersed in the old bath, the replacement needs either its own open bath or an external bath fed through a coil or jacket.
- If coolant went only to external equipment, a closed recirculating chiller is usually a simpler and cleaner fit.
- Reuse the old fluid only if its type and concentration suit the new unit and the coldest set point; otherwise drain and replace it. Our lab chiller coolant selection guide covers the choices.
- Match or adapt the connections. Old units often used barbed hose tails; newer units may offer quick-connect or threaded ports. Plan adapters rather than improvising at installation.
- Confirm pump pressure and flow suit the external equipment, particularly if the hose run or the equipment’s internal passages are long or narrow.
Space, Power and the Laboratory Around It
A replacement also has to fit the room the old unit lived in.
- Footprint and height under shelves or fume hood sashes.
- Air intake and exhaust clearance, so condenser heat is not recirculated.
- Supply voltage and plug type, and whether the old circuit is adequate.
- Noise at the operator’s position, especially in shared or write-up areas.
- Heat rejected into the room, which the laboratory ventilation must absorb.
Compact countertop units often free bench space compared with older floor-standing baths, which can allow hoses to be shortened. Shorter, insulated hoses reduce heat gain and make the measured load easier to meet. For examples of the kinds of sub-zero work a compact unit supports, see our overview of low-temperature circulator applications.
Commissioning the Replacement
Commissioning is where a refrigerated bath replacement proves itself. A short, structured check avoids discovering a shortfall during a real experiment.
- Fill with the chosen fluid and check for leaks at every connection before cooling.
- Pull down to the coldest working set point and record the time taken.
- Run the process at a typical load and confirm the set point holds with margin.
- Repeat the warm-up test on the new unit if the load was estimated rather than measured.
- Check fluid level after cool-down, since most fluids contract as they get colder.
Keep the records with the new unit: the warm-up test, the pull-down time and the set points used. They make the next service visit, or the next refrigerated bath replacement, a far quicker job.
Common Mistakes
- Copying the old unit’s input power as the required cooling capacity.
- Choosing by nominal capacity instead of capacity at the coldest working set point.
- Choosing a sub-zero chiller for work that actually runs above 0 °C, or the reverse.
- Replacing an open bath with a closed chiller when samples still need to be immersed.
- Reusing old fluid of unknown concentration at a colder set point.
- Ignoring connection types until installation day.
If you are replacing a refrigerated bath, send us the old unit’s model and nameplate details, the set points you use, your warm-up test results or process description, and the space available, and our engineers will check which replacement fits. Send your refrigerated bath replacement details to our engineering team.
Frequently Asked Questions
How do I size a replacement for an old refrigerated bath?
Find the cooling capacity the old unit delivered at your working set point, either from its manual’s capacity curve or by estimating the heat load with a warm-up test. Add margin, then choose a replacement whose capacity at that same set point meets the figure.
Can I use the input power on the nameplate as the cooling capacity?
No. Input power is electrical consumption. At sub-zero set points, a small refrigerated unit’s cooling capacity can be well below its input power, so using it directly usually oversizes or misjudges the replacement.
What is a warm-up test?
With the bath at set point and the process running, the cooling is switched off and the temperature rise is recorded for a few minutes. Multiplying the rate of rise by the effective heat capacity of the fluid and the parts warming with it gives an estimate of the heat load in watts. It suits processes that tolerate a brief, small drift.
Does the replacement need the same temperature range as the old bath?
It needs to cover the set points you actually use, which may be narrower than the old unit’s label. Sub-zero work and work above 0 °C may point to different product families.
Can I reuse the fluid from the old refrigerated bath?
Only if its type and concentration are known and suit the new unit and the coldest set point. Fluid that has absorbed water or degraded over years is better replaced during the changeover.
My old bath had an open bath for samples. Will a recirculating chiller work?
Only if the replacement also provides an open bath, or you add an external bath cooled through a coil or jacket. A closed recirculating chiller on its own pumps coolant to external equipment and does not provide a place to immerse samples.